Rockwell Automation 1760 Pico GFX-70 Controllers Quick Start User Manual
Page 54
Publication 1760-QS002A-EN-P - April 2004
7-12 Lesson 5
We now simply have to start the configuration via Communication,
Configuration, Pico-Link. PicoSoft Pro starts to transfer the Pico-Link
intraconnect configuration to the master immediately. Each Pico-Link station
is assigned their own Pico-Link ID (in this case, 1 - 3), and the valid parameters
for baud rate and bus delay. After the transfer has been completed, you can
read the Pico-Link ID in the device display as NT1-NT3. The Pico-Link LED
starts flashing to indicate that the Pico-Link is functioning correctly.
The programs can now be downloaded without any problem. To avoid having
to download every program onto their respective devices individually, let us
switch beforehand from local to Pico-Link communication (via the master).
Choose Communication, Device, Pico-Link Operation to specify the
device with which the PC is to be connected. In our case, this is Device 1.
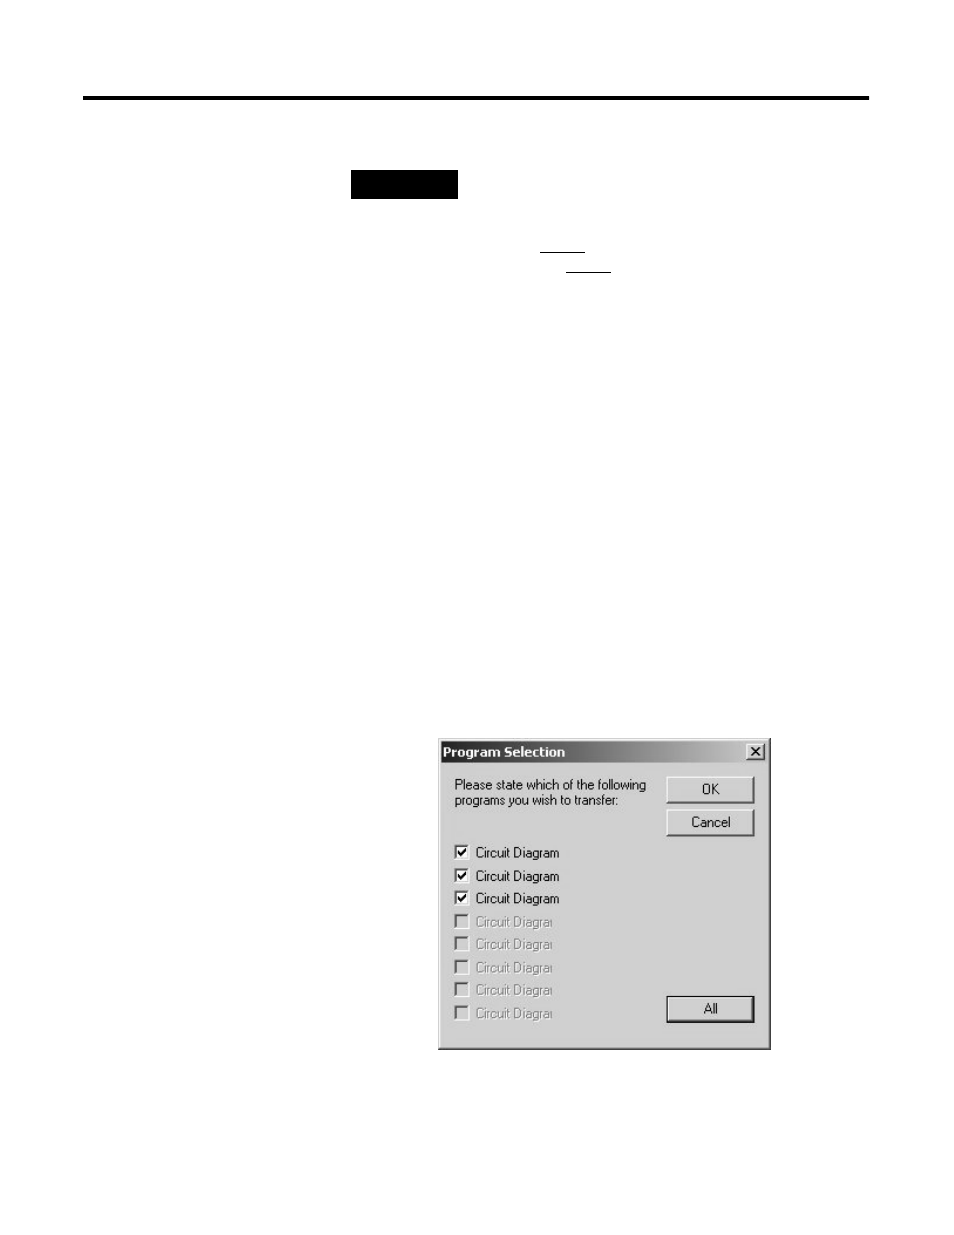
Choose Communication, Program, Download to start the download of the
individual circuit diagrams or all of them. In the selection dialog (see following
Figure) select All so that no programs are forgotten.
Click OK to start the program transfer to the devices.
Program selection dialog in Master mode.
TIP
Fortunately, PicoSoft Pro does this all for us
providing the following conditions are met:
The 1760-CBL-PC02 PC connection cable is plugged
in on the master and the connection from the PC to
this device is Online.