Uploading a program, Uploading a program -5 – Rockwell Automation 1760 Pico GFX-70 Controllers Quick Start User Manual
Page 27
Publication 1760-QS002A-EN-P - April 2004
Lesson 3 4-5
Uploading a Program
We will now “upload” a circuit diagram from the device. PicoSoft
should be able to create the project automatically for us.
1. Save your project via File, Save As.... This will open a standard
Windows file save dialog. Give the project a suitable name (e.g.
“conveyorbelt”) and save it via the Save button. The project will
be saved with the file suffix e40.
2. Now close the project via File, Close (not Exit).
3. This will cause PicoSoft to close the project you have just
worked on and immediately open an empty project called
untitled
Alternatively, you can open an empty project by clicking File,
New or click the New button directly on the toolbar. This will
activate a second instance of PicoSoft and minimize the last
edited project so that it is shown in the taskbar.
4. We will switch to the Communication View directly without
transferring a device to the Workbench by choosing View,
Communication.
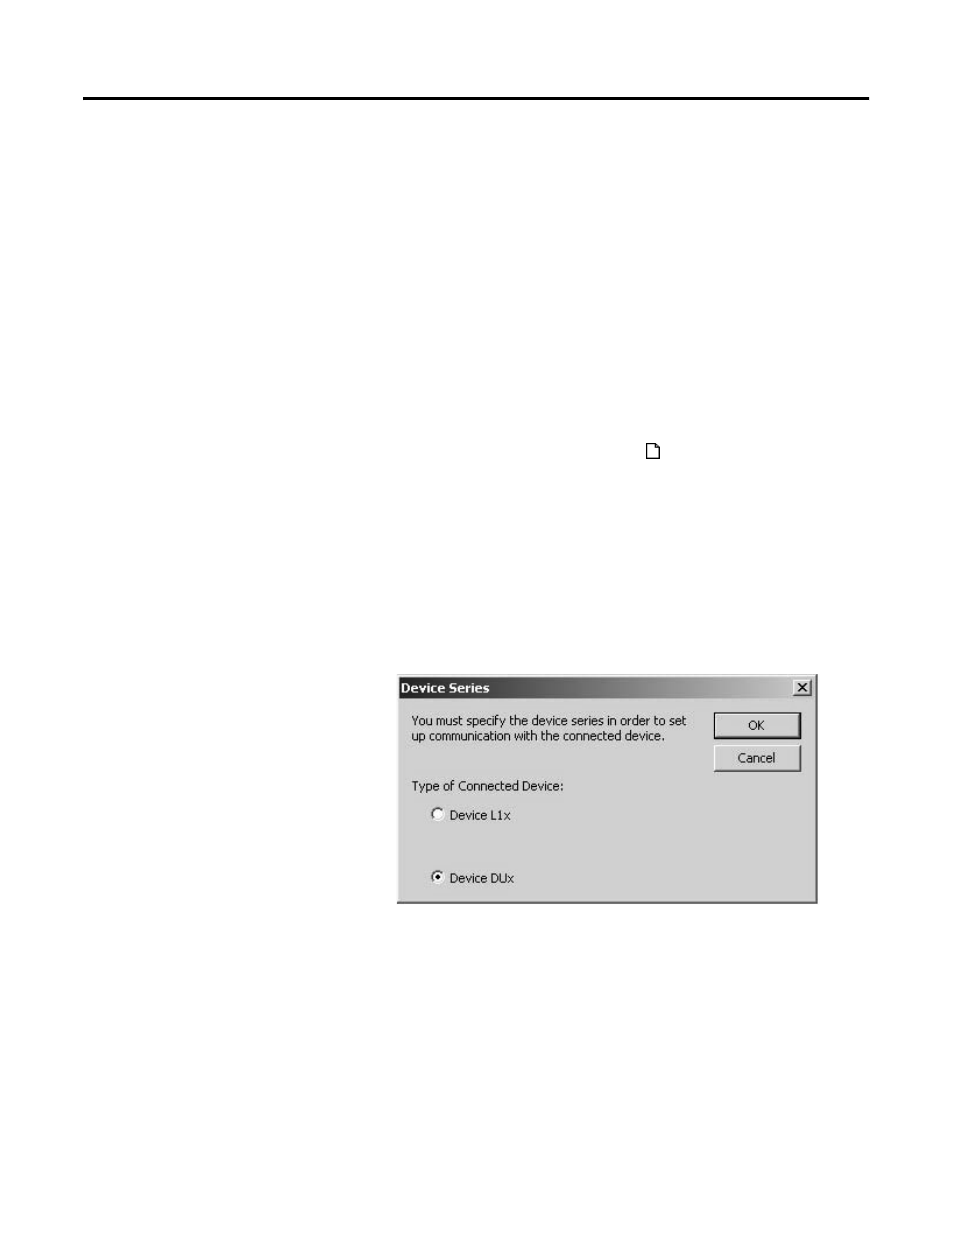
The following dialog will appear:
5. Now let PicoSoft know which device you have connected to the
PC. As we have been using the 1760-L12AWA device from the
1760-L12 series, select Pico Device and confirm your selection
with OK. You will automatically enter the Communication View.
Don't worry if you have set the wrong device series by mistake.
After acknowledging the resulting error message, you can still
enter the Communication View. You can now redefine the
connected device via Communication, Interface, Pico
Device.