Lesson 4, Creating a pico gfx-70 project, Chapter 6 – Rockwell Automation 1760 Pico GFX-70 Controllers Quick Start User Manual
Page 33: Creating a pico gfx-70 project -1, Chapter
1
Publication 1760-QS002A-EN-P - April 2004
Chapter
6
Lesson 4
Creating a Pico GFX-70
Project
We learned how to create a project in Lesson 1 (reference: Creating a Pico
Project on page 2-1).
We are now going to create our first project which has remote
expansion I/O as well as the Pico GFX-70 basic unit.
To create a project:
1. We shall start a new project via File, New.
2. We then open the device tree for the 1760-DU series in the
Toolbox by double-clicking the Device icon, or clicking the “+”
sign.
3. We then add a 1760-LDF CPU module, a 1760-DUB display
module and a 1760-IB12XOB4IOF I/O module to the
Workbench using drag and drop.
We need an expansion module to locally expand the basic unit. This
module can be placed in the Workbench in the same way as the basic
unit.
1. Scroll down the Toolbox until you see the expansion modules.
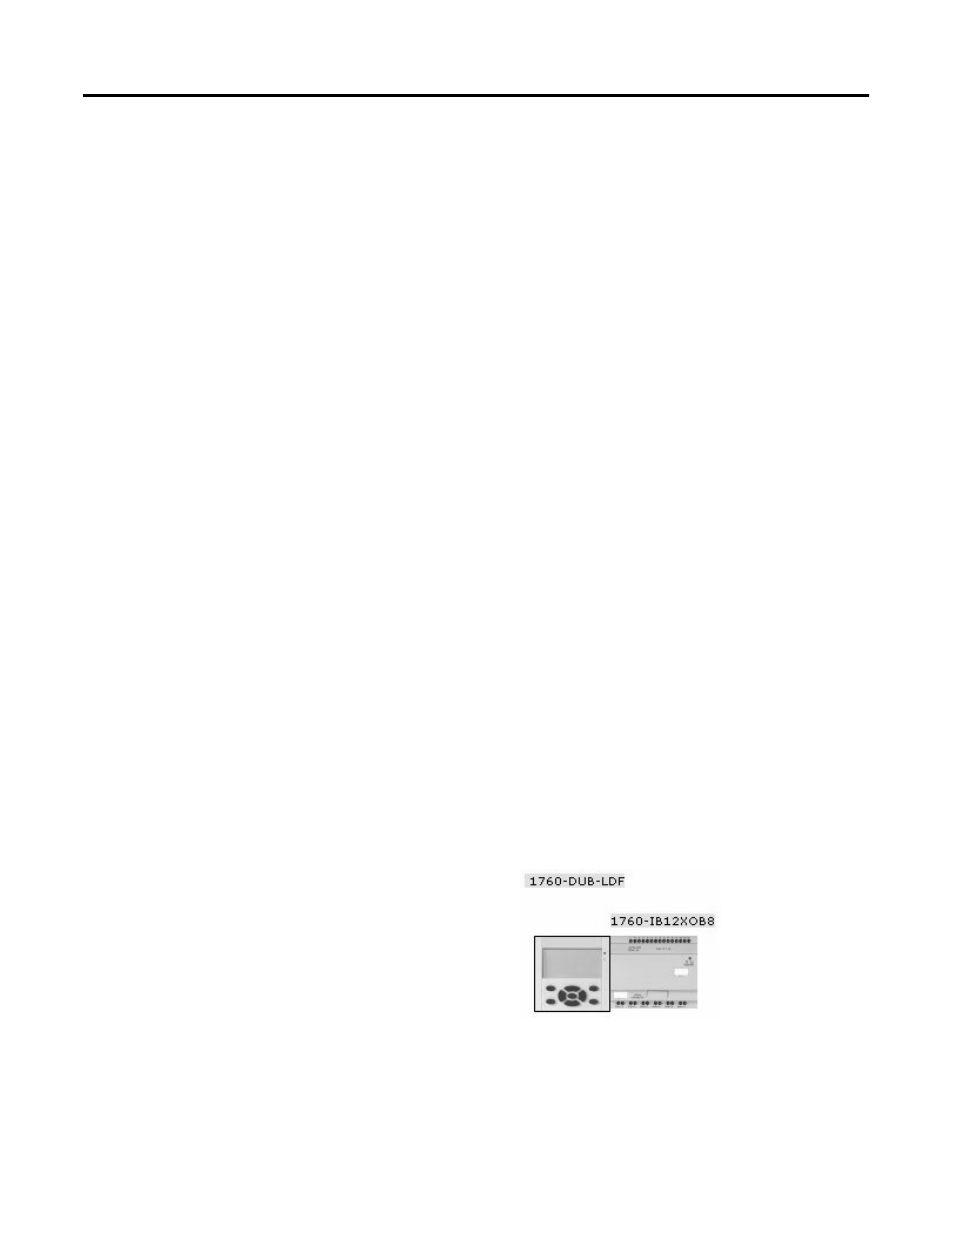
2. Select the 1760-IB12XOB8 expansion module in the Toolbox,
hold down the left mouse button and drag the module onto the
Workbench. Your project should now resemble the following
figure.
3. To complete the project configuration, the system properties of
the device must also be specified. Click the basic unit to show
the device properties in the Properties field window.