5 activating the data logger (umx-2), Turning on the data logger – Dakota Ultrasonics UMX-2 User Manual
Page 55
Dakota Ultrasonics
51
clicking the FILE menu option, followed by clicking the UPLOAD TO GAUGE
option.
8) Select the file to be uploaded to the UMX-2.
9) Finally, click the UPLOAD button in the dialog box to start the transfer. A
progress bar will appear on the screen during the transfer process, and
disappear once the transfer has completed.
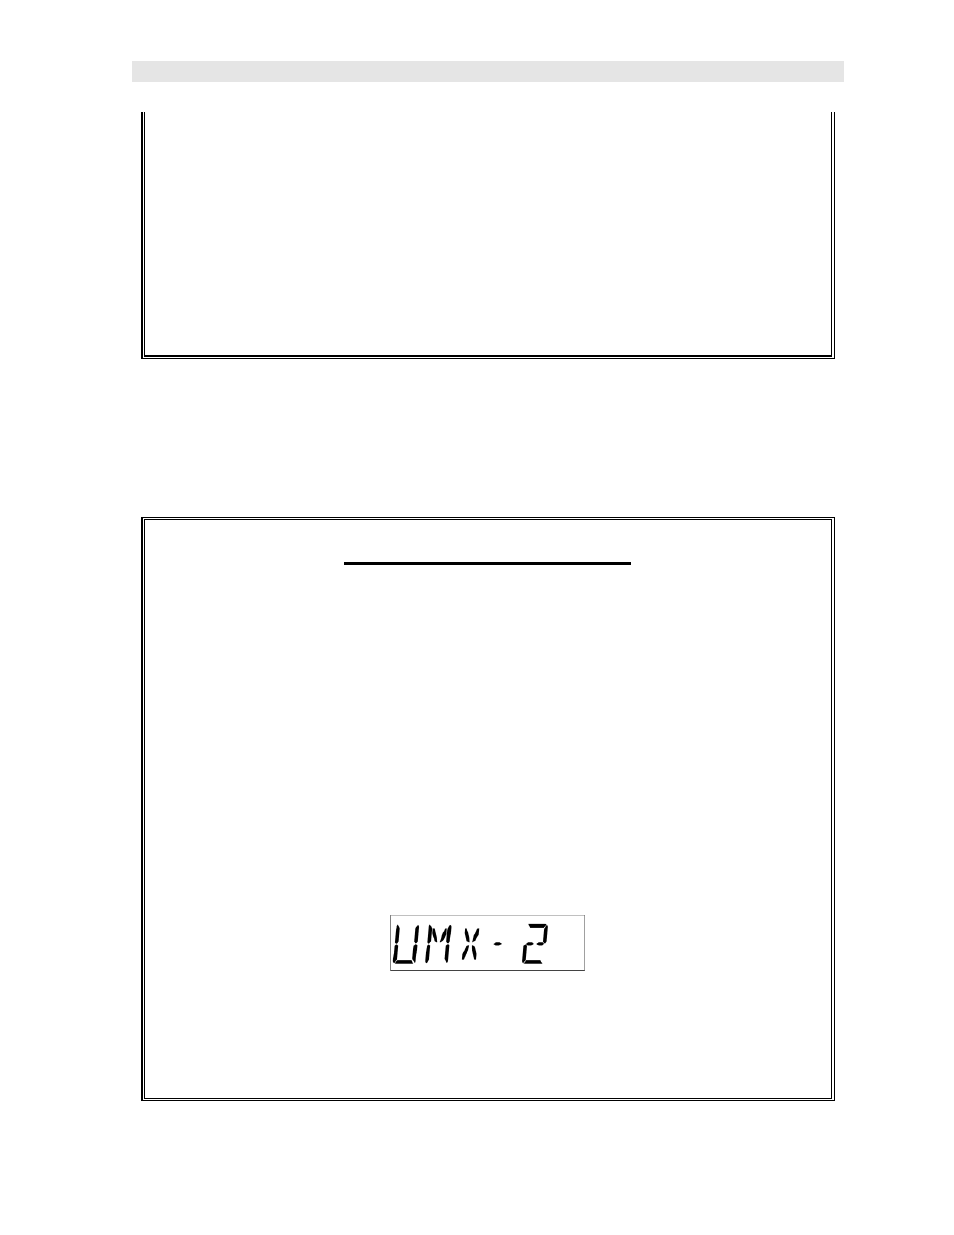
11.5 Activating the Data Logger (UMX-2)
The following procedure explains the necessary steps to activate the data logger in
the UMX-2:
Turning on the Data Logger
Note: This section assumes the UMX-2 is powered up and ready to go. The
UMX-2 always boots up and displays the left most top level menu item, which
corresponds to the data logger. If anything, other than MEMOFF, is currently
displayed, the data logger is already active.
1) Press and hold the single UMX-2 button, located on the top end cap, until
the top level menu options begin scrolling on the alpha display. Once this
occurs, the button can now be released. The menu options will scroll one to
the next in a time delayed sequence, and will display all the menu options in
a continuous loop.
2) When UMX-2 is displayed, immediately press and release the button to
enter the sub menu options. Again, the options will begin scrolling in a
continuous loop (LT ON, LT OFF, LAUTO, MEM ON/OFF, UPGRAD).