Chapter three overview, 1 umx-2 displays – Dakota Ultrasonics UMX-2 User Manual
Page 11
7
CHAPTER THREE
OVERVIEW
Turn the UMX-2 on and off using the switch located on the bottom right corner of the
keypad. When UMX-2 is initially turned on, a UMX-2 logo will be displayed,
accompanied by lots of flashing led lights. The UMX-2 will attempt to ‘auto identify’
the transducer type that is connected, or display ‘NO PRB’ if the transducer cannot
be identified. The following sections outline each scenario. Note: This section is
primarily written as a basic startup guide only.
3.1 UMX-2 Displays
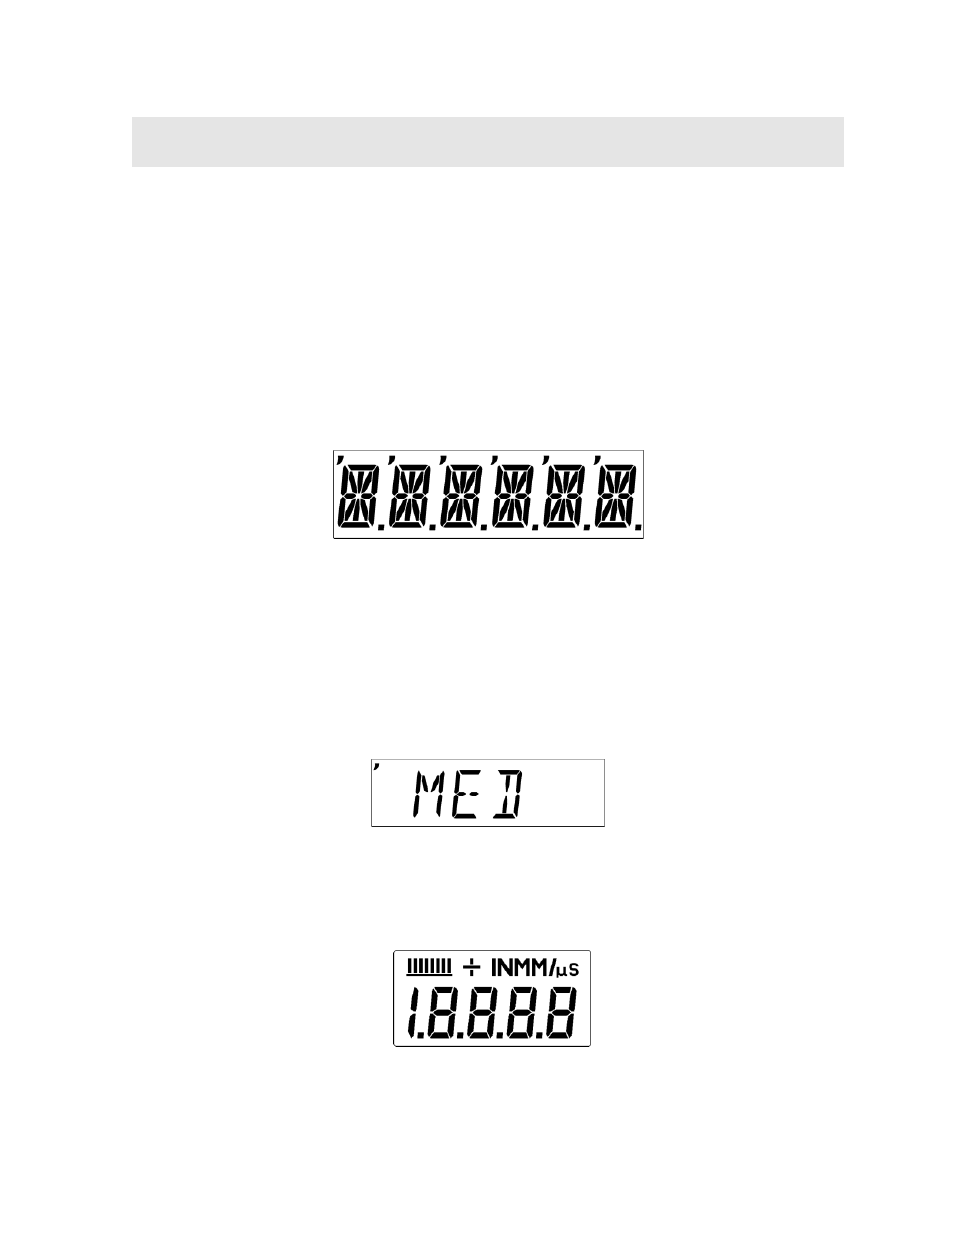
6 Character, 16 Segment Alpha Numeric Display
The UMX-2 is equipped with two segmented LCD displays that are used for entirely
different purposes. The 6 Character display above, is used for all the menu options
and any te xt to control the overall operation and functionality of the UMX-2. Since
the UMX-2 has the ability to store measurements, this display is also used to view
and move to specific cell/storage locations in the grid storage structure of the gauge.
Note: The left most ‘comma’ located in the top left corner of the display, identifies
which sub menu feature option is currently selected, as shown above. In this
example the gain is currently set to medium.