Dakota Ultrasonics UMX-2 User Manual
Page 28
24
CHAPTER SEVEN
MAKING MEASUREMENTS
The steps involved in making measurements are detailed in this section. The
following sections outline how to setup and prepare your UMX-2 for field use. An
automatic or manual zero must always be performed when using a dual element style
transducer only. The single element membrane probe option uses a special multiple
echo mode, and does not require zeroing.
The auto zero is an off block electronic zero that does not require a zero reference
block. This will most always be the zero option of choice, as it makes the zeroing
process very easy and convenient to perform. However, if the manual zero option is
enabled, the probe zero must be measured on the reference disk attached to the
bottom end cap of the instrument. The zero compensates electrical variations and
delays for a given transducer. Like a mechanical zero, it’s a reference point. In all
modes the sound velocity must be determined. The sound velocity is used to convert
the transit time to a physical length. The sound velocity can be selected from a
preset list of material types in the UMX-2, or can be programmed with a custom
velocity using DakView3 utility software. Refer to page 28 for further info.
7.1 Auto Probe Recognition
The first step in using the UMX-2 is to plug the transducer into the gauge and power
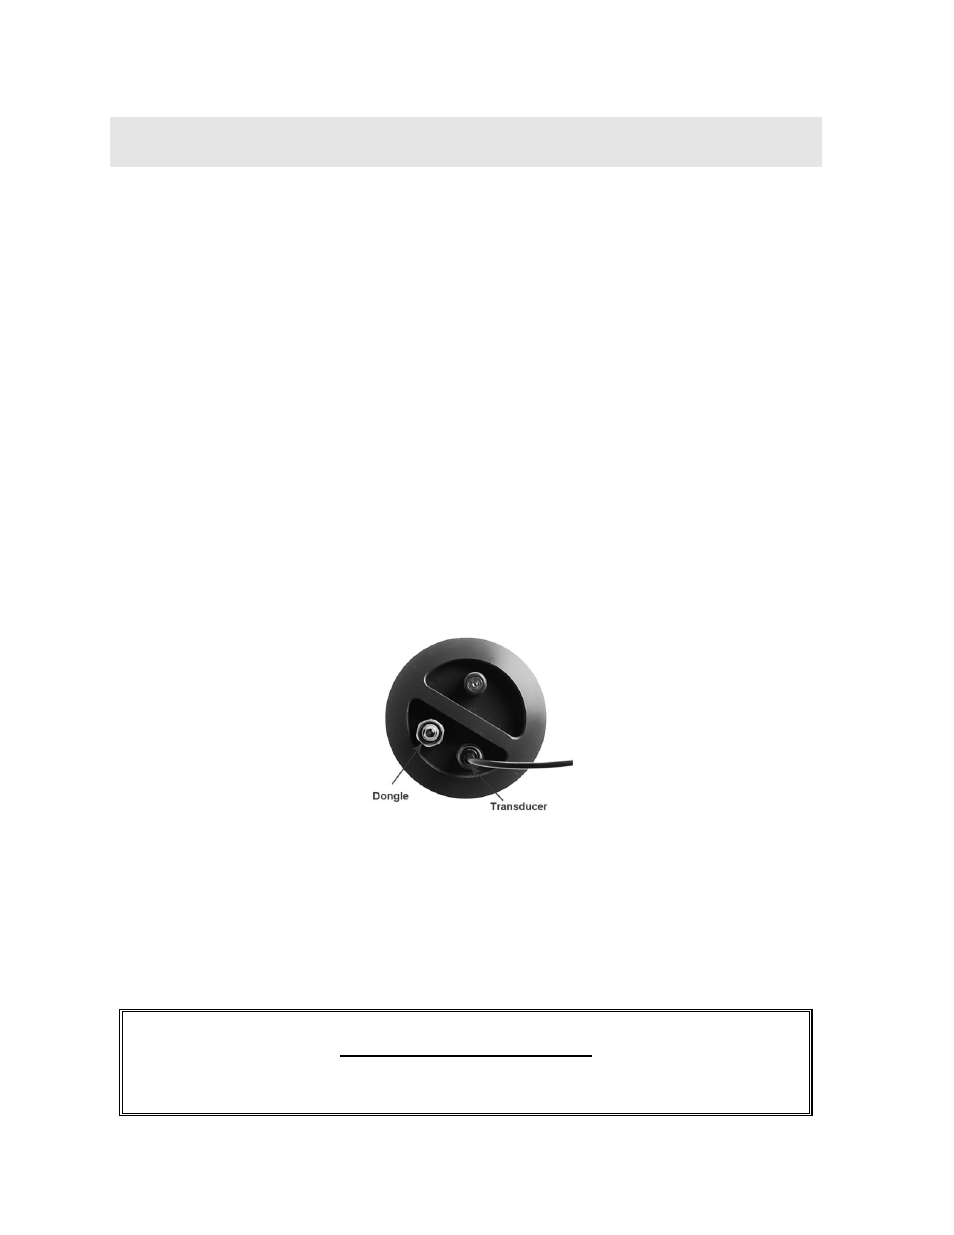
the unit up. If a single element style transducer is used, be sure that the dongle is
connected to the correct LEMO connector, as illustrated above. The UMX-2 has a
special built-in automatic probe recognition feature that will check to see if the probe
plugged into the gauge was correctly identified. Note: only custom Dakota
Ultrasonics transducers will work with the UMX-2.
Auto Probe Recognition