Doing a ripple edit – Apple Final Cut Express HD: Getting Started User Manual
Page 91
Chapter 6
Fine-Tuning Your Edit
91
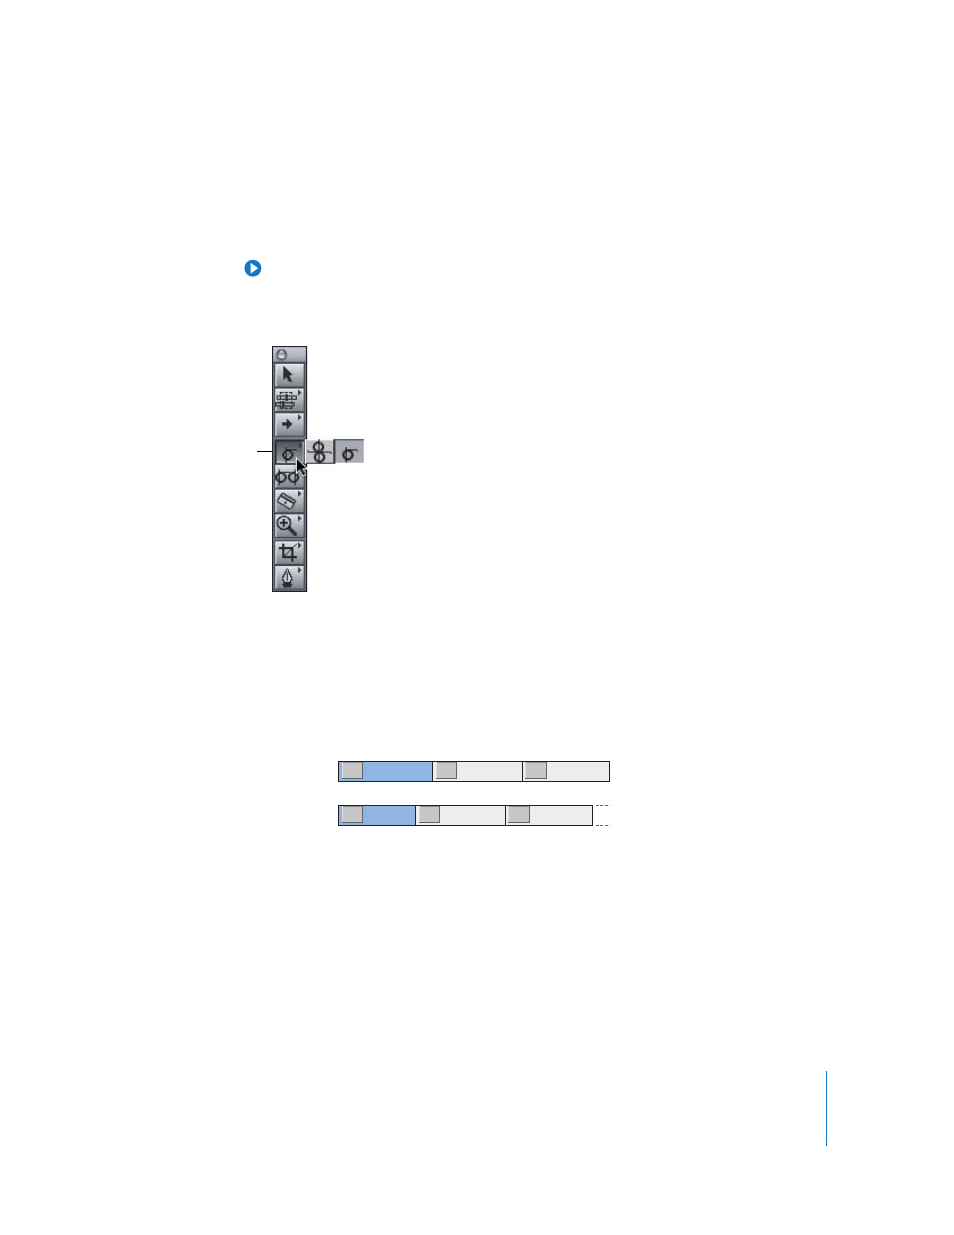
To select a tool from a group:
1
Move the pointer over a tool in the Tool palette, then press and hold down the
mouse button.
A pop-up menu shows the other tools associated with this function.
Tip: Keep the pointer over the tool for a few seconds to see its name; otherwise known
as a tooltip.
2
Move the pointer to the tool you want to select, then release the mouse button.
Doing a Ripple Edit
A ripple edit moves the location of either the Out point preceding or the In point
following an edit point (the point in the Timeline of an edited sequence where the Out
point of one clip meets the In point of the next clip). After a ripple edit is performed,
the duration of the affected clip is shortened or lengthened.
A ripple edit only affects one clip adjacent to an edit point. All other clips in your
sequence are then moved to accommodate the new duration of this clip, changing the
overall duration of your sequence.
For example, if you want to adjust the Out point of the first of two adjacent clips, you
can use the Ripple tool to move the first clip’s Out point to the left or right. The second
clip will then be moved to the left or to the right, to match the changed Out point. No
clip is overwritten and, as a result, there is no gap.
Press and hold to choose
additional tools.
A
B
C
A
B
C
Before edit
After edit