Using the voice over tool – Apple Final Cut Express HD: Getting Started User Manual
Page 82
82
Chapter 5
Editing With Audio
6
In the AIFF Encoder dialog, choose the following settings, then click OK.
•
Sample Rate: 48.000 kHz
•
Sample Size: 16 bit
•
Channels: Stereo
7
In the Importing dialog, click OK.
8
In the iTunes Library, select the MP3 file you want to convert.
9
Choose Advanced > Convert Selection to AIFF.
You now have an AIFF copy of your MP3 file that you can import into
Final Cut Express HD. Once you import your imported AIFF audio file, it appears in the
Browser as an audio clip that can be edited into your sequence just like a video clip.
Using the Voice Over Tool
The Voice Over tool allows you to record audio in Final Cut Express HD while
simultaneously playing back a specified section of your sequence from the Timeline.
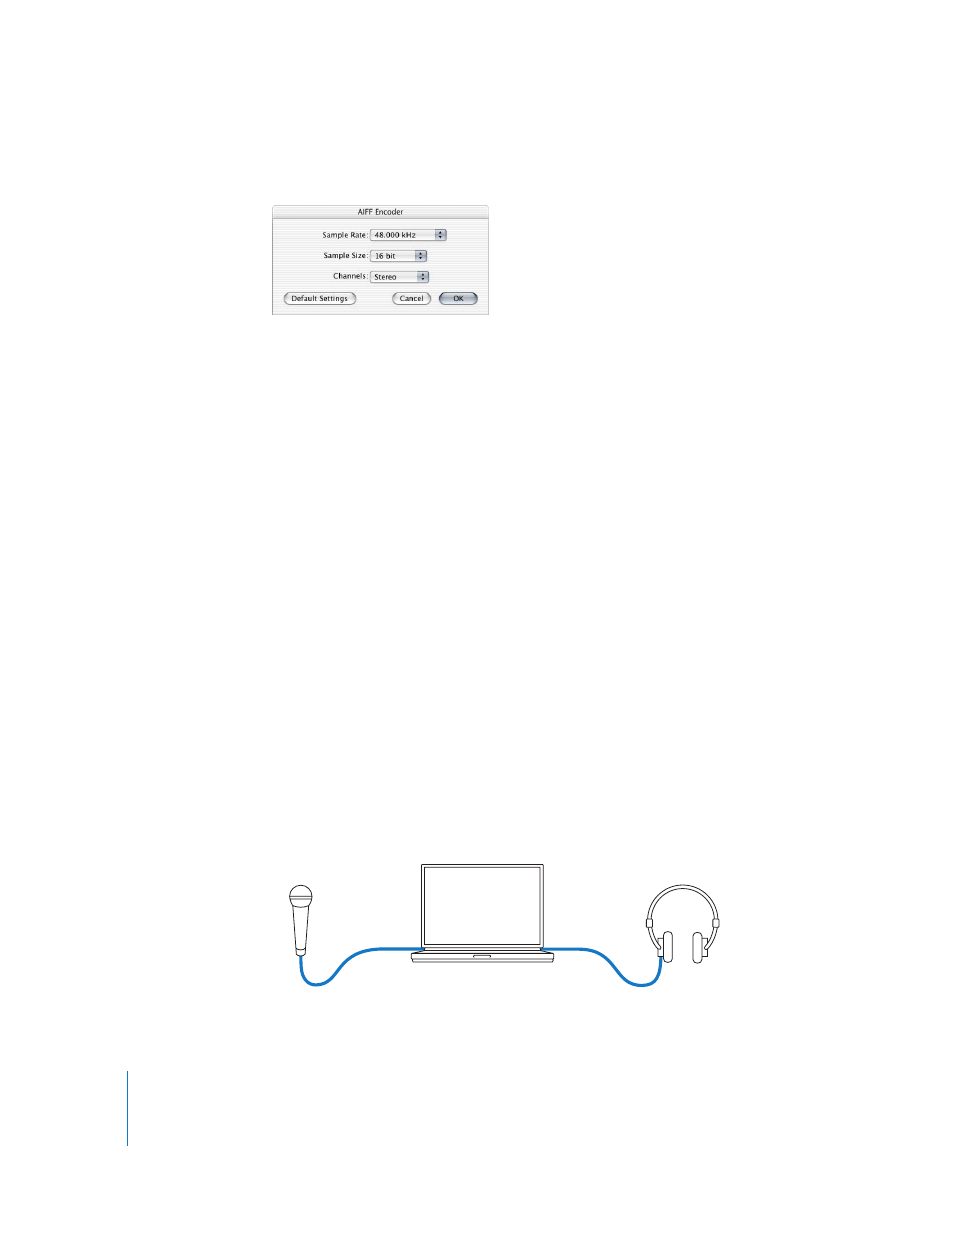
Audio can be recorded using a microphone plugged in to the built-in line-in port on the
back of your computer. You can monitor your program’s audio using the built-in
headphone port on your computer. Once you record an audio clip using the Voice Over
tool, it’s automatically placed onto an audio track in the specified section of your
sequence.
This voiceover feature is particularly useful for recording narration for your program.
You can use a microphone to record an audio commentary to match your edited
sequence of clips as you watch the sequence play, and listen to any background audio
in your program via headphones.
Microphone
Microphone
input
PowerBook
Headphones
Headphone
out