Changing line style – Apple Pages User Manual
Page 132
132
Chapter 7
Changing Object Properties
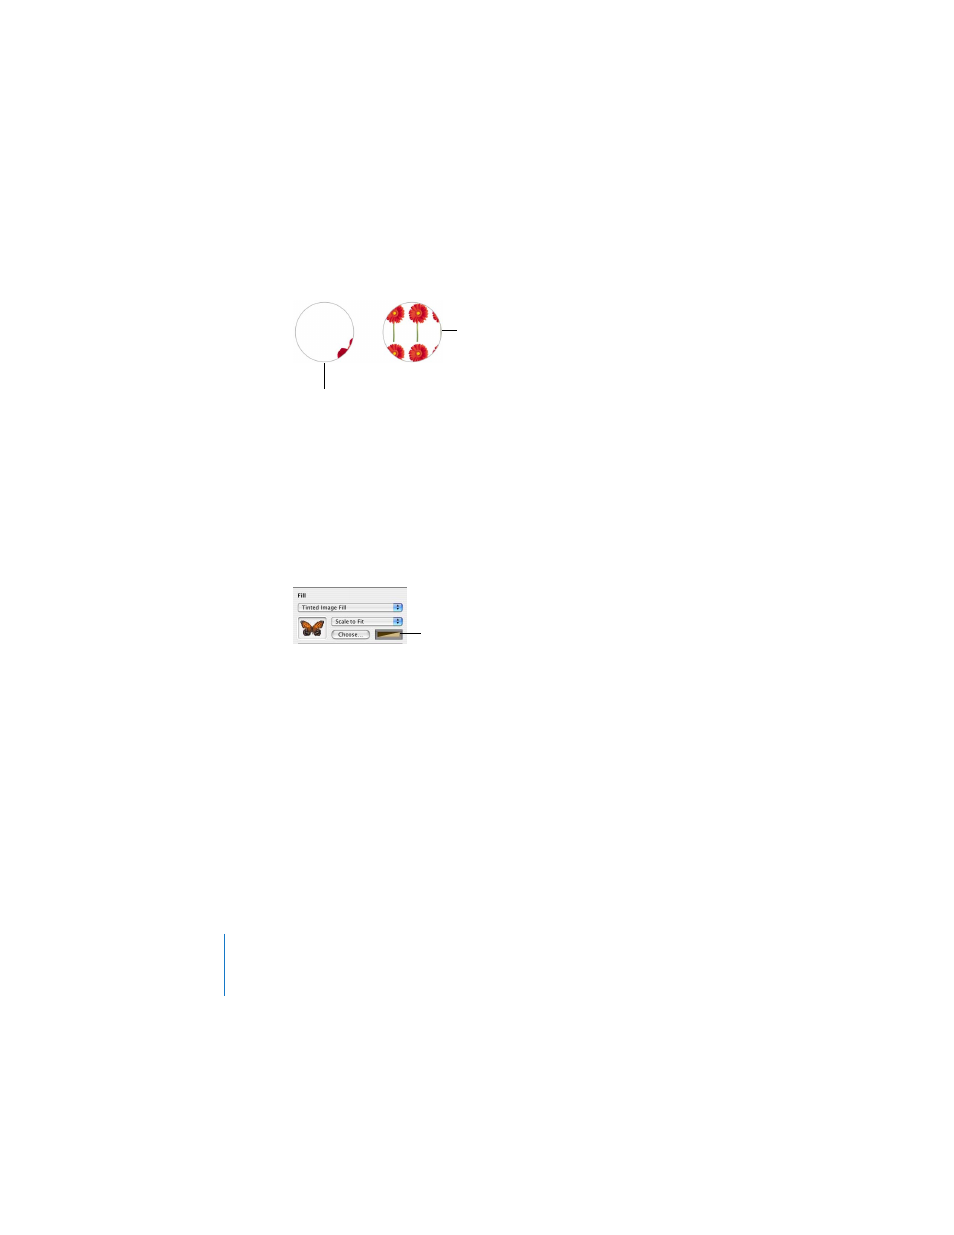
A tinted image fill places a transparent, colored mask over the fill image.
To set a tinted image fill for an object:
1
Select the object in which you want to place an image.
2
In the Graphic Inspector, choose Tinted Image Fill from the Fill pop-up menu, and
select an image.
3
Click the color well next to the Choose button, and then select a tint color in the
Colors window. Drag the Opacity slider in the Colors window to make the tint darker
or lighter. (If you drag the Opacity slider in the Graphic Inspector, it will change the
opacity of both the tint and the image.)
4
Choose the image scale from the pop-up menu, as described above.
5
To change the image, click Choose, select the image, and click Open (or drag the
image file from the Finder or Media Browser to the image well in the Graphic
Inspector).
Changing Line Style
For drawn objects (shapes), chart elements, and table cells, you can choose a style and
color for the object’s border, or you can specify no border. You can also put a border
around imported images. You set border line style and color using the Graphic
Inspector and the Colors window.
To set the line style and color of an object’s border:
1
Select the object that you want to modify.
Tile (small image)
Tile (large image)
Click to select a tint
color for the image.