Cropping (masking) fixed images – Apple Pages User Manual
Page 111
Chapter 6
Working With Graphics and Other Media
111
3
In the Print dialog, choose Output Options from the Copies & Pages pop-up menu.
4
Select the “Save as File” checkbox.
5
Choose PDF from the Format pop-up menu.
6
Click Save As PDF.
7
In the Save dialog, type a name for the PDF file and select a location, then click Save.
Cropping (Masking) Fixed Images
You can crop images without actually changing the image files by masking parts of
them. This allows you to import full images but display only part of them within the
document. You can still reposition and resize images that have been masked.
To crop an image:
1
Import the file you want to mask. The image must be placed as a fixed object (for
more information, see “Fixed Objects Versus Inline Objects” on page 105).
2
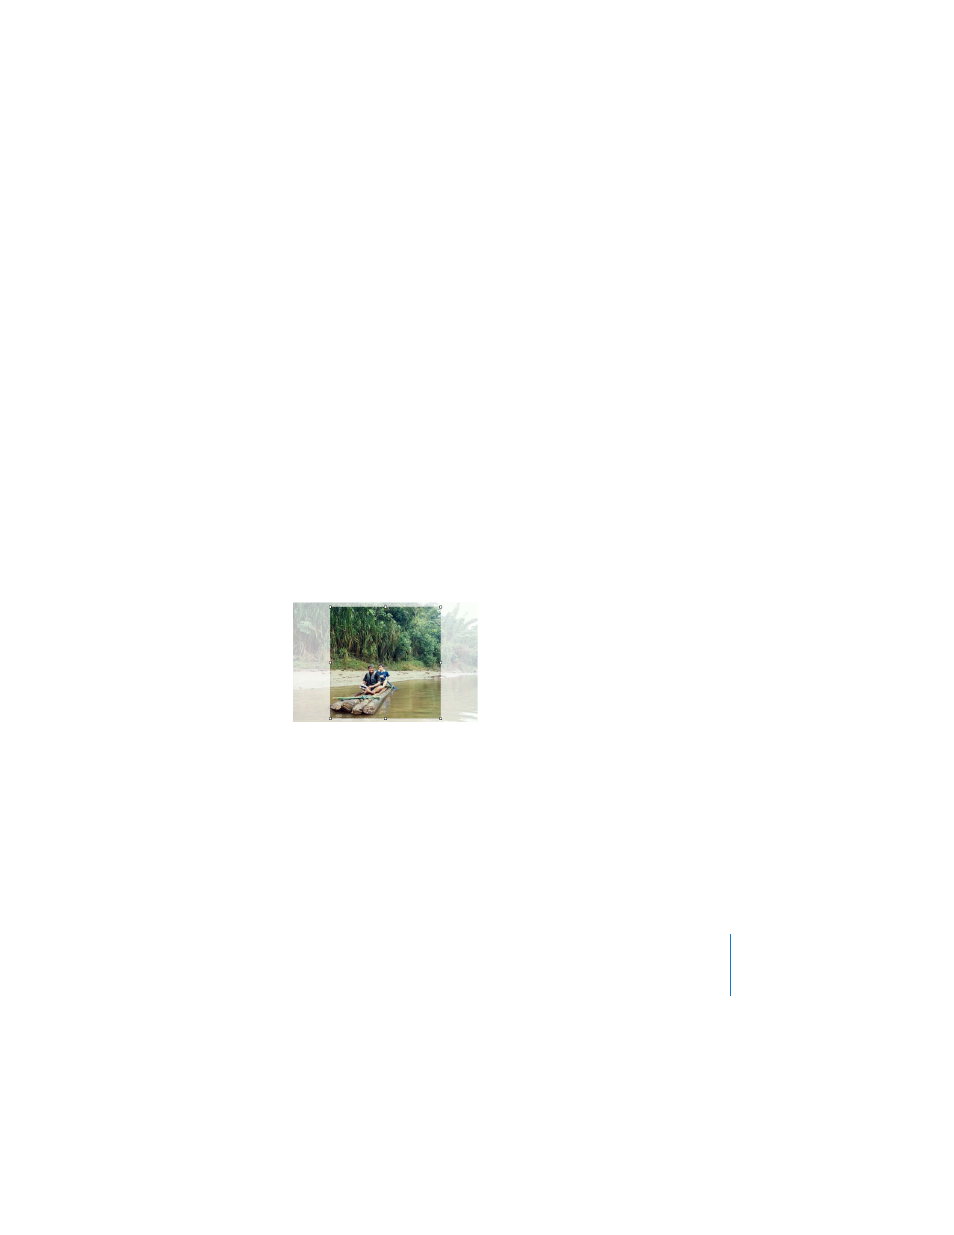
Select the object and choose Format > Mask. A mask appears over the image with a
resizable “window” in the center.
3
Drag the window to center it over the part of the image you want to feature. Drag its
selection handles to resize it.
 To constrain the window’s proportions, hold down the Shift key as you drag the
selection handles.
 To rotate the window, hold down the Command key as you drag the selection
handles. (To learn more about manipulating objects using the selection handles, see