Changing group destinations, Deleting registered group destinations – Konica Minolta bizhub C650 User Manual
Page 159
C650
8-14
Registering/Settings
8
7
Touch [Icon], select the desired icon, and then touch [OK].
The icons are used in the Image Panel function. Image Panel function can be operated when the
optional i-Option LK-101 or i-Option LK-103 is installed.
8
Touch [OK].
–
Touch [Cancel] to discontinue the registration.
9
Touch [Close].
–
Return to procedure 3 to continue registration of group destination.
10
Touch [Close] until it returns to Fax/Scan screen.
Changing Group destinations
Follow the procedure given below to change the Group destination.
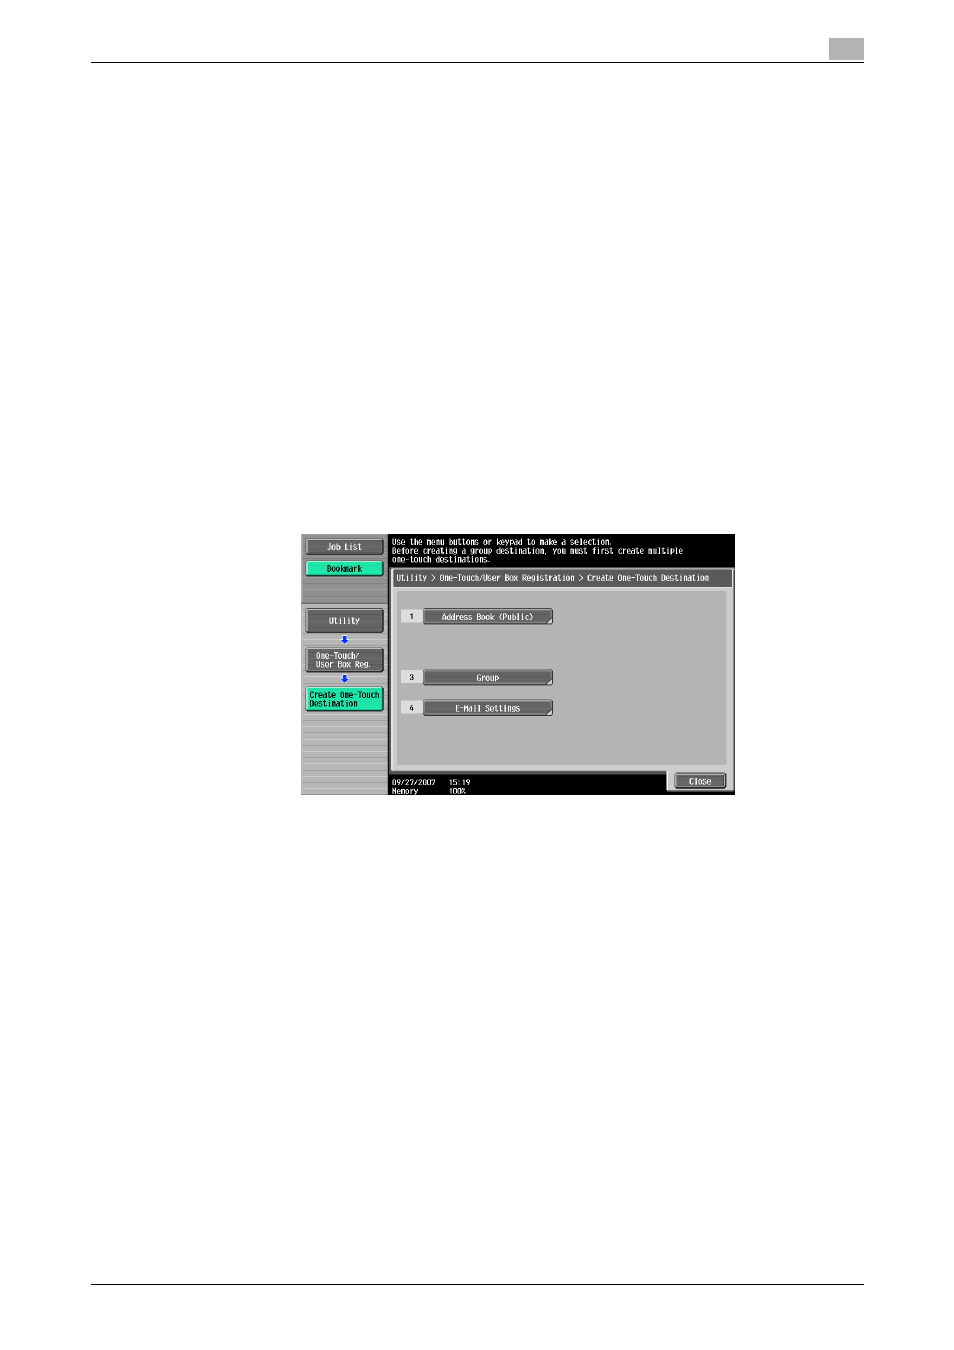
1
Display Create One-Touch Destination screen.
–
For details on display methods of Create One-Touch Destination screen, refer to "Displaying the fax
registration screen" on page 8-2.
2
Touch [Group].
–
In the Utility mode, numbers displayed on buttons can be entered and selected with the keypad. For
[Group], enter [3] with the keypad.
3
Select the group destination to be changed and touch [Edit].
–
Touch
[↓] or [↑] to go to next page or previous page.
–
The destination registered in Group destination can be confirmed by selecting the Group destination
and touching [Check Job Set].
4
Select the item to be changed, change the desired contents on displayed screen and then touch [OK]
or [Close].
–
For details on respective set items, refer to "Registering Group destinations" on page 8-12.
5
Check the changed contents and then touch [OK].
6
Touch [Close].
–
To continue changes return to procedure 3.
–
Touch [Cancel] to discontinue the change.
7
Touch [Close] until it returns to Fax/Scan screen.
Deleting registered Group destinations
Follow the procedure given below to delete Group destinations.