2 [user authentication settings, User authentication settings] -29 – Konica Minolta BIZHUB C360 User Manual
Page 166
bizhub C360/C280/C220
7-29
7.4
[User Authentication/Account Track]
7
7.4.2
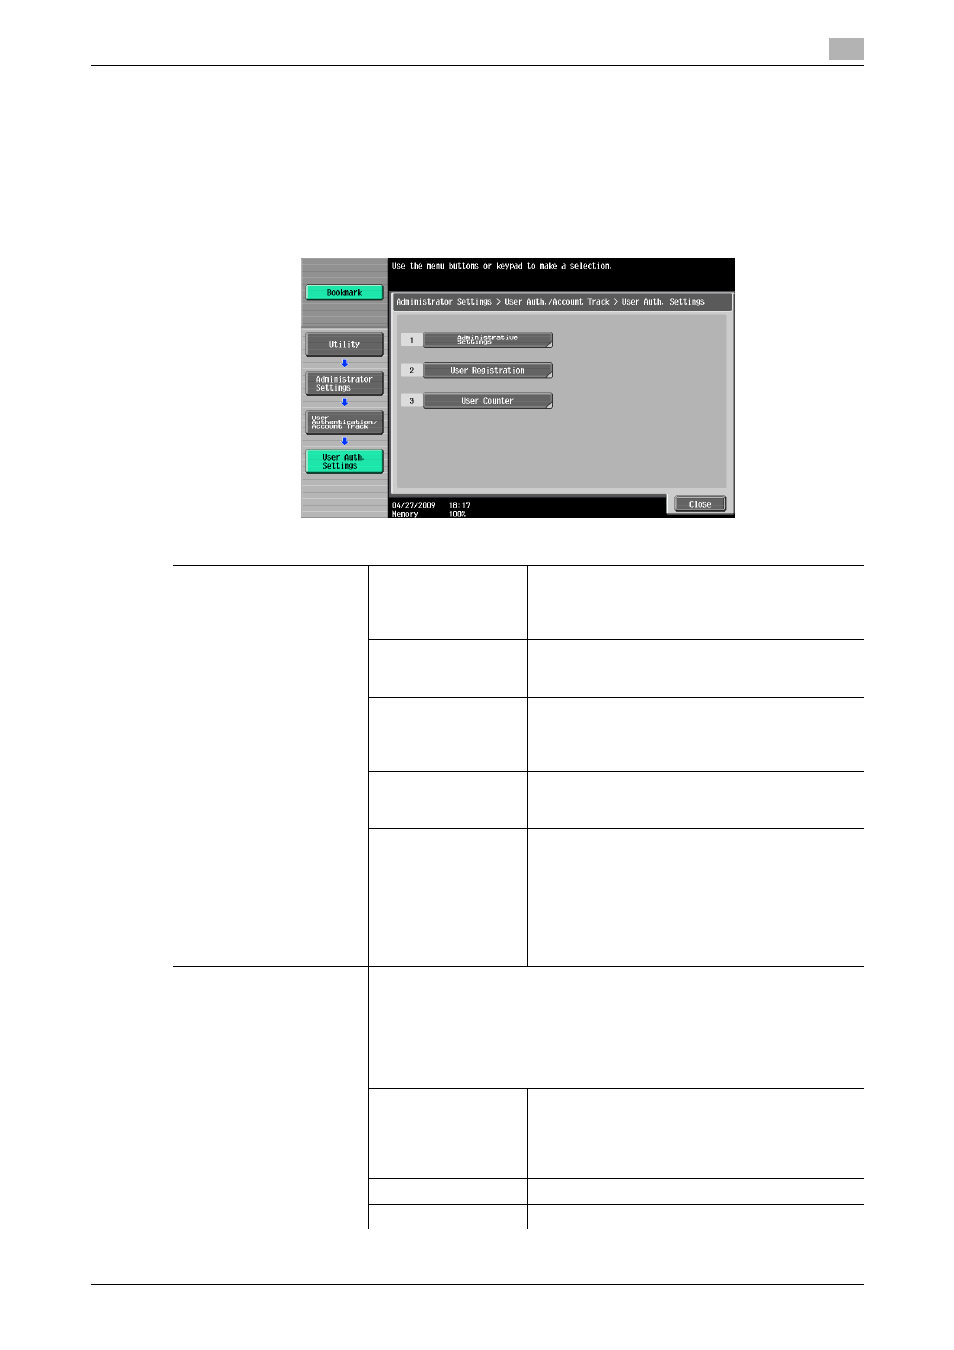
[User Authentication Settings]
Configure the user and user counter management settings.
0
When only user authentication settings are configured, User Authentication Setting are enabled.
0
If only user authentication settings are configured, up to 1000 users can be registered. If user authen-
tication and account track settings are configured, up to 500 users can be registered as initial settings.
%
Press the Utility/Counter key ö [Administrator Settings] ö [User Authentication/Account Track] ö
[User Authentication Settings].
Settings
[Administrative Settings]
[User Name List]
Configure whether to display a key to display a list
of registered users in the Login screen.
This item is enabled when the enhanced security
settings are disabled.
[Default Function
Permission]
Configure an initial value for function permission
to users who are authenticated on the external
server.
[ID & Print Settings]
Configure whether to use the ID & print function.
Also configure whether to immediately print un-
authenticated jobs or public user job or save it in
the ID & Print User Box.
[ID & Print Operation
Settings]
Configure whether to print all jobs using one au-
thentication or print jobs one by one if multiple ID
& print jobs are accumulated.
[Default Operation
Selection]
In the Login screen for user authentication where
ID and print jobs are stored, specify the default
values for the operation to be carried out after au-
thentication has been completed.
When using this machine while the ID & print
function is disabled, the user can select [Access]
to log in to this machine without specifying the
operation to be carried out after authentication.
[User Registration]
Register users who can access this machine. Select a desired registration
number, and then press [Edit]. Settings for registered users can be
changed.
•
Selecting a user and pressing [Delete] delete the selected user.
•
If public user access is allowed, functions available to public users can
be restricted. To change the setting for public users, select the regis-
tration number "000".
[User Name]
Enter a user name.
•
Once a user name is registered, it cannot be
changed.
•
A user name that has already been registered
cannot be used again.
[Password]
Enter the password.
[E-Mail Address]
Enter an E-mail address.