7 [expert adjustment, Expert adjustment] -9 – Konica Minolta BIZHUB C360 User Manual
Page 146
bizhub C360/C280/C220
7-9
7.1
[System Settings]
7
7.1.7
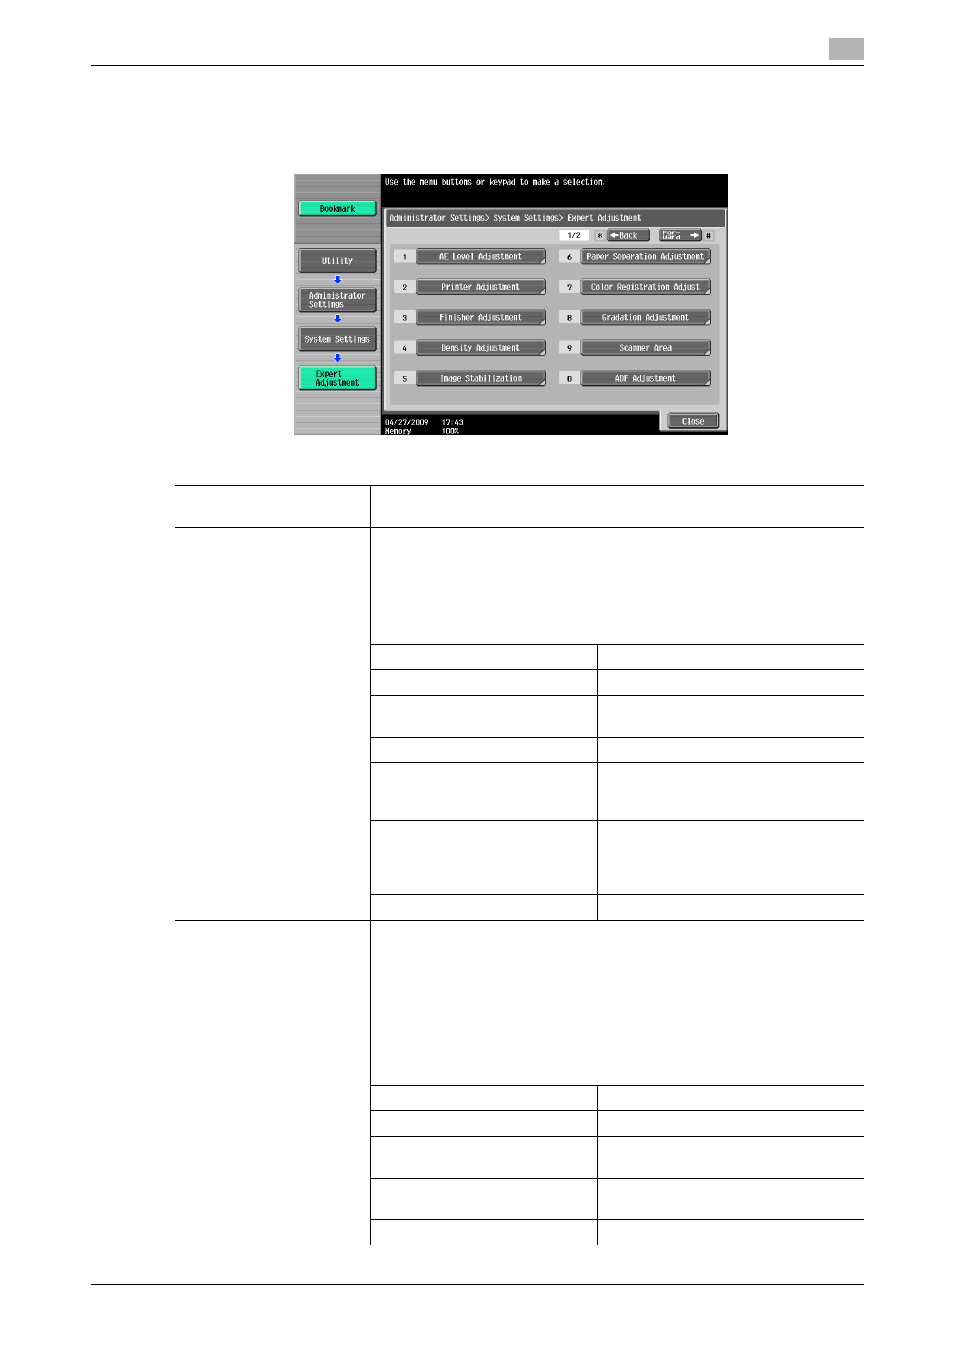
[Expert Adjustment]
Make adjustments so that output quality is increased.
%
Press the Utility/Counter key ö [Administrator Settings] ö [System Settings] ö [Expert Adjustment].
Settings
[AE Level Adjustment]
Configure the initial value for AE (auto exposure). The higher the setting,
the more that the original background is emphasized.
[Printer Adjustment]
Adjust the starting print position and defective print images caused by pa-
per type features.
d
Reference
The starting print position is factory-adjusted. Normally, you
are not required to change the set values.
[Leading Edge Adjustment]
[Centering]
[Leading Edge Adjustment (Du-
plex Side 2)]
[Centering (Duplex 2nd Side)]
[Erase Leading Edge]
Adjust leading edge erase width.
For details on displaying this item,
contact your service representative.
[Vertical Adjustment]
Adjust the feed direction zoom ratio of
paper types.
For details on displaying this item,
contact your service representative.
[Media Adjustment]
[Finisher Adjustment]
Adjust the staple, folding, and punch position of the Finisher FS-527. Oth-
erwise, adjust where to place the paper alignment plate of the Finisher FS-
529.
This item is displayed if the Finisher FS-527 or Finisher FS-529 is in-
stalled.
d
Reference
Create a sample in advance, and then adjust them while
checking the sample.
[Center Staple Position]
[Half-Fold Position]
[Punch Horizontal Position Ad-
justment]
[Punch Regist Loop Size Adjust-
ment]
[Paper Alignment Plate Settings]