Verifying the network configuration, Updating configuration, Releasing devices – HP StorageWorks 1000i Virtual Library System User Manual
Page 38
7.
Enter the gateway in the Gateway box.
8.
The DNS IP Address and Domain Name are not used. Leave the defaults (if any).
9.
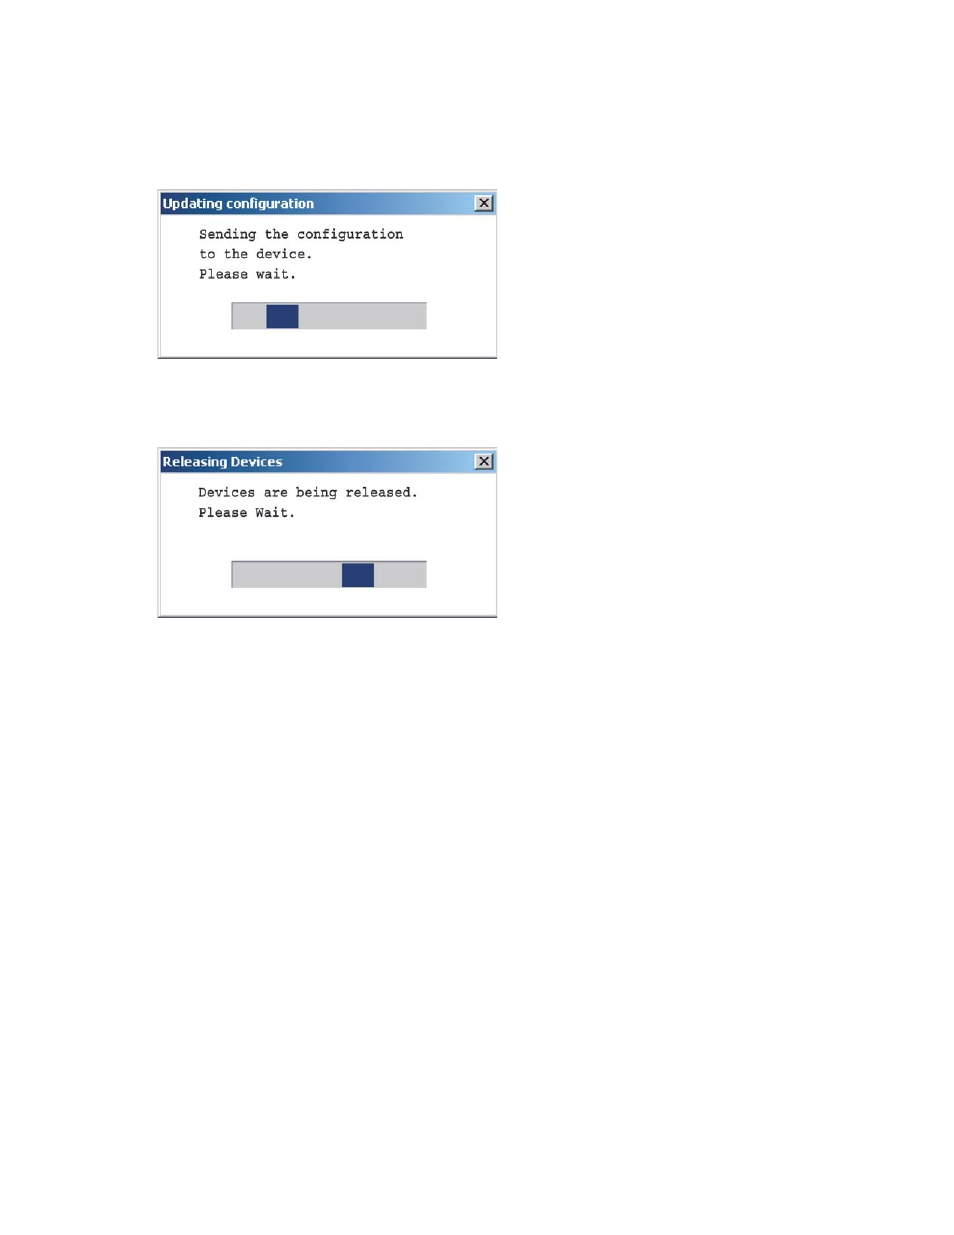
Click Configure to save the network settings to the VLS.
10.
The Updating Configuration window displays (see
). Wait for it to close.
Figure 22 Updating configuration
11.
Click Exit to close the VLS discovery utility. The Releasing Devices window displays (see
).
Figure 23 Releasing devices
Configuring the VLS appliance via the default IP Address
If you can not or do not want to use the VLS discovery tool to configure the appliance, you can directly
connect a PC to the VLS LAN port without the use of a switch. If the server has a Gbit connection you can
do this using a standard Category 5E cable, but if the server has a 10/100Mbit connection then you
need a special LAN cross-over cable (not included). From the directly-connected PC you can then launch
the VLS via the device’s default IP address (10.0.0.1).
•
You may need to configure the PC networking to enable it to connect to the device’s 10.0.0.1
address (for example set the PC’s IP address to 10.0.0.2, set its netmask to 255.255.0.0, disable
proxy settings in its web browser).
•
Then perform the steps in "Verifying the network configuration" to launch the VLS GUI (at address
10.0.0.1) and modify the device network settings via the GUI.
Verifying the network configuration
Initially the VLS Discovery tool must be used, as described in
Configuring the VLS appliance with the VLS
, to make the VLS available on your network. However, once the VLS is available on your
network, subsequent changes to its IP address, gateway address, and subnet mask can be made using
the VLS GUI as shown in the following procedure.
1.
In your Web browser on any PC on the network, enter the applicable IP address to access the
VLS GUI.
2.
Enter the following in case-sensitive format:
38
Configuring the VLS1000i