Installing an sfp+ transceiver – Brocade ICX 7750 Hardware Installation Guide User Manual
Page 34
24
Brocade ICX 7750 Hardware Installation Guide
53-1003084-01
2
Installing an SFP+ transceiver
To manage the Brocade ICX 7750 through its management port, connect the port to the
management Ethernet network using Category 5 or better cable.
Management of the Brocade ICX 7750 is described in detail in the FastIron Ethernet Switch
Administration Guide.
Installing an SFP+ transceiver
To monitor the transceivers, the show media command output shows the transceiver information
for all interfaces on the switch. Brocade provides support for third-party transceivers, but may
require a Brocade transceiver be used for troubleshooting.
Support will not be provided if there is an issue with a third-party transceiver.
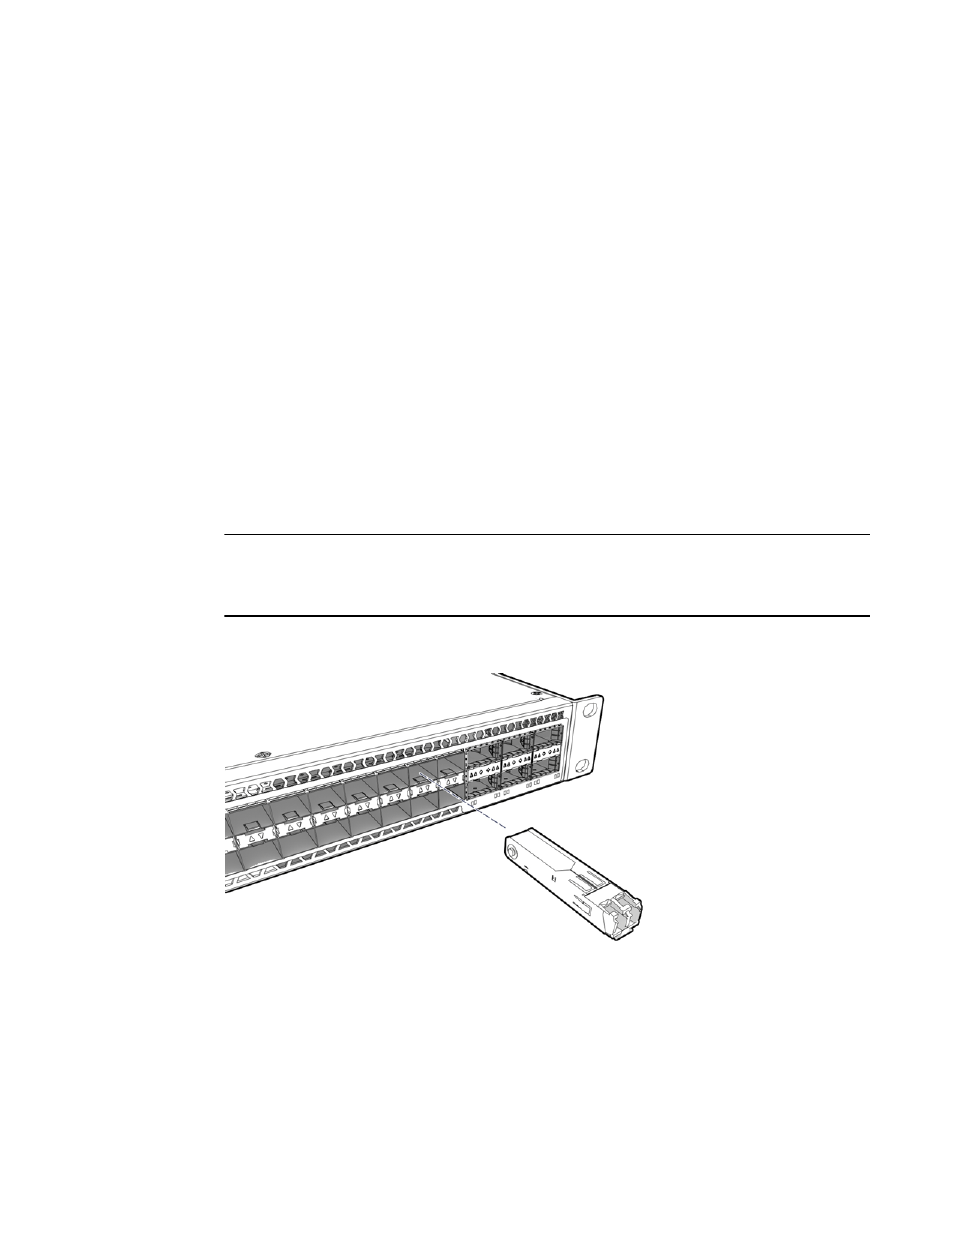
Complete the following steps to install an SFP+ transceiver.
1. Remove any protector plugs from the transceivers and the ports.
2. Making sure that the bail (wire handle) is in the unlocked position, place the SFP+ transceiver
in the correctly oriented position on the port, as shown in
.
3. Slide the SFP+ transceiver into the port until you feel it click into place; then close the bail.
NOTE
Each SFP+ transceiver has a 10-pad gold-plated edge connector on the bottom. The correct position
to insert an SFP+ transceiver in the upper row of ports is with the gold-plated edge down. The correct
position to insert an SFP+ transceiver in the lower row of ports is with the gold-plated edge up.
FIGURE 18
Installing an SFP+ transceiver in a port slot