7 single rs-232 cable, Figure 4-17: single rs-232 cable installation – IEI Integration NANO-CV-D25501_N26001 User Manual
Page 79
NANO-CV-D25501/N26001 EPIC SBC
Page 64
Step 3:
Connect the cable to the SATA disk. Connect the connector on the other end
of the cable to the connector at the back of the SATA drive. See Figure 4-16.
Step 4:
To remove the SATA cable from the SATA connector, press the clip on the
connector at the end of the cable.
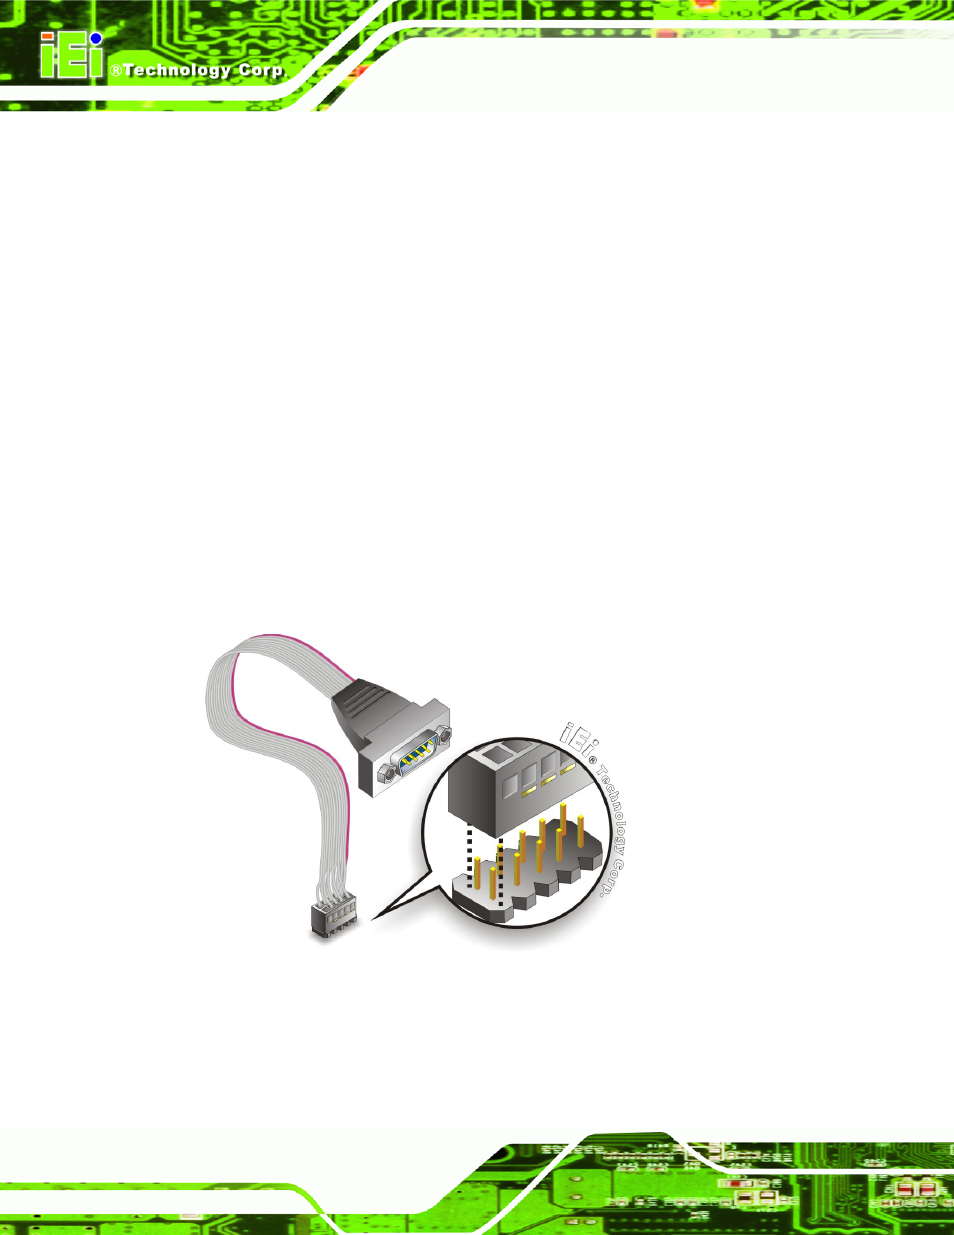
4.6.7 Single RS-232 Cable
The single RS-232 cable consists of one serial port connector attached to a serial
communications cable that is then attached to a D-sub 9 male connector. To install the
single RS-232 cable, please follow the steps below.
Step 1:
Locate the connector. The locations of the RS-232 connectors are shown in
Chapter 3.
Step 2:
Insert the cable connector. Insert the connector into the serial port header.
See Figure 4-17. A key on the front of the cable connector ensures the
connector can only be installed in one direction.
Figure 4-17: Single RS-232 Cable Installation
Step 3:
Secure the bracket. The single RS-232 connector has two retention screws
that must be secured to a chassis or bracket.