Teledyne LeCroy PETracer EML Analyzer and Exerciser User Manual User Manual
Page 47
PETracer EML User Manual
Chapter 3: Installation
LeCroy Corporation
39
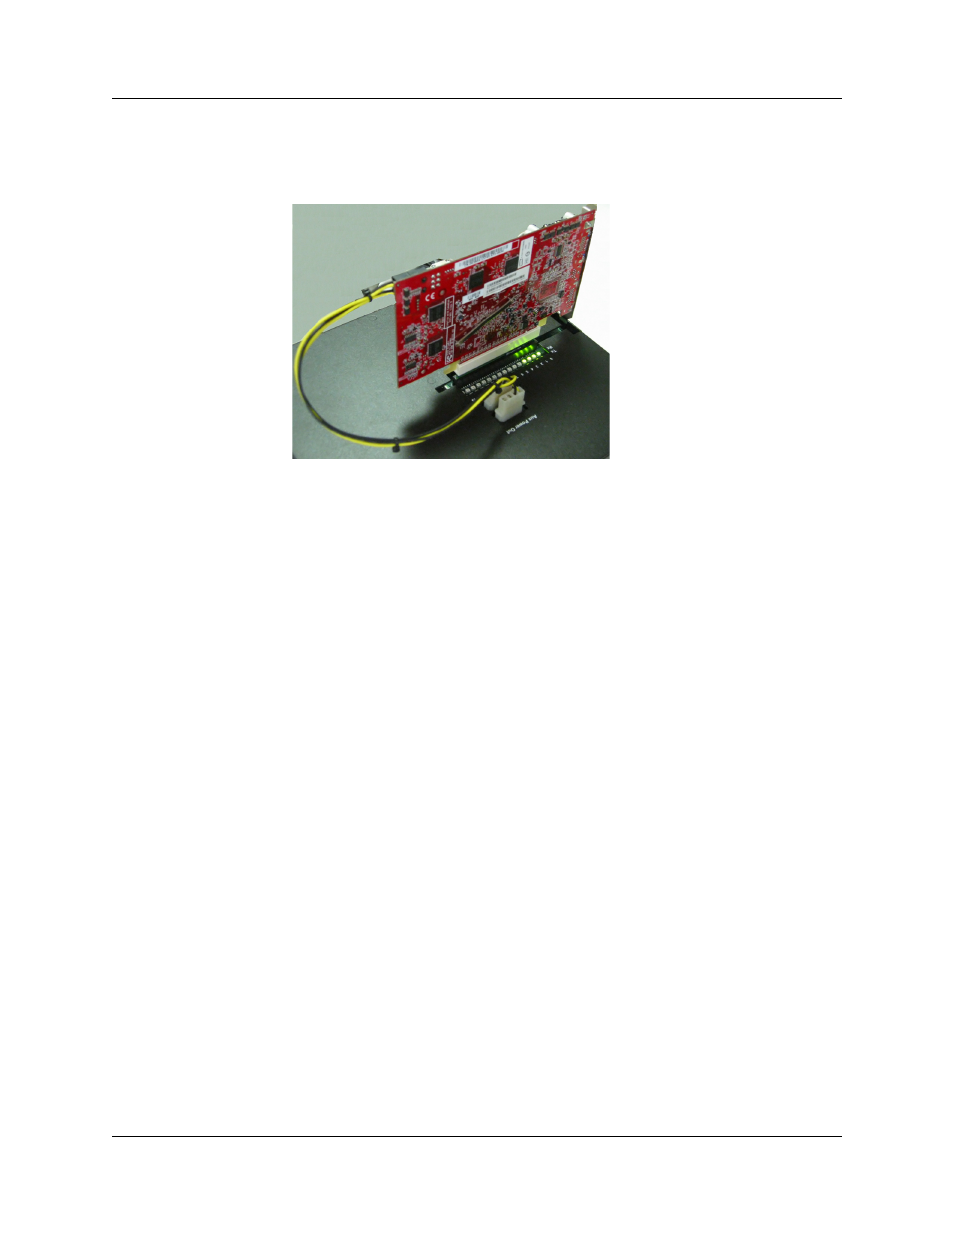
Step 5 If the DUT is 150 watt device such as a graphics card, connect the card’s
external power cables to the two external power ports on top of the
Host Emulator.
Final Steps: Power On the Exerciser and DUT
Step 1 If testing a motherboard, power on the motherboard. If testing a
PCI-Express device such as a graphics card, power on the Host
Emulator.
Step 2 Power on the PETrainer EML Exerciser. The Exerciser's green power
LED lights, and the red status LED turns on for approximately 20
seconds while the Exerciser performs self-diagnostics.
Step 3 Open the PETracer application on the PC host system. The Exerciser is
now ready for traffic generation.
Step 4 Check the Cable Setup LEDs on the front of the Exerciser for indication
of proper connectivity.
Optional: Adding a PETracer EML Analyzer
A PETracer EML can be added to the above setup to allow the recording of traffic
between the PETrainer EML Exerciser and the device under test. A photo of such a setup
is shown in Section 3.7, “Connecting PETrainer EML to the Device Under Test” on page
35. When an Analyzer is added to the setup, a single PC administers both the Exerciser
and Analyzer.
Step 1 Connect a USB cable between the PETracer EML Analyzer and the host
PC for PETrainer EML. The same PC administers both devices.
Step 2 Connect data cables between the two To Analyzer ports on the
PETrainer EML and the Data In ports on the PETracer EML Analyzer.
Step 3 Connect a power cable to the Analyzer.
Step 4 Power on the Analyzer.
Step 5 Start the PETracer application. When both PETracer EML and PETrainer
EML are attached and running, the PETracer application detects both
platforms. At this point, you are ready to set the Recording Options in
PETracer EML and start both traffic generation and trace recording.