Archive, Evolver 202 robotic atomizers - maintenance, Polar and non-polar sol – Ransburg Evolver 202 Solvent A11918-XXX User Manual
Page 34
AA-07-01
2 9
2 9
2 9
2 9
2 9
Evolver 202 Robotic Atomizers - Maintenance
8. Remove fluid nozzle [32] by unscrewing
counter-clockwise. Inspect o-ring [30] and all
passages for build up or damage. Clean or re-
place as necessary. Lubricate and reinsert o-
ring into applicator barrel and reinstall fluid nozzle.
Torque fluid nozzle to 25 lbs•in (2.82 Nm).
>
There should be a small gap between
the fluid nozzle and the applicator barrel
after tightening.
NOTE
NOTE
NOTE
NOTE
NOTE
9. After cleaning, insert the electrode assembly
[31] back into the spray head assembly. Apply
Loctite #222, low strength (purple) thread-locker,
to the threads of the electrode assembly before
reassembly.
10. Screw fluid tip [34] back into place. Hand
tighten first, then with a small wrench, tighten an
additional 30 degrees.
11. Replace air cap locator [33], air cap [35], and
air cap retainer [36].
12. Apply a thin film of petroleum jelly to valve and
needle springs [2] and [3]. Install the springs back
into the end cap and the spray head assembly.
13. Screw end cap [1] back on.
Current Output T
Current Output T
Current Output T
Current Output T
Current Output Test
est
est
est
est
1. Clean and blow out all fluid passages with non-
conductive solvent.
2. Remove from robot and perform bench test
using a spare tubing bundle.
3. Turn the control unit power ON
ON
ON
ON
ON.
4. Activate high voltage and slowly approach the
applicator electrode with ground hook or wire.
5. Monitor the current output on MicroPak. Cur-
rent should rise as ground approaches. At
approximately 85 microamperes, the MicroPak
will shut off. The OVERCURRENT
OVERCURRENT
OVERCURRENT
OVERCURRENT
OVERCURRENT indicator
should come on.
The spray head can be removed from assembly
as shown in Figure 9a for cleaning and service.
>
The fluid tip [34] should always be
installed and tightened before installing
the needle and valve springs.
NOTE
NOTE
NOTE
NOTE
NOTE
>
After tightening the fluid tip, always check
to see if the proper gap (1/16") between the
needle nuts and air valve stem occur, before
installng the needle and valve springs back
into the head.
C A U T I O N
C A U T I O N
C A U T I O N
C A U T I O N
C A U T I O N
!!!!!
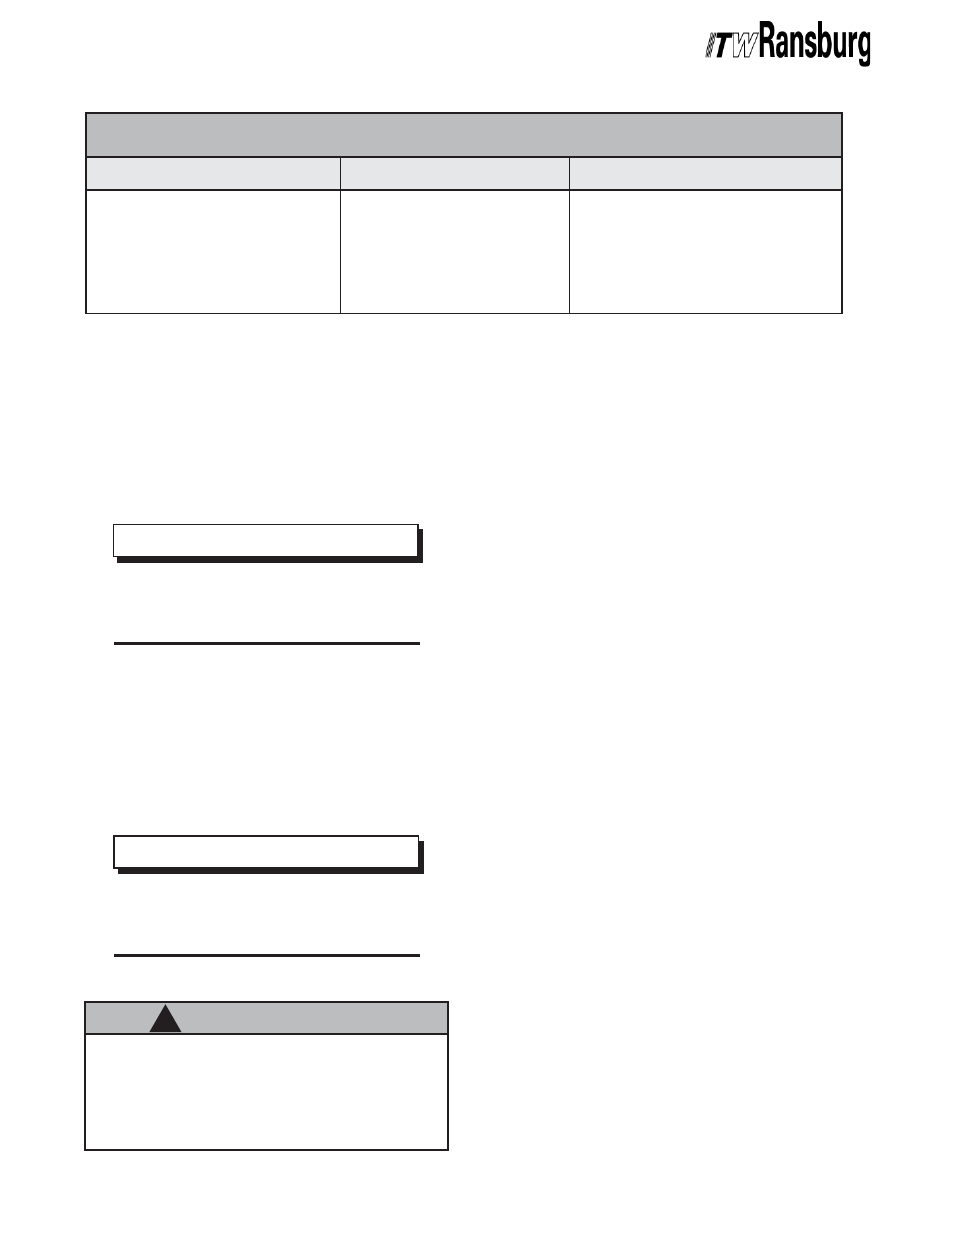
Amyl Acetate
Methyl Amyl Acetate
Toluene
Xylene
High Flash Naptha
Mineral Spirits
Non-Conductive (Non-Polar)
Non-Conductive (Non-Polar)
Non-Conductive (Non-Polar)
Non-Conductive (Non-Polar)
Non-Conductive (Non-Polar)
POLAR AND NON-POLAR SOL
POLAR AND NON-POLAR SOL
POLAR AND NON-POLAR SOL
POLAR AND NON-POLAR SOL
POLAR AND NON-POLAR SOLVENTS
VENTS
VENTS
VENTS
VENTS
Moderately Conductive
Moderately Conductive
Moderately Conductive
Moderately Conductive
Moderately Conductive
Extremely Conductive (Polar)
Extremely Conductive (Polar)
Extremely Conductive (Polar)
Extremely Conductive (Polar)
Extremely Conductive (Polar)
Methyl Isobutyl Ketone
Ethyl Acetate
Methyl Ethyl Ketone
Butyl Carbitol
Methanol
Carbitol
Diacetone
Butyl Alcohol
Acetone
Butyl Cellosolve
ARCHIVE