Power on system components, Adjust the sample probe vertical height – Luminex 100 IS Version 2.3 User Manual
Page 190
Luminex 100 IS User Manual Version 2.3
x
MAP Technology
B - 8
PN 89-00002-00-072 Rev. C
7. Plug the Luminex XYP instrument and the Luminex 100
analyzer into an approved outlet.
Power On System
Components
Power on the system components:
•
The Luminex 100 analyzer (switch on back)
•
The Luminex XYP instrument (switch on back)
•
The PC and monitor (switches on front)
After you power on the PC, Windows automatically starts up and
then the Luminex 100 IS software automatically starts up. Continue
with “Configure the Luminex 100 IS 2.3 Software” section.
Accept the Luminex 100
IS 2.3 Software License
Agreement
The first time the Luminex 100 IS 2.3 software starts up, you have to
acknowledge the License. Read the agreement and click Accept to
continue.
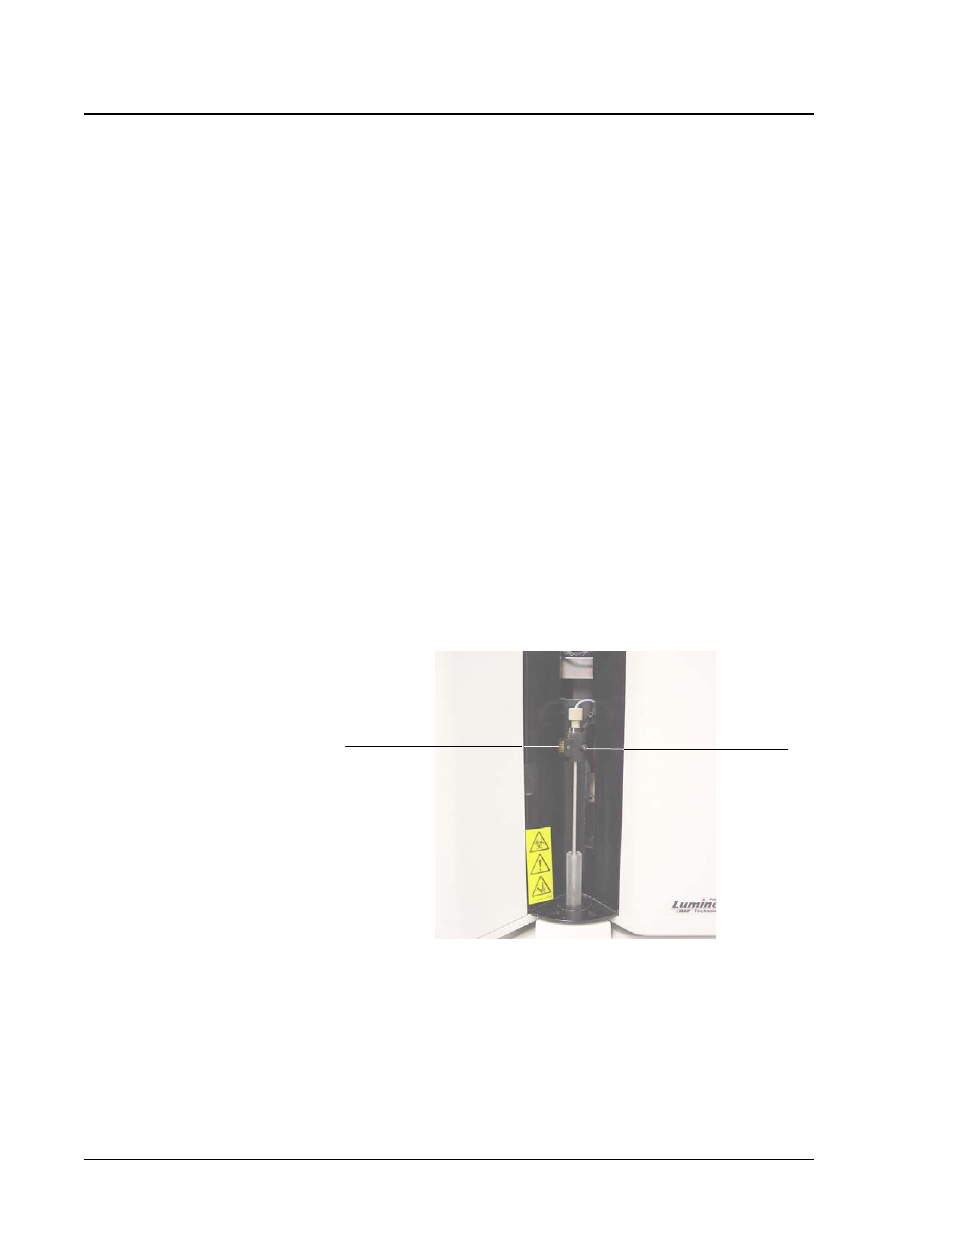
Adjust the Sample Probe
Vertical Height
You must adjust the sample probe vertical height each time you
change the type or style of microtiter plate. Since this is a new
installation, you need to adjust the sample probe for your microtiter
plates. See Figure B-9.
Figure B-9 Thumb Wheel and Height Adjustment Locking Screw
To adjust the sample probe vertical height:
1. Remove the clear plastic shield that covers the sample probe
area.
2
1
1. Thumb Wheel
2. Height Adjustment Locking Screw