Managing ties – Extron Electronics DXP HDMI User Manual
Page 83
DXP DVI, DXP DVI Pro, and DXP HDMI Series • Matrix Software
77
2.
Click and drag an icon from the devices screen to an input or output box on the matrix
window. Repeat for additional devices as desired.
3.
In the
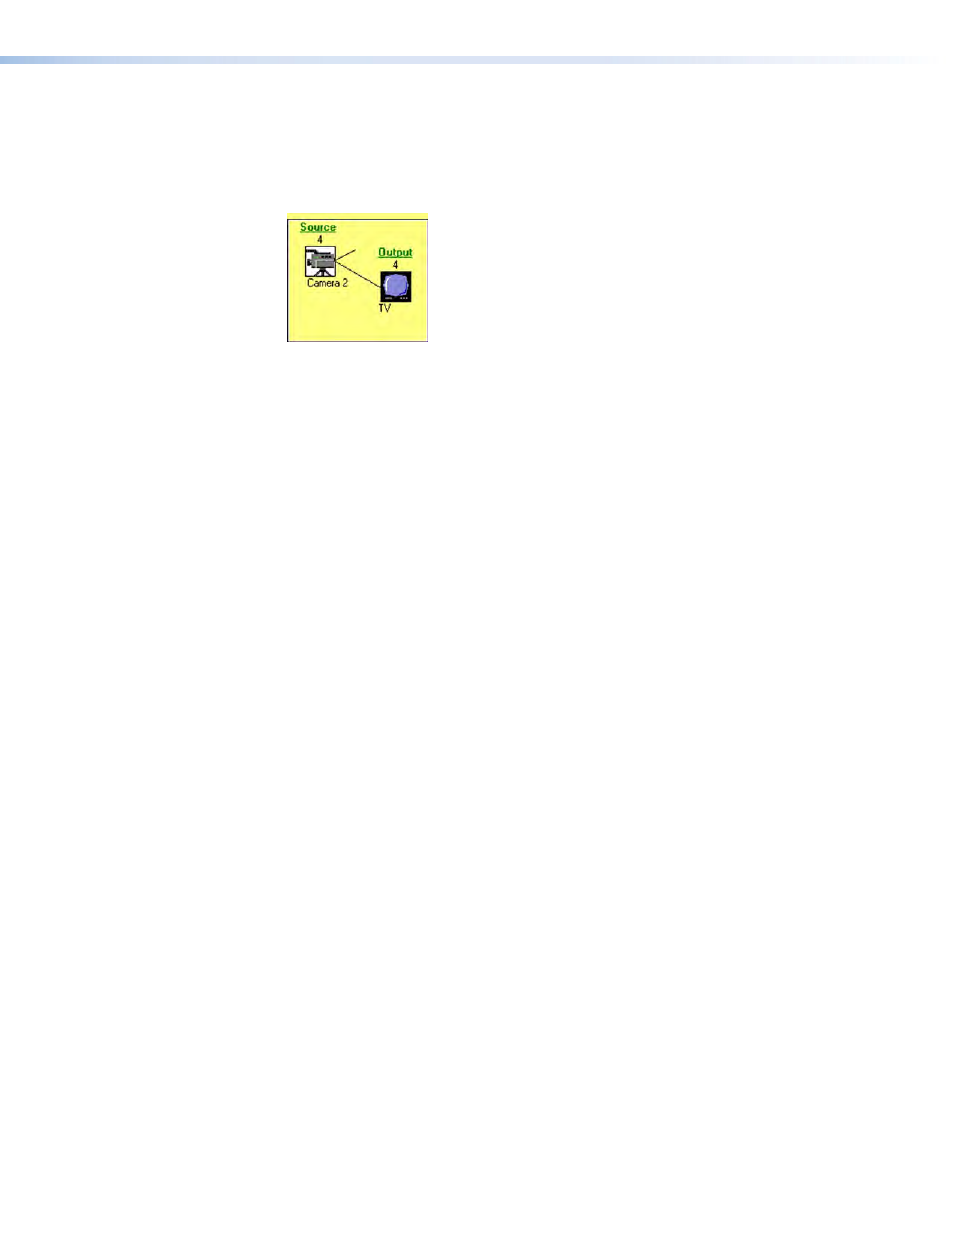
Caption
box, enter a caption for the device, if desired (for example,
Camera
2)
. This caption appears in the descriptive window that pops up when you pass the
cursor over an input or output box containing an icon (see the example below).
Figure 77.
Pop-up Window for Input 4 Containing a Caption
4.
When finished assigning icons, click
OK
to close the device window.
•
To change an icon in an input or output box, drag the new icon to the box. It
replaces the previous one.
•
To remove an icon from a box and leave the box empty, drag an empty
square to the box.
Alternatively, you can display the input and output numbers in the boxes instead of
icons. To do this, select
Numbers
in
I/O
Boxes
from the
Preferences
pull-down
menu.
Managing Ties
On the matrix window, you can create, dissolve, and view input-to-output ties as follows:
•
To create a tie, click and drag from an input box to an output box.
•
If
Hold/Verify
Changes
has been selected from the
Preferences
menu:
A broken line appears, connecting the two boxes. If you want to undo the
preliminary tie at this point, click the
Cancel
button. The broken line disappears.
Click
Take
to confirm the tie. The broken line becomes solid.
•
If
Immediate
Changes
has been selected from the
Preferences
menu:
The tie is made immediately. No
Cancel
button is displayed.
•
To create a quick multiple tie, drag the desired input box to the word “
Out
” above
the output column. The input is tied to all the outputs, replacing any existing ties.
•
To remove a tie, drag the output box to its tied input box or to the trash can.
•
If
Hold/Verify
Changes
has been selected from the
Preferences
menu:
The tie line becomes broken. If you want to reinstate the tie at this point, click
Cancel
. The broken line becomes solid again. Click
Take
. The broken tie line
disappears.
•
If
Immediate
Changes
has been selected from the
Preferences
menu:
The tie is undone immediately.