Setup menu – Bell & Gossett S14367B Technologic Constant Speed Pump Controller User Manual
Page 19
Technologic
®
Constant Speed Pump Controller Installation, Operation and Maintenance Manual
19
Setup Menu
Note: When the Start/Stop Method is anything other
than “Keypad”, the START/STOP key must be
pressed to set the system “Ready” prior to using the
desired method. When the chosen method is active,
the START/STOP key can be pressed to start or stop
the system. If the chosen method is inactive, the
Start/Stop Method must be set back to “Keypad” to
start the system from the keypad.
4.3.5
Scheduling
Path: Status Screens / Setup (3) / System (3) /
Scheduling (5)
←
Scheduling →
Day
ON @ : ##:##AM
Off @: ##:##AM OK? $
Press PREV or NEXT to change the day for which
scheduling will be set up. See Table 22 for a descrip-
tion of the Scheduling variables.
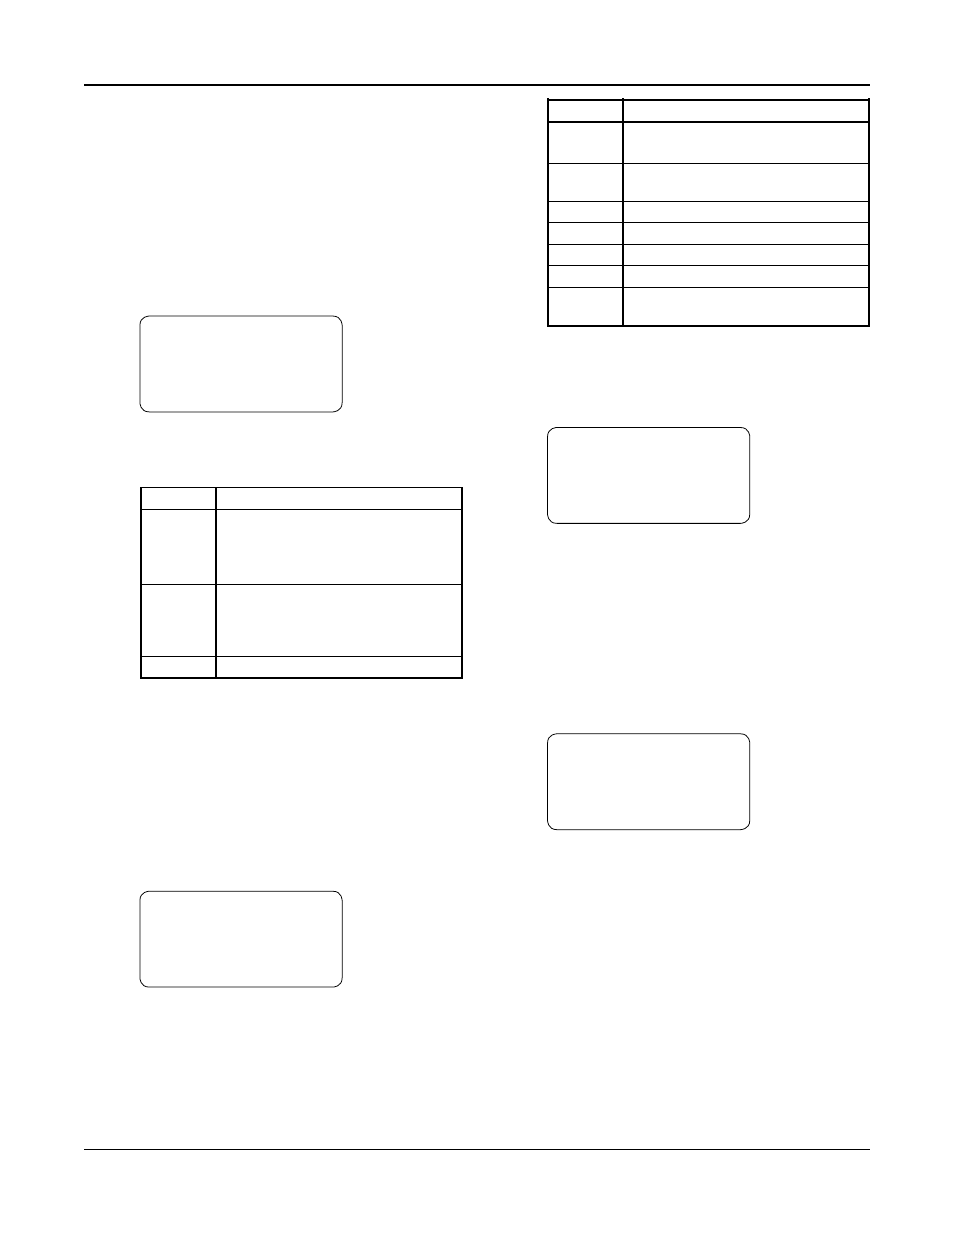
Variable Description
ON @
Time at which the system will
automatically start. Set the hour to
0 to prevent the system from starting
on this day.
Off @
Time at which the system will
automatically stop. Set the hour to
0 to prevent the system from stopping
on this day.
AM/PM Press UP/DOWN to select AM/PM
Table 22: Scheduling Variables
Note: Scheduling must be set up as the start/stop
method, for it to take effect. See section 4.3.4 for
more information on the start/stop method. Also, the
controller must be powered up at the specified times,
or it will remain in the previous state until the next
scheduled on or off time.
4.3.6
Date/Time
Path: Status Screens / Setup (3) / System (3) /
Date/Time (6)
Date: MM/DD/YYYY
Time: HH:MM:SS am/pm
Daylite Saving Tm:$
OK? $ (Y/N)
See Table 23 for a description of the Date/Time Setup
variables.
Variable Description
MM
Current month (two digits), example:
Jan. should be created as 01
DD
Current date (two digits), example:
the 6th should be entered as 06
YYYY
Current year using all 4 digits
HH
Hours
MM
Minutes
am/pm Use UP/DOWN to toggle am/pm
Daylite
Enter “Y” for automatic set back
Saving Tm during daylight saving time.
Table 23: Date/Time Variables
4.3.7
Password
Path: Status Screens / Setup (3) / System (3) /
Password (7)
Enable Password
For Setup Menu?: $
OK? $ (Y/N)
If the above is set to YES, the user will be prompted
to input a password prior to entering the Setup
Menu. Upon exiting the above screen, the user will
be prompted to define and confirm a new password.
The password must be a numeric value (0-99999).
Record it here or somewhere else!
_______________________
4.3.8
Relay Outputs Setup
Path: Status Screens / Setup (3) / System (3) /
Relay Outputs (8)
←
Digital Outputs →
DO# 1 Locked
(Functionality)
OK? $
Press PREV or NEXT to scroll through the digital
outputs. Its output number and functionality will be
displayed. If a digital output is “Unlocked”, it may be
modified. Use UP or DOWN to modify the function-
ality. Multiple outputs may have the same functional-
ity.