Check, Under, Over – Ohaus DEFENDER 7000 BENCH SCALES Manual en User Manual
Page 54: Mmode
EN-52 7000 Series Indicators
*
-1.000
kg
*
0
0.000
kg
○ ● ○
UNDER ACCEPT OVER
○ ○ ●
UNDER ACCEPT OVER
*
1.000
kg
CHECK
Pcs
EDIT LIMITS?
● ● ●
UNDER ACCEPT OVER
CHECK
Pcs
EDIT LIMITS?
● ● ●
UNDER ACCEPT OVER
CHECK
Pcs
ENTER APW
CHECK
Pcs
PLACE 10 OR
UNdEr
Pcs
9
OVEr
Pcs
11
CHECK
Pcs
CLEAR APW?
mMOdE
CHECKWEIGH
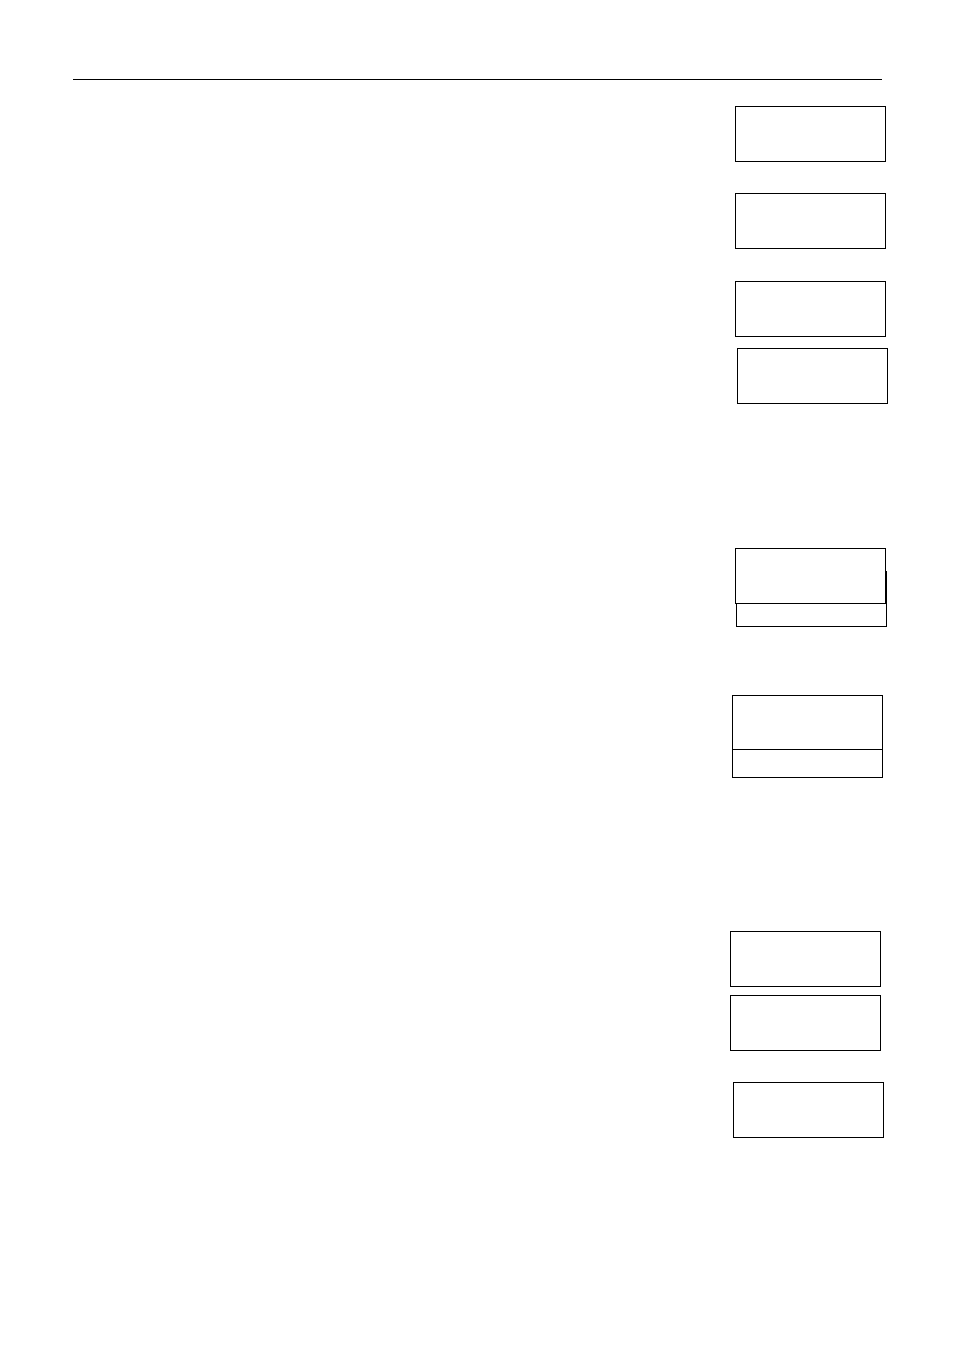
Zero Check Weighing
Zero check weighing is used when comparing subsequent samples to an initial reference sample. In
this case, the UNDER limit must be a negative value and the OVER limit must be a positive value.
Place the reference item on the scale and press TARE. Remove the reference sample and place the
item to be compared on the scale to determine if it is within the ACCEPT range.
If the item is lighter than the UNDER limit, the yellow UNDER LED will light. If the item is within the
target weight range, the green ACCEPT LED will light. If the item is heavier than the OVER limit, the
red OVER LED will light.
4.9.6
PCS (Pieces Counting) Check Weighing
Set Checkweigh to PCS in the Mode Menu. Use this mode to compare the quantity of items to a
target quantity range. The indicator supports positive, negative and zero check counting.
NOTES: If Accumulate is set to OFF in the Setup menu, press the FUNCTION button to briefly display
the UNDER and OVER limits and the APW value.
If Accumulate is set to MANUAL in the Setup menu, press the FUNCTION button to add the
displayed quantity to the accumulation data.
If Accumulate is set to AUTO, the stable quantity is automatically added to the accumulation
data.
Defining the Average Piece Weight (APW) and the Under and Over Limits
If CHECK was set to PCS in the MODE menu:
When the Mode key is released, the display shows: CHECK on the first line,
CLEAR APW? on the second line, and the Pcs icon appears on the right.
Press No
to use the previously defined APW and go to the step for setting UNDER and OVER Limits.
Press Yes
to define a new APW.
NOTE: Check Counting mode shares the same APW with Counting mode.
When establishing a new APW, the display alternates between PLACE 10 OR and ENTER APW.
NOTE: To change the specified number of pieces, press No repeatedly. The display will step through
the alternative sample sizes: PLACE 5, PLACE 10, PLACE 20, PLACE 50 and PLACE 100.
To define the APW using samples, place the samples on the scale, then press FUNCTION.
To define the APW using a numeric value, enter the value using the keypad, then press FUNCTION.
NOTE: The APW is taken in the current weighing unit.
NOTE: The Total PCS will be cleared when the APW is re-established.
After the APW is defined, a screen prompt asks: EDIT LIMITS?
(If Kg appears to the right of CHECK instead of Pcs, change the Checkweigh setting in the MODE menu.)
Press No
to use the previously defined UNDER and OVER Limits.
Press Yes
to set new limits.
When defining the limits, the display shows UNDER and the current setting.
To keep the current UNDER limit, press Yes, or
To change the UNDER limit, use the keypad to enter the desired number and press Yes.
(To change the sign of the limit, press and hold +/– before pressing Yes.)
The display next shows OVER and the current setting.
To keep the current OVER limit, press Yes, or
To change the OVER limit, use the keypad to enter the new limit, and press Yes.
(To change the sign of the limit, press and hold +/– before pressing Yes.)
The indicator is now ready for Check Counting. It will show:
– ACCEPT if the defined number of pieces are placed on the scale, or
– OVER if the number of pieces exceeds the limit, or
– UNDER when the number of pieces is less than the limit.