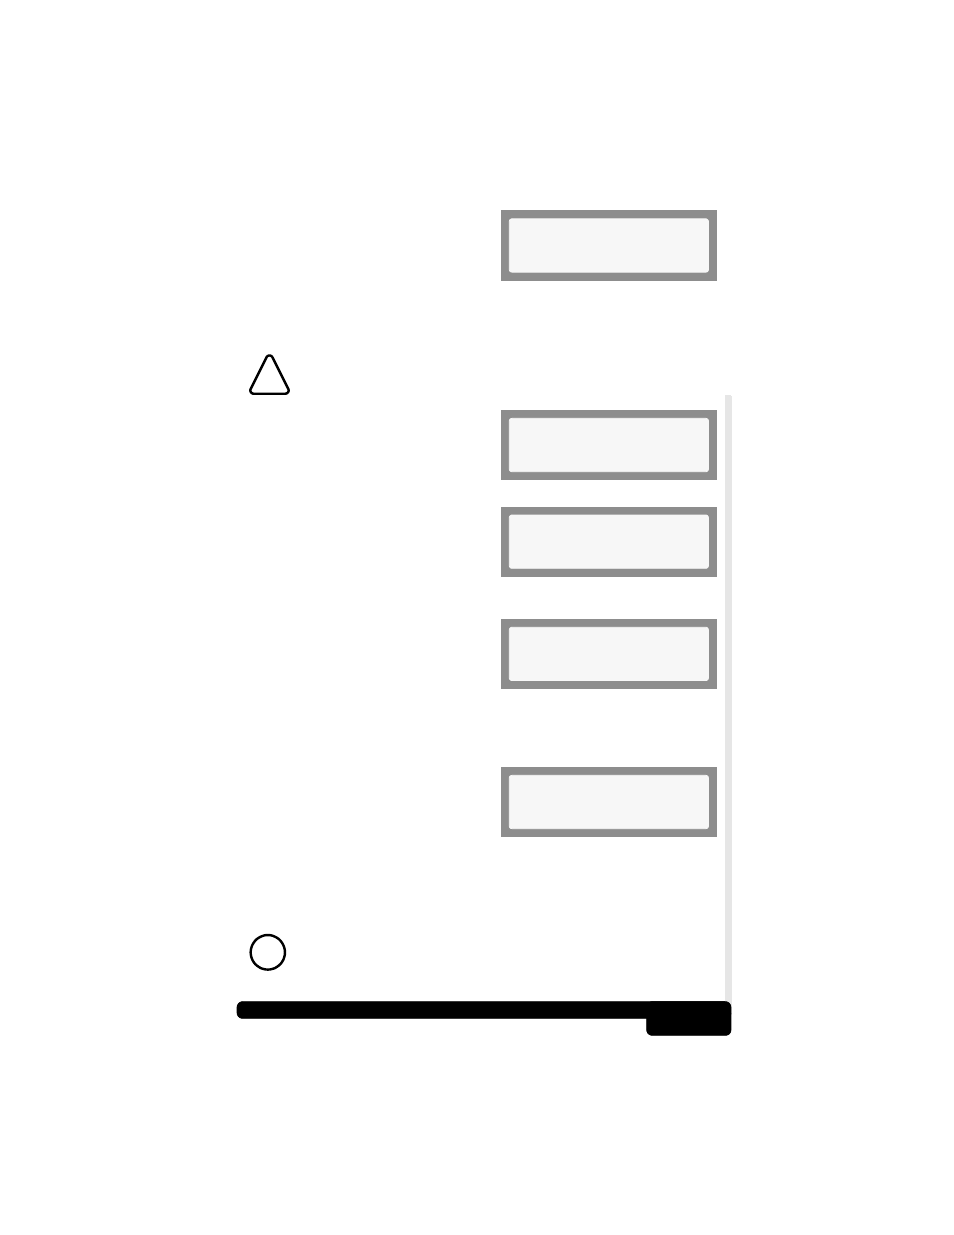
Main menu, No codes, 5 codes – Actron CP9135 OBD II AutoScanner User Manual
Page 17: Erase done
Using the Tool
3-4
To Erase Codes, press the ERASE
key. This function can also be run by
selecting Erase Codes from the Main
Menu.
Before erasing codes, the AutoScanner will perform the Read Codes
function and display the number of DTCs stored in the vehicle’s
computer memory.
CAUTION! Avoid Cooling Fan! It May Turn On During Test.
If no DTCs are present, then press
ENTER to return to the Main Menu.
If DTCs are found, the tool will
display the quantity and ask the user
“Erase Codes? (Y/N).” Pressing the
NO key will display the message
“Cancelled, Erase Not Performed.”
Press the BACK key to return to the Main Menu.
Pressing the YES key will display a
scrolling message on the bottom
line. Turn key On, engine Off and
then press the ENTER key.
The AutoScanner will perform Read Codes again to check the number
of DTCs erased.
If all DTCs have been erased, a
message “No Codes Remain (Press
ENTER)” will scroll across the
bottom line.
If DTCs still exist, the number will be displayed. The faults must be
repaired to remove these DTCs. Press ENTER to return to the Main
Menu.
“Hard”
codes
are
codes
that
can
be
removed
only
by
repairing
the
faults
that
they
cause;
therefore,
hard
codes
will
remain
in
the
computer’s
memory
until
the
condition
is
repaired.
Main Menu
2)Erase Codes
!
No Codes
Press ENTER To Exit
5 Codes
Erase Codes? (Y/N)
Verify Engine Off, Key
ERASE DONE
No Codes Remain (Pres
!