1 display, 2 obd ii (j1962) connector, 3 cleaning – Actron CP9135 OBD II AutoScanner User Manual
Page 10: 2 lists and menus, Linking, Main menu
2-2
Tool Basics
2.1.1 Display
The AutoScanner uses a two-line liquid crystal display (LCD). The top
line contains 10 characters to show function headings, numbers and
user prompts. The bottom line contains 20 characters to display
selections and code information. Messages longer than the lines will
scroll continuously across the display from right to left. Display
contrast adjustment is accessed from the Tool Setup/Test menu.
2.1.2 OBD
II
(J1962)
Connector
Connects the AutoScanner to the vehicle for power and
communication. The AutoScanner will automatically communicate
with the vehicle using a protocol built into the software
After initiating a function, the
AutoScanner will link with the
vehicle.
2.1.3 Cleaning
Do not use solvents such as alcohol to clean the keypad or display.
Use a mild nonabrasive detergent and a soft cotton cloth. Do not soak
the keypad as water might find its way inside the tool.
2.2 Lists and Menus
The AutoScanner is designed for ease
in navigation and operation. All menu
and lists operate the same way. Five
functions are selectable by the user. The
Read Codes and Erase Codes function
can be run using the keys identified in
Section 2.1-Tool Features.
Use the
▲
or
▼
keys to scroll and the
ENTER key to select the function or
item. An arrow icon will be displayed
on the right of the bottom line to
indicate the scrolling direction
available; up (]), down ([) or both ().
To return to previous screens, press the BACK key.
The AutoScanner may ask a question which requires a YES or NO
response from the user. Press either the YES key or NO key when the
condition arises.
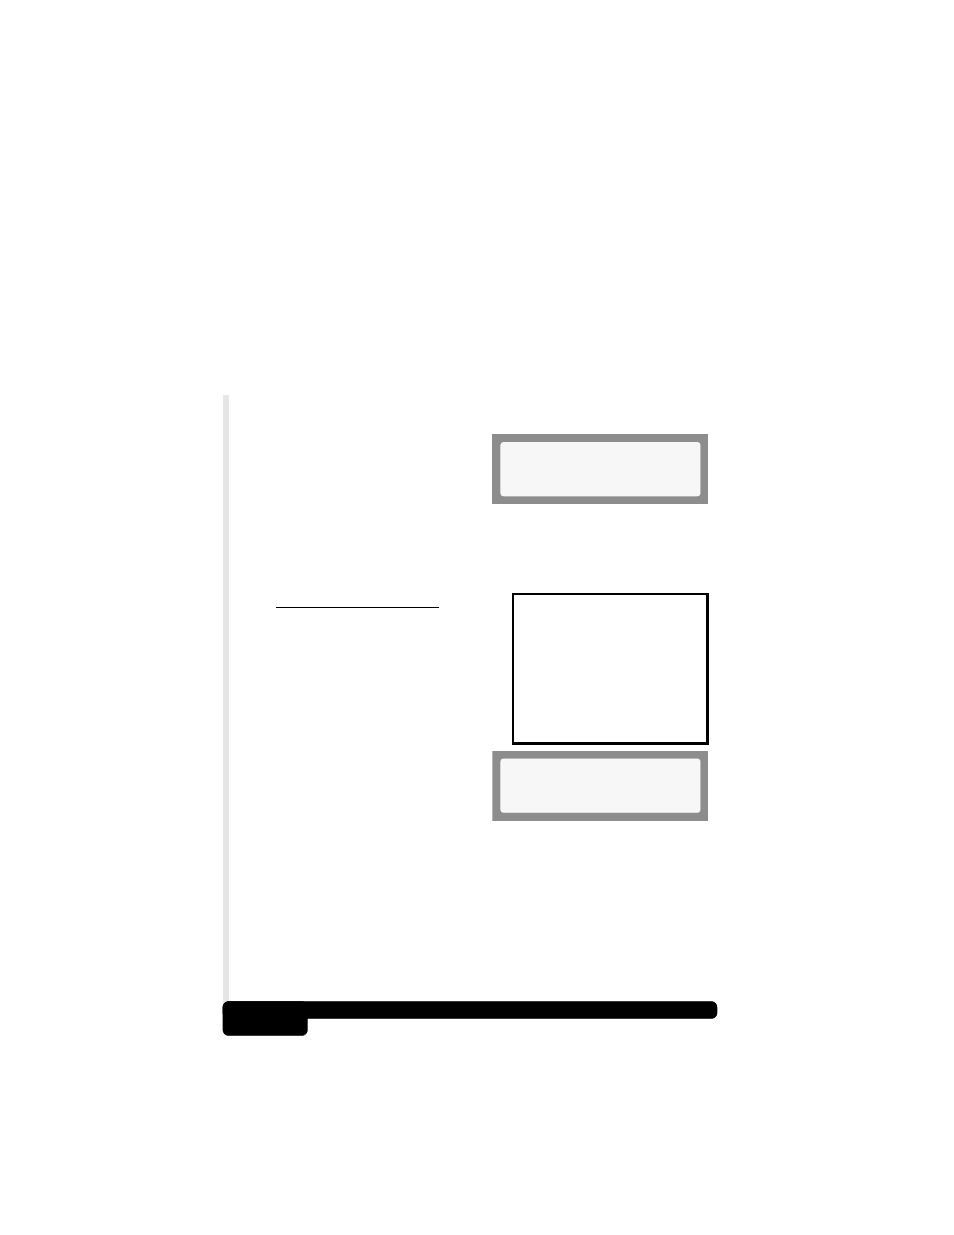
Linking
* Please
Wait
*
1)Read Codes
2)Erase
Codes
3)MIL
Status
4)I/M
Monitors
5)Tool
Setup/Test
1)Adjust
Contrast
2)Display
Test
3)Keypad
Test
4)Memory
Test
5)SW
ID
Main Menu
1)Read Codes
[