3 tcp/ip setup, 1 tcp/ip setup parameters – ZyXEL Communications VES-1000 User Manual
Page 49
VES-1000 Series Ethernet Switch
General, Switch and IP Setup
4-11
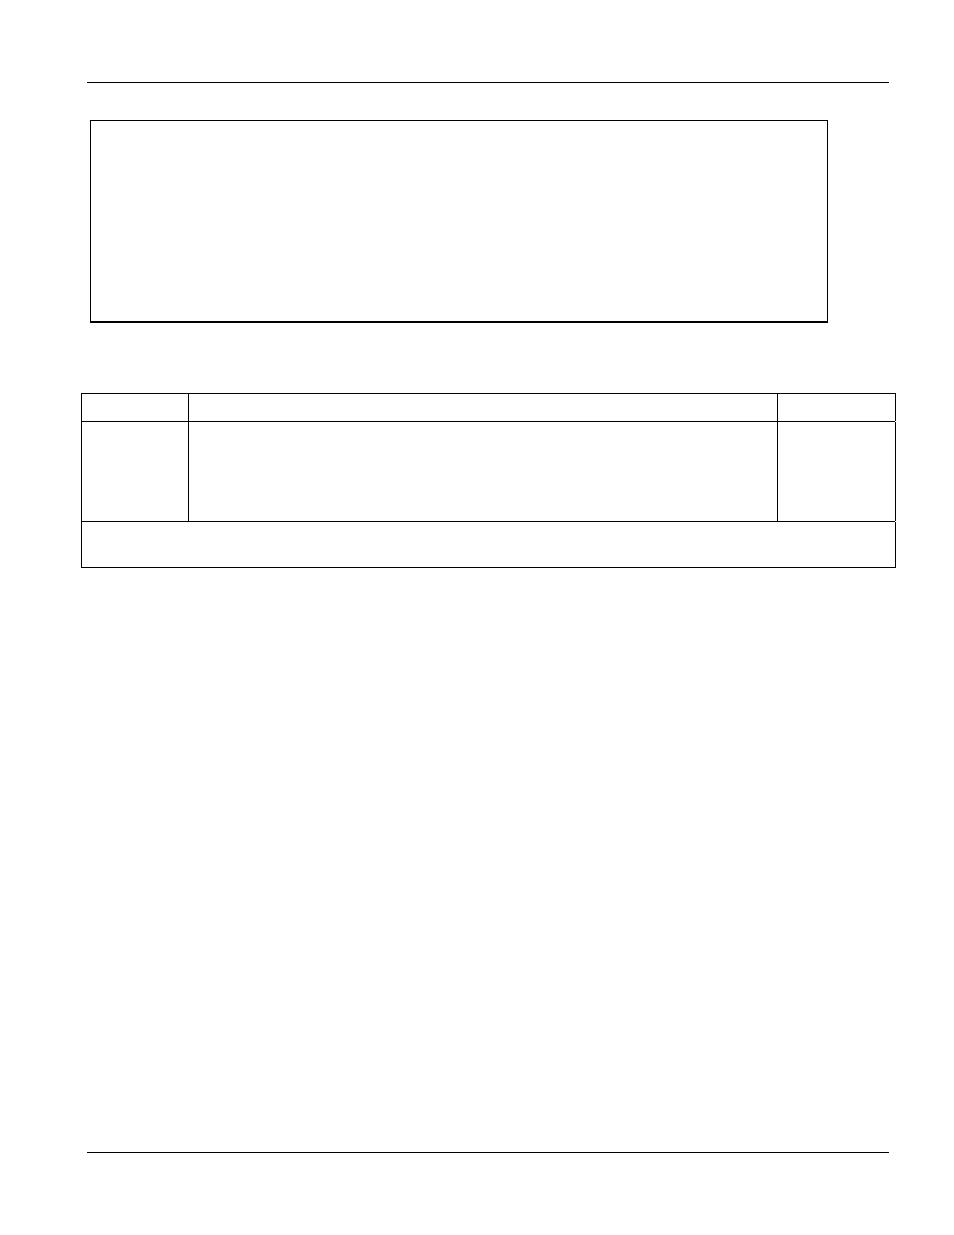
Figure 4-7 Menu 2.3 QoS Setup
Table 4-J Menu 2.3 - QoS Setup
FIELD
DESCRIPTION
EXAMPLE
Priority
Level 7 to 0
Configure the priority-to-queue assignment for each port in this menu by pressing
[SPACE BAR] to select a queue (Queue 0 to Queue 3) and then pressing
[ENTER]. Queue 3 has the highest priority. Traffic assigned to higher index queue
gets through faster while traffic assigned to lower index queue is dropped if the
network is congested.
Queue 3
Once you have completed configuring Menu 2.2 — QoS Setup, press [ENTER] at the message “Press ENTER to
Confirm… “ to save your configuration or press [ESC] at any time to cancel.
4.3 TCP/IP Setup
From the main menu enter 1 to bring up Menu 3 – TCP/IP Setup.
4.3.1
TCP/IP Setup Parameters
The VES-1000 Series switch needs a static IP address for it to be managed over the network. The factory default
IP address is 192.168.1.1. The administrator needs to assign a static IP address for the VES-1000 Series switch.
The subnet mask specifies the network number portion of an IP address. Your VES-1000 Series switch computes
the subnet mask automatically based on the IP address that you entered. You don’t need to change the subnet
mask computed by the VES-1000 Series switch unless you are instructed to do otherwise. The factory default
subnet mask is 255.255.255.0.
The default gateway specifies the IP address of the default gateway (next hop) for outgoing traffic. The default
gateway is specified as 192.168.1.254.
Menu 2.3 - QoS Setup
Priority Queue Assignment
Priority Level 7= Queue 3
Priority Level 6= Queue 3
Priority Level 5= Queue 2
Priority Level 4= Queue 2
Priority Level 3= Queue 1
Priority Level 2= Queue 0
Priority Level 1= Queue 0
Priority Level 0= Queue 1
Press ENTER to Confirm or ESC to Cancel: