3 wall-mounting installation, Figure 8 mounting the switch on a rack – ZyXEL Communications ZyXEL Dimension ES-2108 User Manual
Page 41
ES-2108 Series User’s Guide
Chapter 2 Hardware Installation and Connection
41
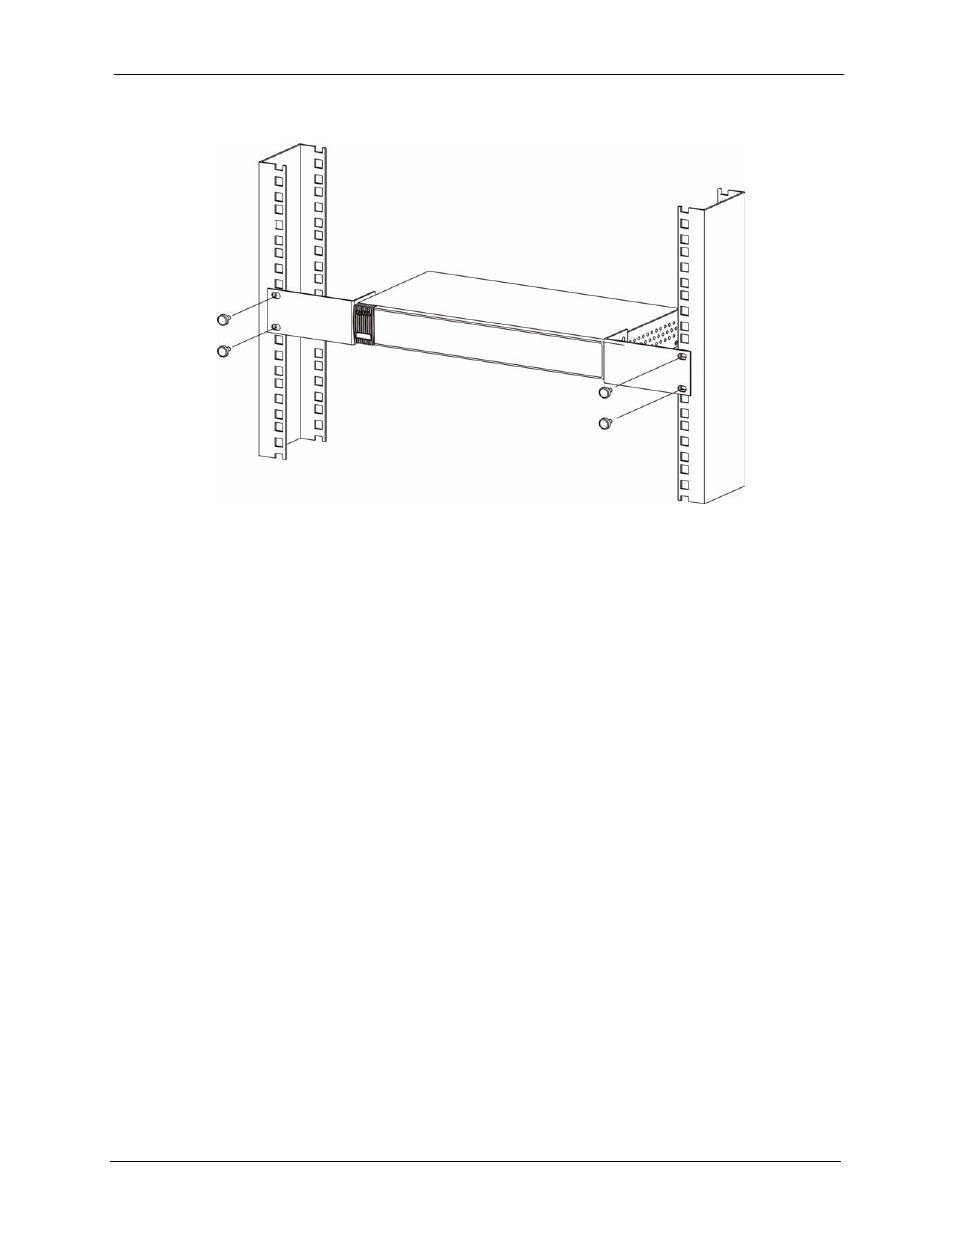
Figure 8 Mounting the Switch on a Rack
2 Using a #2 Philips screwdriver, install the M5 flat head screws through the mounting
bracket holes into the rack.
3 Repeat steps
and
to attach the second mounting bracket on the other side of the rack.
2.3 Wall-mounting Installation
Do the following to hang your switch on a wall.
Note: See the product specifications appendix for the size of screws (not included) to
use and how far apart to place them.
1 Locate a high position on wall that is free of obstructions. Use a sturdy wall.
2 Drill two holes for the screws (not included). Make sure the distance between the centers
of the holes matches what is listed in the product specifications appendix.
Note: Be careful to avoid damaging pipes or cables located inside the wall when
drilling holes for the screws.
3 Do not screw the screws all the way into the wall. Leave a small gap of about 0.5 cm
between the heads of the screws and the wall.
4 Make sure the screws are snugly fastened to the wall. They need to hold the weight of the
switch with the connection cables.
5 Align the holes on the back of the switch with the screws on the wall. Hang the switch on
the screws.