Toshiba E-STUDIO 351C User Manual
Page 74
2. Installing Client Software
74
Printing Guide — Installing Client Software for Windows
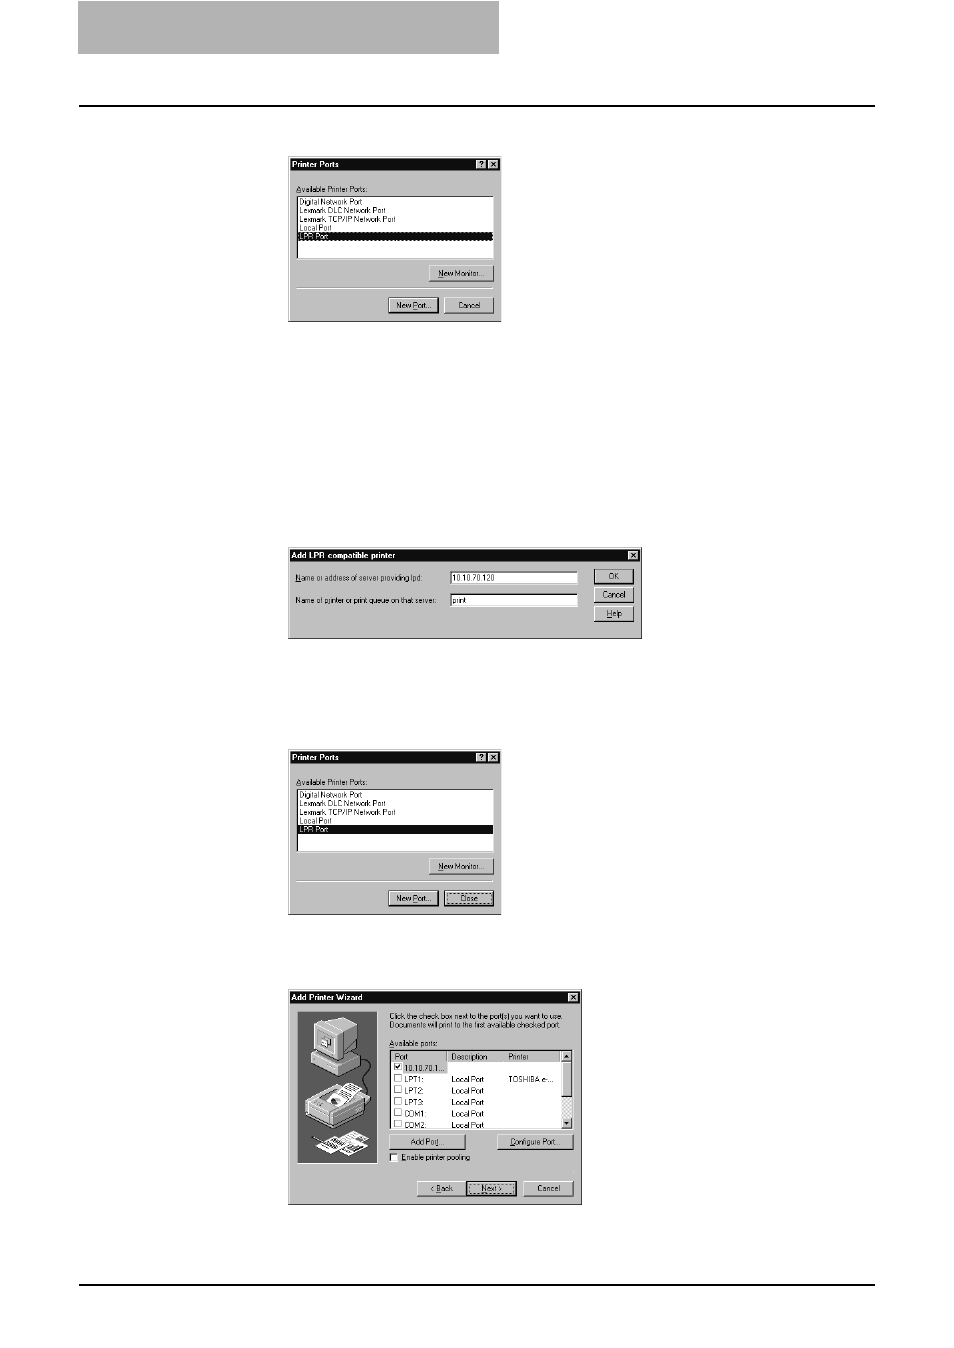
5.
Select “LPR Port” and click [New Port...].
•
The Add LPR compatible printer dialog box appears.
NOTE:
If “LPR Port” is not listed, make sure the TCP/IP Printing Service is installed on your
Windows NT 4.0. “LPR Port” is not listed unless the TCP/IP Printing Service is
installed.
6.
Enter the IP address of this equipment in the “Name or
address of server providing lpd” field and “Print” in the
“Name of printer or print queue on that server” field, and
click [OK].
•
When your network uses DNS or WINS server, enter the printer name of this
equipment provided from DNS or WINS in the “Name or address of server
providing lpd” field.
7.
Click [Close] to close the Printer Ports dialog box.
8.
Make sure that the created LPR Port is selected in the “Avail-
able ports” list and click [Next].