2 − setting up and basic knowledge, Setting up the 2488mkii, 2 − setting up and basic – Tascam 2488neo User Manual
Page 12: Knowledge, Setting up the 2488neo
12
TASCAM 2488neo
2 − Setting up and basic knowledge
2 − Setting up and basic knowledge
Setting up the 2488neo
First, find a flat level surface for the 2488neo which is
stable and cannot be jogged or jolted easily.
This should be a hard surface. Do not put the 2488neo on
a carpet or furnishings, as this will block the airflow and
possibly cause overheating.
You should avoid moving the 2488neo while it is switched
on.
Especially, you should never move it while the HD indica-
tor by the display is lit or flashing.
Leave a little space at the back of the 2488neo to plug and
unplug microphones, etc.
Before switching on the 2488neo, you should connect the
monitoring system (this term refers to the amplifier and
speakers and headphones that you will use to listen to
your recordings).
T I P
When you are recording electric guitars and basses,
etc., you can listen through speakers. When you are
recording using a microphone, this may cause acoustic
feedback, so you should use headphones at this time.
Most sound professionals recommend that you do
not use headphones for monitoring all the time,
even though they are very convenient and useful in
some circumstances.
Using the included power cord, connect this unit to a power
outlet, ensuring that it is the correct voltage for the unit.
Connect the
MONITOR OUT
jacks on the rear panel to
your amplifier’s AUX inputs (or any inputs except those
designed for a record turntable). You will probably need a
pair of 1/4
”-to-RCA cables for this.
NOTE
The 2488neo outputs balanced signals from the moni-
tor outputs. If you have an amplifier with balanced
inputs, use balanced cables rather than unbalanced
cables here.
Plug a standard pair of headphones into the 1/4
”
PHONES
jack at the front left of the 2488neo.
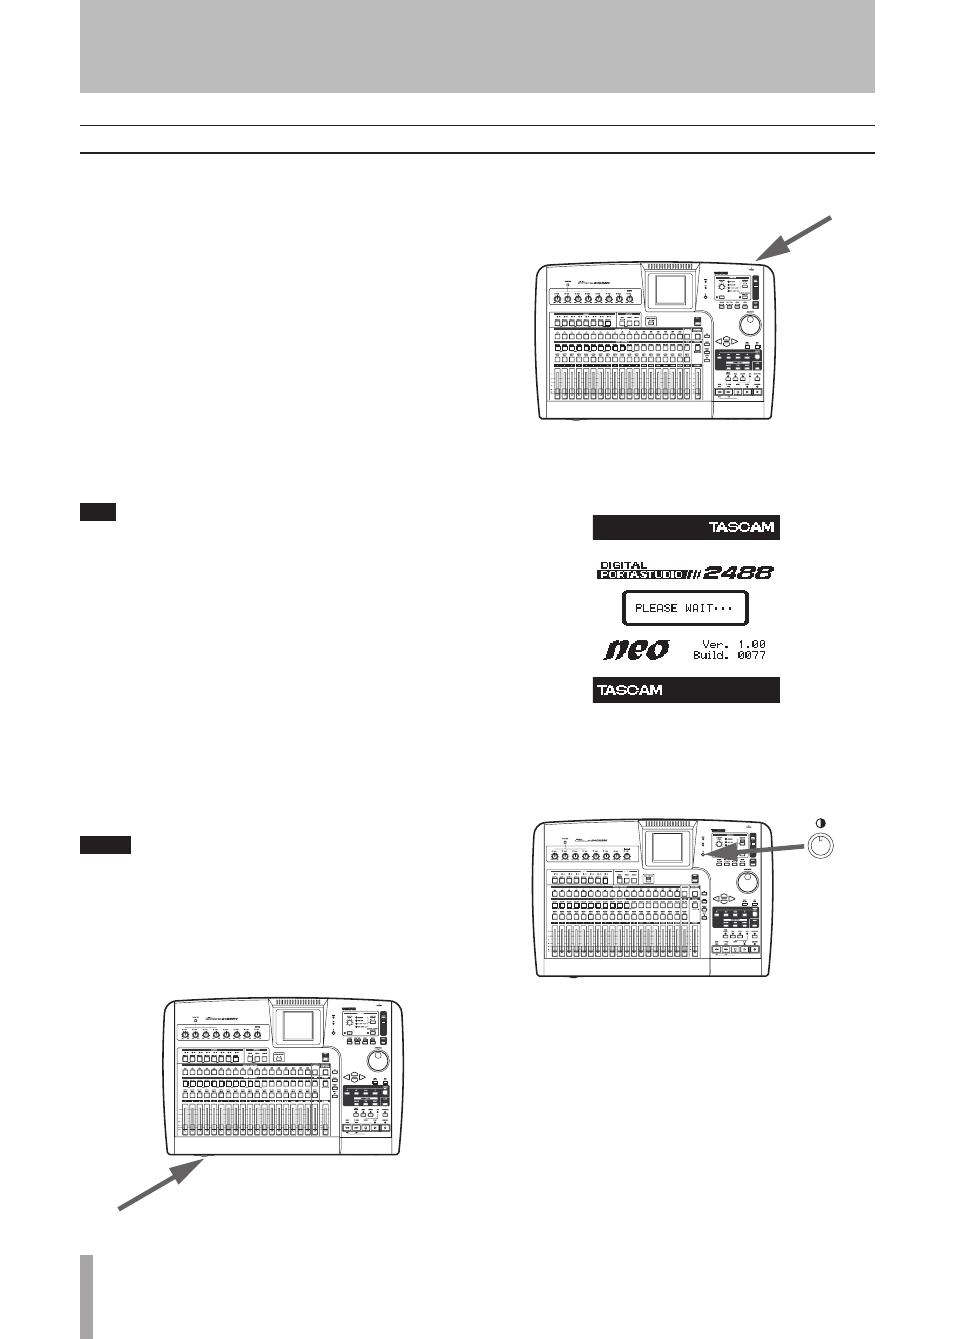
Plug in and turn on the 2488neo. The power switch is on
the rear, by the power cord.
The display shows the following startup screen and the
HD
(hard disk) indicator light blinks.
After about 20 seconds, the 2488neo will be ready and the
HD
(hard disk) indicator stops flashing. Adjust the display
so that it is comfortable for you to read, using the contrast
control.