Toshiba TLPX10E User Manual
Page 69
69
Adjustments &
Settings
LASER
4-b
4-b
4-b
4-b
4-b
4-b
MENU
ON/STANDBY
INPUT
L-CLICK
R-CLICK
ENTER
KEYSTONE
AUTO
SET
EXIT
PIP
FREEZE
MUTE
CALL
RESIZE
VOLUME/ADJUST
TEMP LAMP
ON
BUSY
FAN
KEYSTONE
SET
AUTO
AUTO
EXIT
ENTER
MENU
INPUT
VOL/ADJ.
TEMP
LAMP
ON
BUSY
FAN
ON/ST
ANDBY
KEYST
ONE
SET
AUTO
AUTO
EXIT
ENTER
MENU
INPUT
VOL/ADJ
.
ON/STANDBY
Digital RGB
Default setting
Standard
Rear
Ceiling
Rear ceiling
Projection mode
MENU
EXIT
QUICK
Select
Back
Digital RGB
Default setting
Standard
Rear
Ceiling
Rear ceiling
Projection mode
MENU
EXIT
QUICK
Select
Back
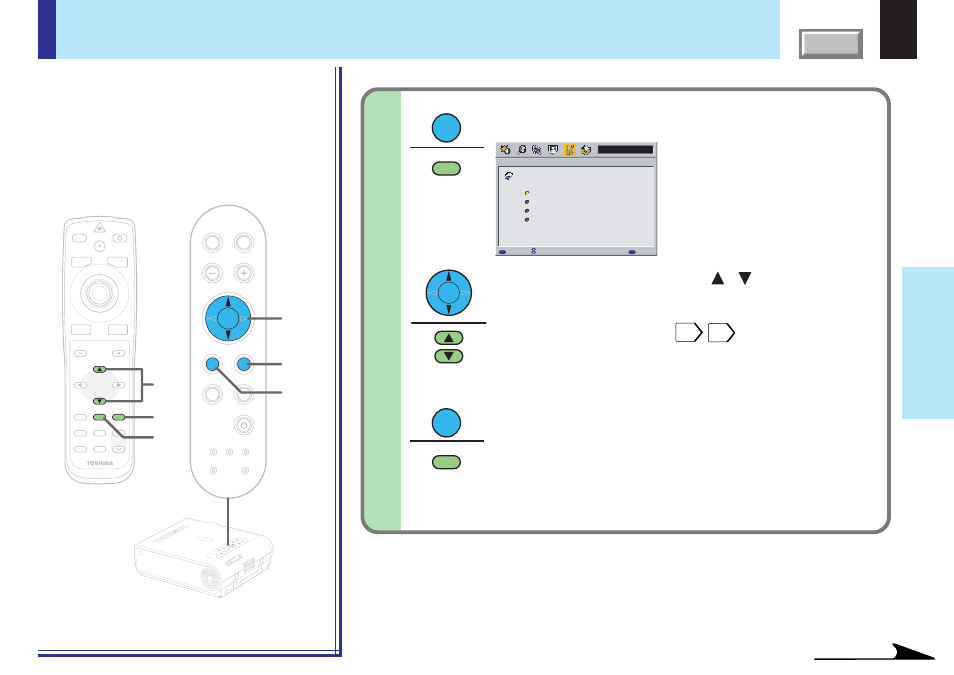
FULL MENU settings – Default setting (continued)
When selecting “Projection mode” in step 3.
Press ENTER.
The sub-menu of “Projection mode” appears.
Use the selection buttons ( / ) to select the
projection mode.
Select the installation position of the projector. Confirm by
referring to the chart on page
.
Standard:
Floor-mounted front projection
Rear:
Floor-mounted rear projection
Ceiling:
Ceiling-mounted front projection
Rear ceiling: Ceiling-mounted rear projection
Press EXIT to return to the FULL MENU.
ENTER
ENTER
EXIT
EXIT
Continued
4-b
Remote control
Control panel
(Main unit side)