Document imaging camera – Toshiba TLPX10E User Manual
Page 78
78
Document
imaging camera
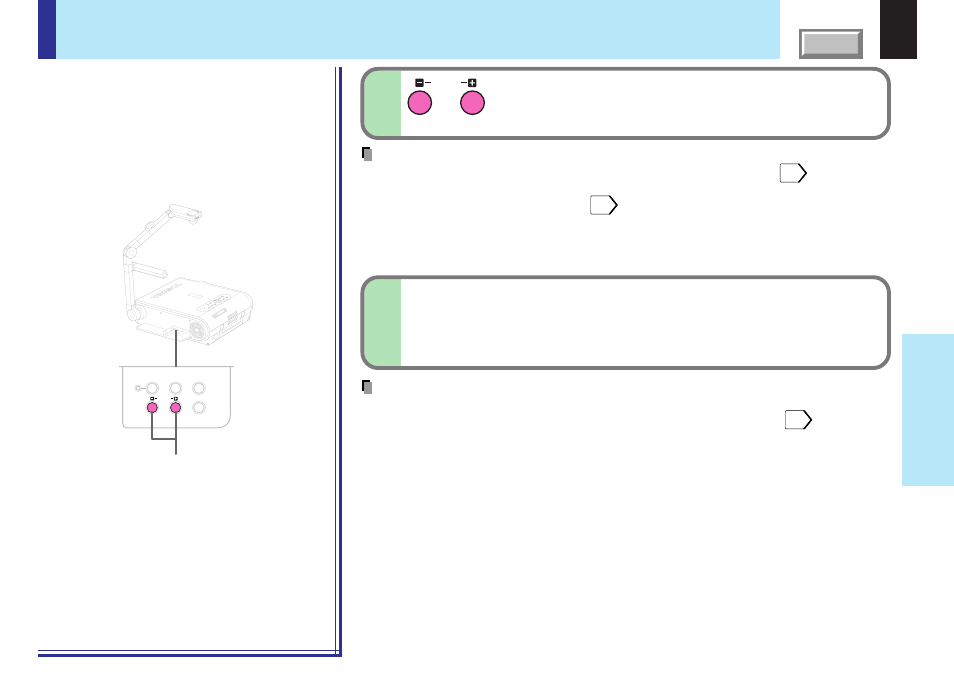
Press CAMERA GAIN (+/-) to improve view of a
camera subject which is too dark or vivid.
6
Notes
• You can adjust the “Sharpness” of the camera image on the menu screen.
• If the image flickers due to a fluorescent light in the room, either turn off the fluorescent light or
set the “Shutter” from the menu screen.
Note that the image may still flicker due to the lighting, the document status, the image
adjustment, etc., even if the “Shutter” setting is changed.
CAMERA
GAIN
TEM
P LA
MP
ON
BUSY
FAN
ON/S
TAND
BY
KEYS
TONE
SET
AUTO
AUTO
EXIT
ENTE
R
MEN
U
INPU
T
VOL/A
DJ.
STORE
CAMER
A
ARM LIG
HT
LOCK
W.BALA
NCE
GAIN
FO
CU
S
6
LOCK
STORE IMAGE
CAMERA
ARM LIGHT
W.BALANCE
CAMERA
GAIN
Picture projection with the document imaging camera (continued)
When finished, turn off the light and close it,
and put back the arm.
Follow the steps of “Preparation of the document imaging
camera” in reverse.
7
Notes
• Though this projector uses a 1.45 million pixel camera unit, the images projected on the
screen are 1024 x 768 dot images. If the “Screen size” in the menu screen
is set to
“Full”, the camera’s full image is compressed to 1024 x 768 dots. If “Thru” is selected, the
1024 x 768 dots at the center of the image are projected.
• The light turns off automatically when the arm is leaned.
• When the arm is not raised up, the camera source cannot be projected.
• In the camera input selected, audio signals are not output.
Camera
control panel