Edge erase, P.40 “edge erase, Command sheets – Ricoh JP8000 User Manual
Page 60: P.40, 1edge erase
Operation
40
1
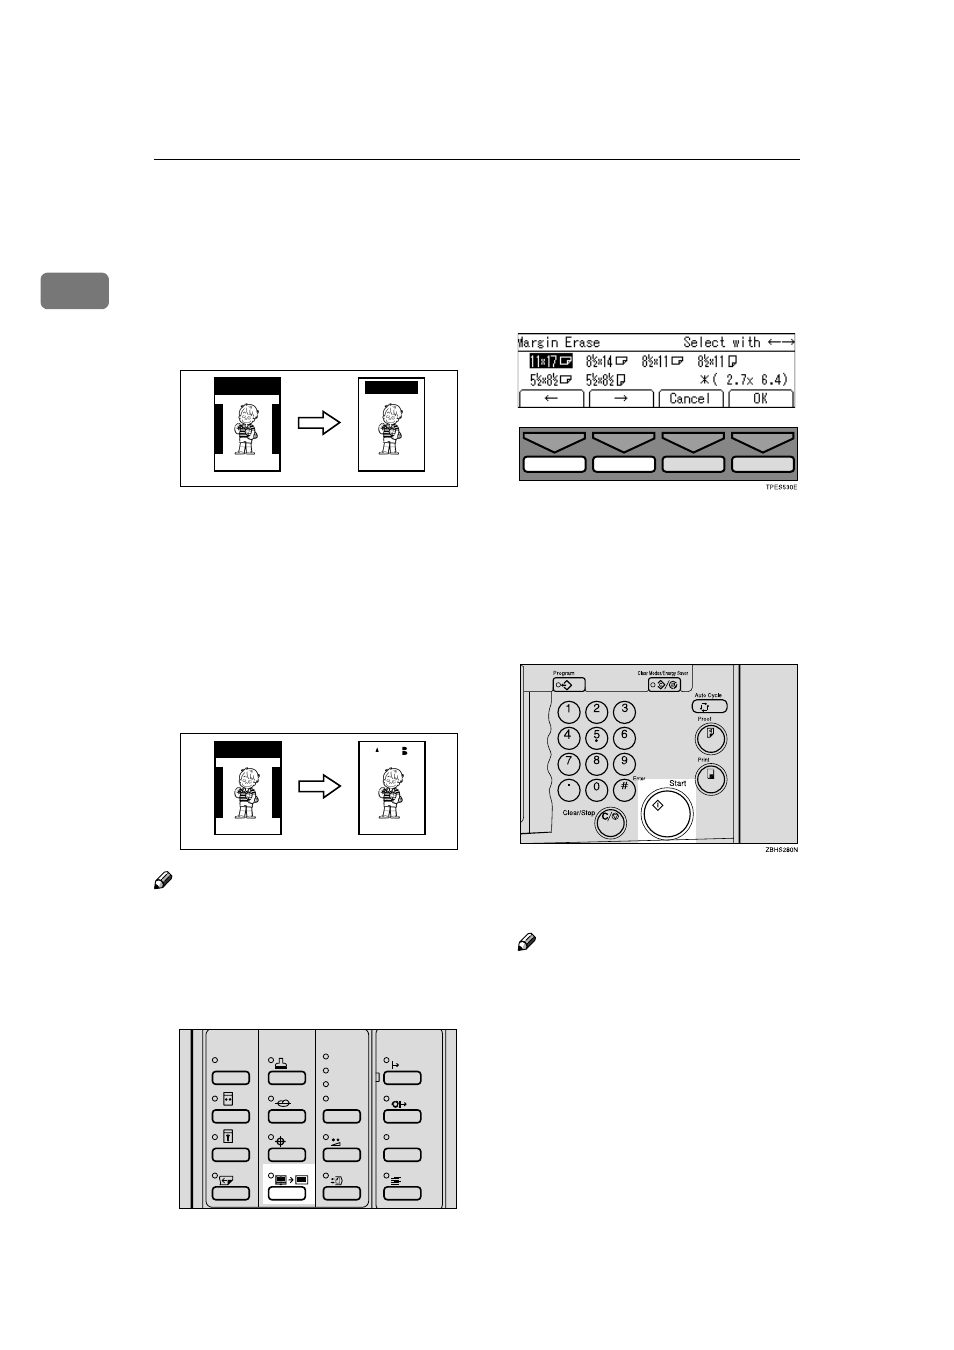
Edge Erase
This function erases all four margins
of the original image.
❖
❖
❖
❖ Using Edge Erase mode
❖
❖
❖
❖ When not using Edge Erase mode
When printing from thick books,
or similar originals, the binding
margin at the center and the edges
might appear on prints. The ma-
chine erases these margins auto-
matically. If you do not use Edge
Erase mode using the following
kind of originals, the images to be
printed might be also erased.
Note
❒ You can adjust the size of the mar-
gins with the user tools. The de-
fault is 2mm, 0.1".
A
Press the
{{{{Edge Erase}}}} key.
B
Select the size and direction of the
original with the [
←
←
←
←] [→
→
→
→] or {{{{~
~
~
~}}}}
{}} keys.
C
Press the [OK] key.
D
Place your original on the expo-
sure glass or in the optional docu-
ment feeder.
E
Press the
{{{{Start}}}} key.
F
Check the image position of the
trial or proof print.
Note
❒ If the image position is not cor-
rect, adjust it using the [Image
=
=
=
=] key (⇒ P.23 “Adjusting the
Position of Printed Images”).
G
Make your prints.
GRERAS0E
A
B
A
B
GRERAS1E
A
B
Skip Feed
Edge Erase
Over lay
Make-Up
Stamp
Image Density
Lighter
Darker 2
Darker 1
Normal
Economy Mode
Original Storage
Job Separator
Auto On Line
On Line
ZDZS150N