Adjusting the position of printed images, P.23 “adjusting the posi, Tion of printed images – Ricoh JP8000 User Manual
Page 43: P.23 “adjusting the position of printed images, P.23 “adjusting the, Position of printed images, 1adjusting the position of printed images
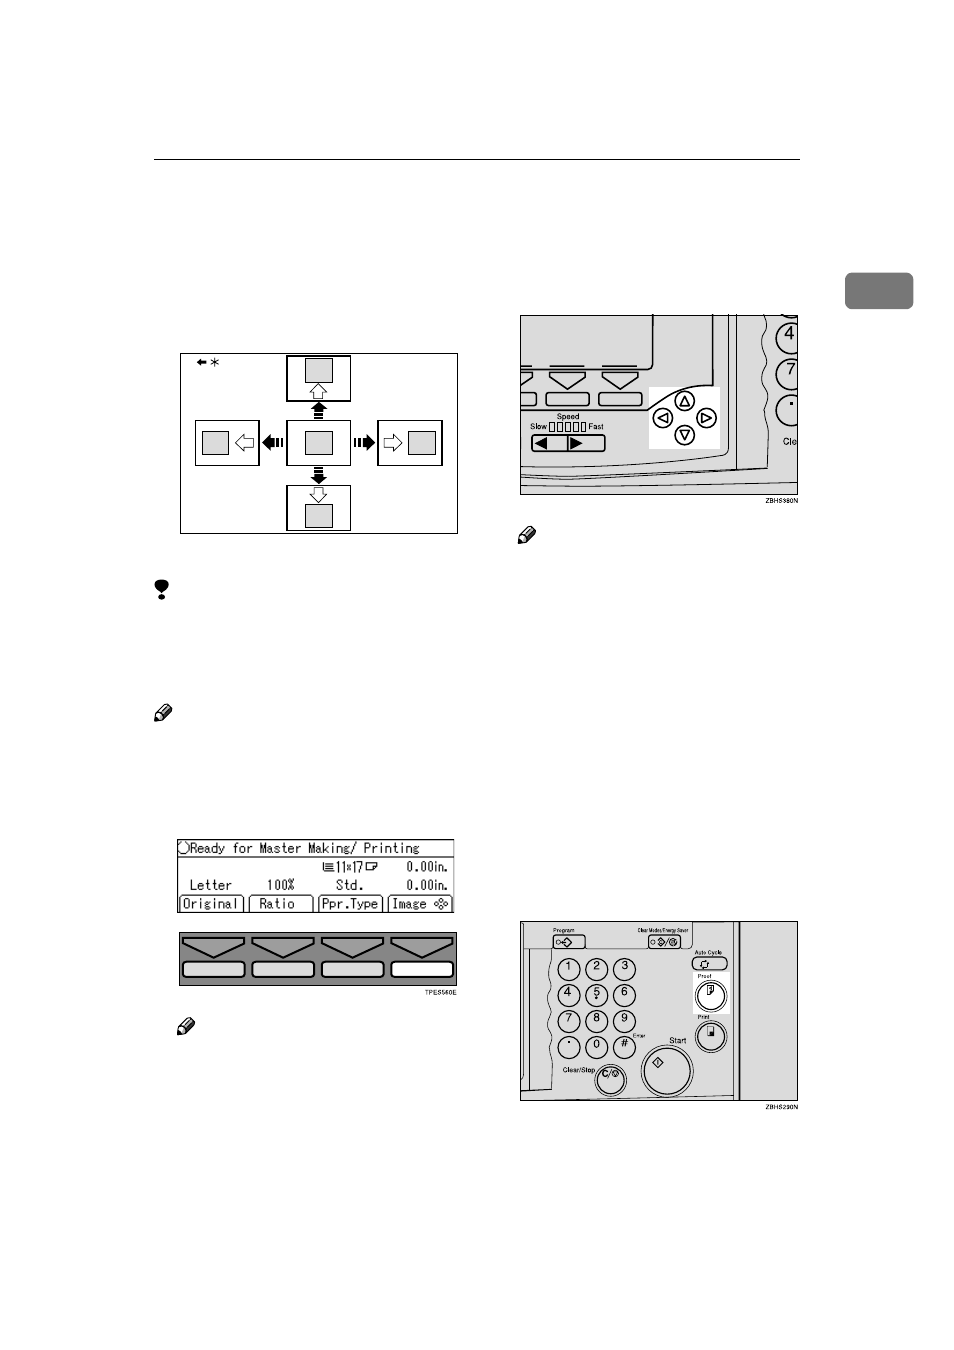
Adjusting the Position of Printed Images
23
1
Adjusting the Position of Printed Images
Use the following procedure to adjust
the position of print images as re-
quired.
*: Paper feed direction
Limitation
❒ For 308 mm, 12.2"-width paper,
you can only adjust the position of
the print image 5 mm, 0.2" up or
down.
Note
❒ When the main switch is turned
off, the position returns to the de-
fault.
A
Press the [Image
=
=
=
=] key.
Note
❒ You can skip step A and adjust
the image position directly by
pressing the
{~}, {}}, {|}, and
{{} keys.
B
Adjust image position using the
{{{{~
~
~
~}}}}, {{{{}
}
}
}}}}}, {{{{|
|
|
|}}}}, and {{{{{
{
{
{}}}} keys.
Note
❒ When you shift the image for-
wards, leave a 10mm, 0.4" mar-
gin at the leading edge. If there
is no margin, paper might wrap
around the drum and cause a
misfeed.
❒ The {~} and {}} keys shift the
image up to 15mm, 0.6" each
way in 0.5mm, 0.02" steps.
❒ The {|} and {{} keys shift the
image up to 10mm, 0.4" each
way in 0.5mm, 0.02" steps.
C
Press the [OK] key.
D
Press the
{{{{Proof}}}} key to check the
image position.
GRPOSI0E