Customizing scan settings from the scan dialog – Lexmark 5400 Series User Manual
Page 39
c
Click
to scan the image.
Related topics:
•
“Using the All-In-One Center” on page 105
Customizing scan settings from the Scan dialog
You can adjust the scan settings and do creative scanning jobs on the Scan dialog.
1
From the Finder desktop, double-click the Lexmark 5400 Series folder.
2
Double-click the Lexmark 5400 Series Center icon.
3
Click Preview/Edit to open the Scan dialog.
4
Click
to open the Scan Setup drawer and change the settings as needed.
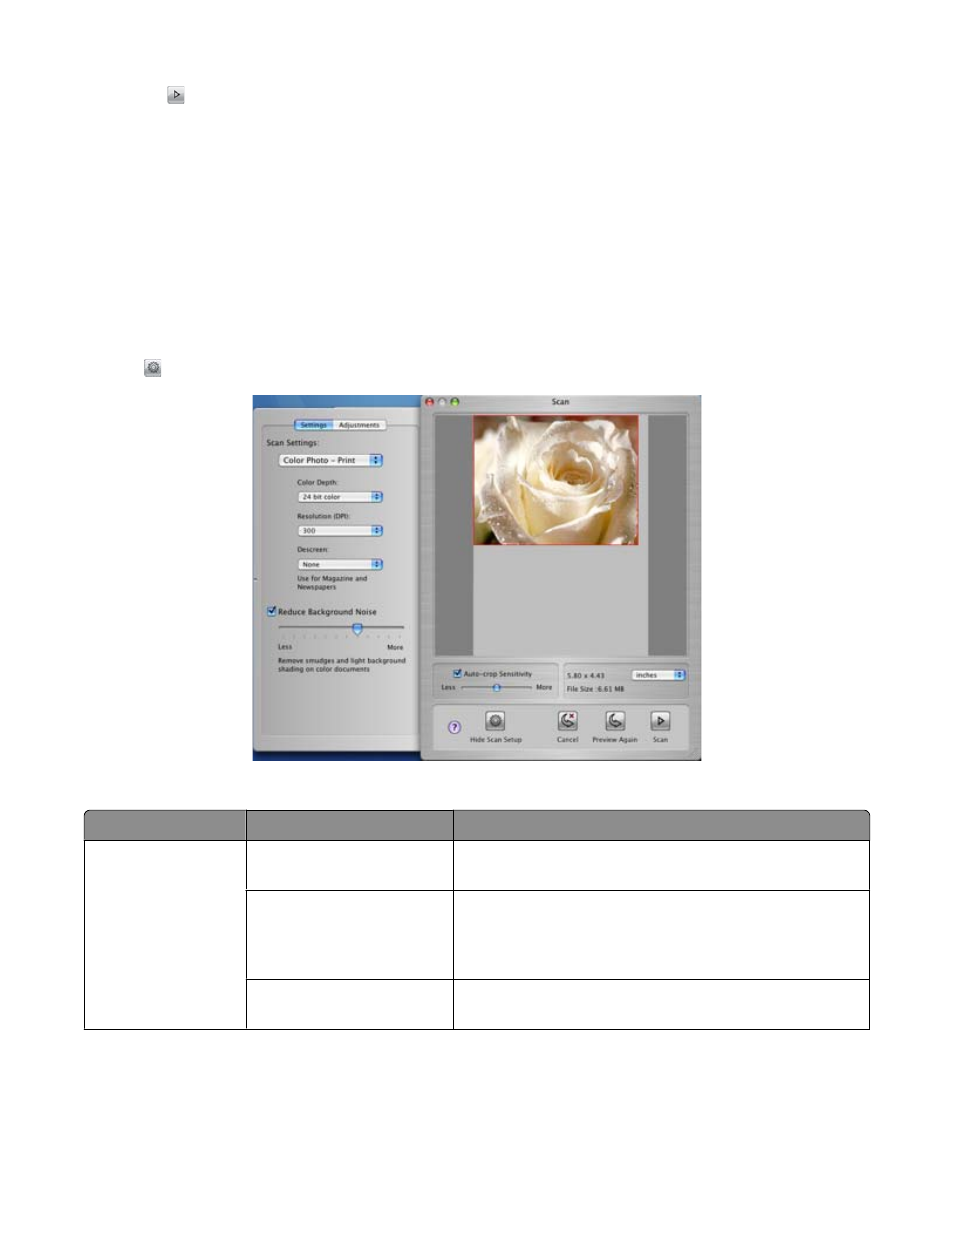
The Scan dialog has three main sections: the Settings tab, the Adjustments tab, and the Preview area.
From here
Go to
To
Settings tab
Scan Settings
Select a preset scan setting according to the color and
document type of your scan.
Custom Settings
Customize the scan setting manually instead of using a
preset scan setting. Adjust the amount of color you want in
the scanned image, choose a resolution, and descreen the
scanned image.
Reduce Background Noise
Remove smudges and light background shading in color
documents.
Scanning
39