Understanding the network setup menu – Lexmark 9500 Series User Manual
Page 54
16
Remove the tape from the black print cartridge, and insert the cartridge in the left carrier.
17
Close the black cartridge carrier lid.
18
Remove the tape from the color print cartridge, and insert the cartridge in the right carrier.
19
Close the color cartridge carrier lid.
20
Close the printer.
21
Flip up and fully extend the paper exit tray stop.
Note: The tray stop holds paper as it exits the printer.
22
Press .
An alignment page prints.
23
Discard the alignment page.
Note: Streaks on the alignment page are normal and do not indicate a problem.
Understanding the Network Setup menu
The Network Setup menu is available only if an internal wireless print server is installed in the printer.
1
From the control panel, press
or
repeatedly until Setup is highlighted.
2
Press .
3
Press
or
repeatedly until Network Setup is highlighted.
4
Press .
5
After making your choices, press
to save your selections as the default settings.
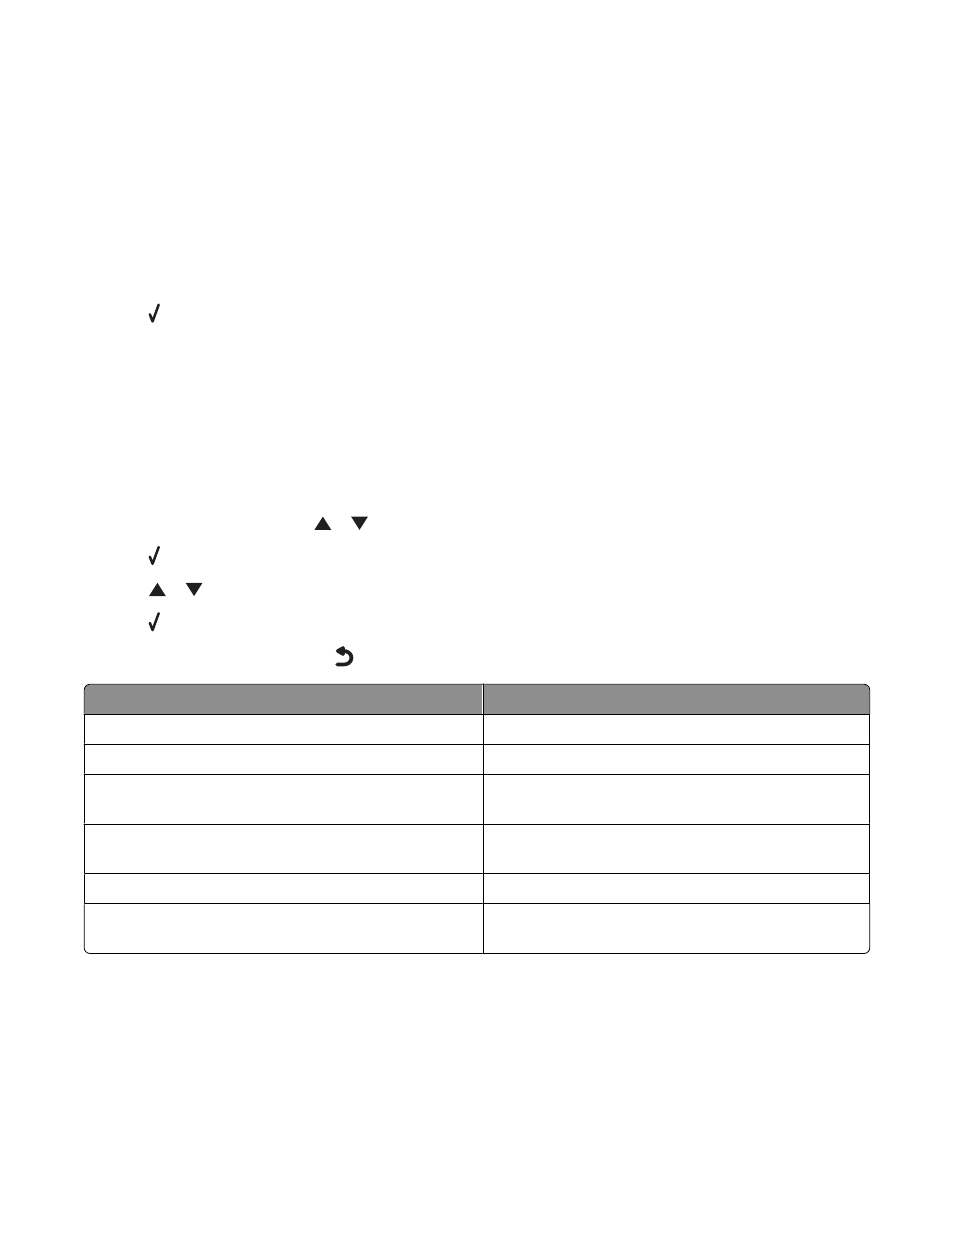
From here
You can
Reset Network Adapter Defaults
Reset all wireless network settings.
Print Network Setup Page
Print a list of network functions.
Wireless Menu
Access the Wireless Setup Menu. For more information,
see “Wireless Setup menu” on page 55.
TCP/IP
Access the TCP/IP menu. For more information, see
“TCP/IP menu” on page 55.
Network Time Menu
Enable or disable the Set Time Server.
Active Network
Choose among automatic, Ethernet 10 100, or Wireless
802.11b g.
Connecting the printer to a network
54