Adding a new scanned image to an e-mail message, Scanning documents or images for e-mailing – Lexmark 9500 Series User Manual
Page 150
Adding a new scanned image to an e-mail message
1
From the desktop, double-click the Productivity Studio icon.
2
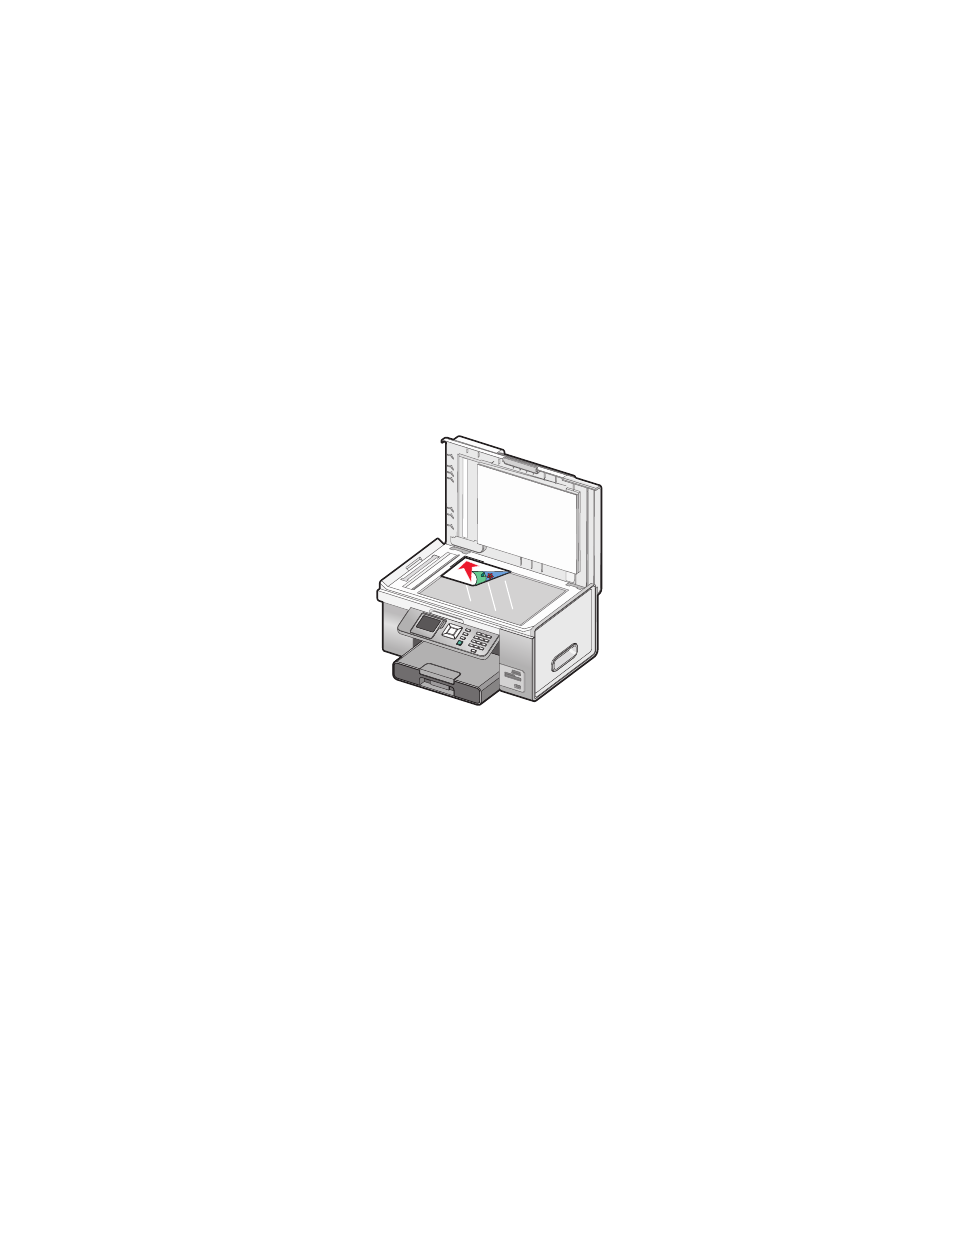
Place the image facedown on the scanner glass, and close the top cover.
3
Click E-mail.
4
Click Start. The image is scanned.
5
From the Send Quality and Speed area of the screen, select the image size.
6
Click Create E-mail to create an e-mail message with your scanned image(s) attached.
Scanning documents or images for e-mailing
You can e-mail attached scanned images using your default e-mail application.
1
Load an original document facedown on the scanner glass.
2
From the desktop, double-click the Productivity Studio icon.
3
Click E-mail.
4
Select Photo, Several Photos, or Document, depending on what you are scanning.
5
Click Start.
6
If you are scanning a photo, select the photo size from the Send Quality and Speed area.
7
Click Create E-mail to have the images attached to an e-mail message.
Changing the Productivity Studio e-mail screen
preferences
1
From the desktop, double-click the Productivity Studio icon.
2
From the Tools menu, click Preferences.
Scanning
150