Minolta Scanner Mode User Manual
Page 194
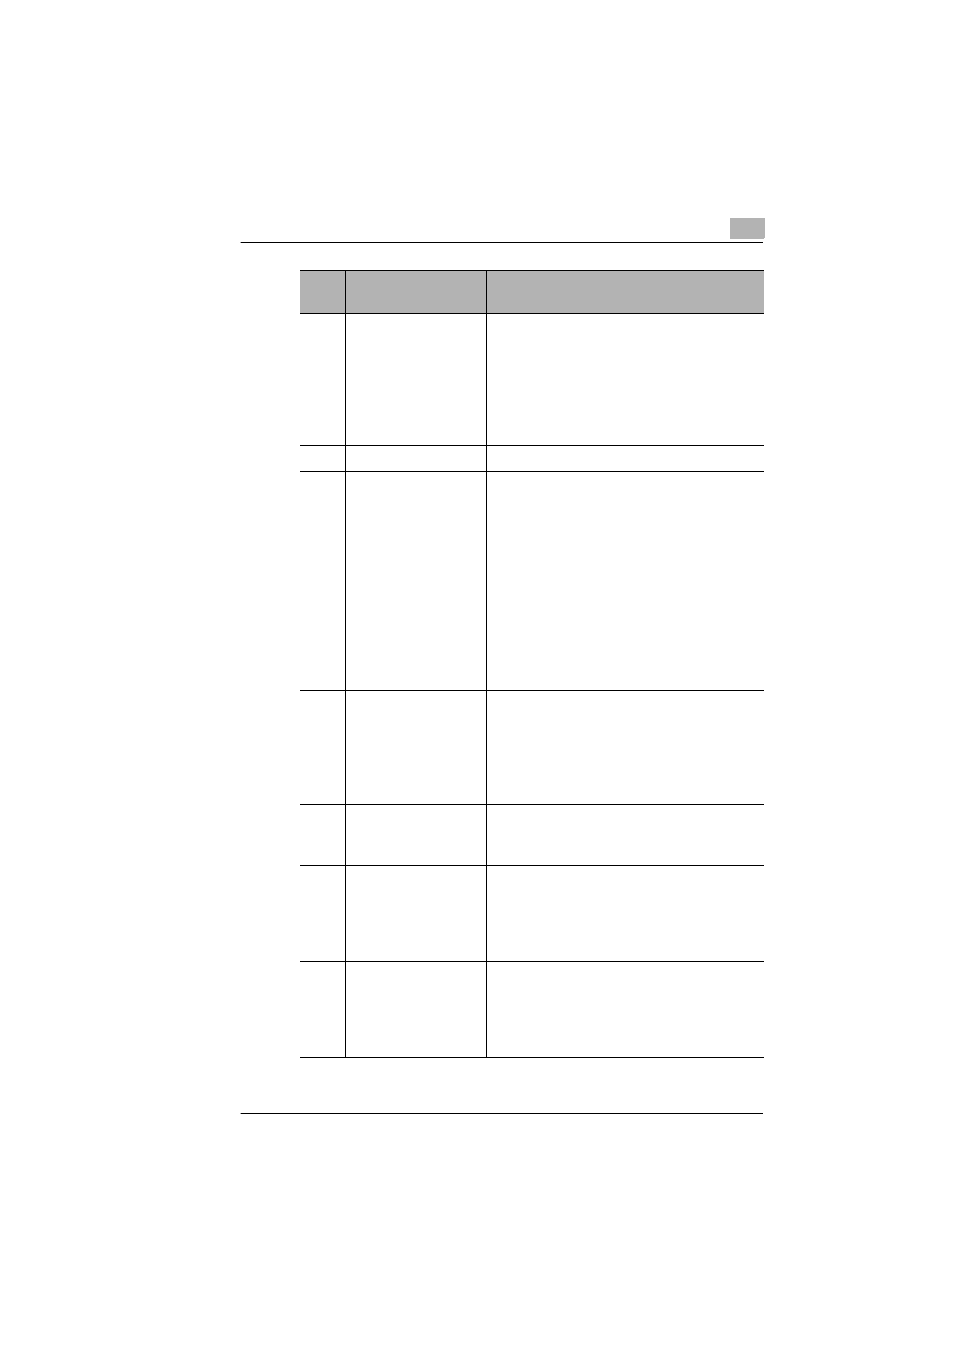
Using IP Scanner
10
Scanner Mode
10-9
3
“Quality” box
From the drop-down menu, select the
scanning resolution: “Text 200dpi (Fine)”,
“Text 400dpi (Super Fine)”, “Text 600dpi”,
“Photo 200dpi (GSR)”, “Photo 400dpi (S-
GSR)”, “Photo 600dpi”, “Text+Photo
200dpi”, “Text+Photo 400dpi” or
“Text+Photo 600dpi”.
4
“Contrast” slider
Specify the scanning contrast.
5
“File Format” box
From the drop-down menu, select the
format in which the file is saved: “TIFF-
MMR (Text)”, “TIFF-MH (Photo)”, “PDF-
MH (Photo)” or “PDF-MR (Text)”.
Depending on whether the data is
encoded, some images may not viewed
on the computer.
In that case, select an MH setting to
improve the possibility of viewing the
image. An amount of encoded data exists
in image data; however, generally, MMR
has more than MH.
6
“Specify File Name”
parameter
If “Yes” is selected, a specified file name
will be given to the image data when it is
saved.
If “No” is selected, the file will be saved
with a name consisting of the device name
and date that the image was scanned.
7
“File Name” box
Type in the name that the file will be saved
with when
Specify File Name
is set to
“Yes”.
8
“2in1” group box
If “Yes” is selected, a two-page document
is scanned and filed as a one-page
scanned image.
Available only if an automatic document
feeder is used.
9
“Original” group box
Select whether the document is single-
sided or double-sided. If “2 sided” is
selected, the location of the binding
margin and the document orientation can
be specified.
Num
ber
Item Name
Description