Sanyo DSR-M814 User Manual
Page 48
RECORDER MENU
47
SETTINGS
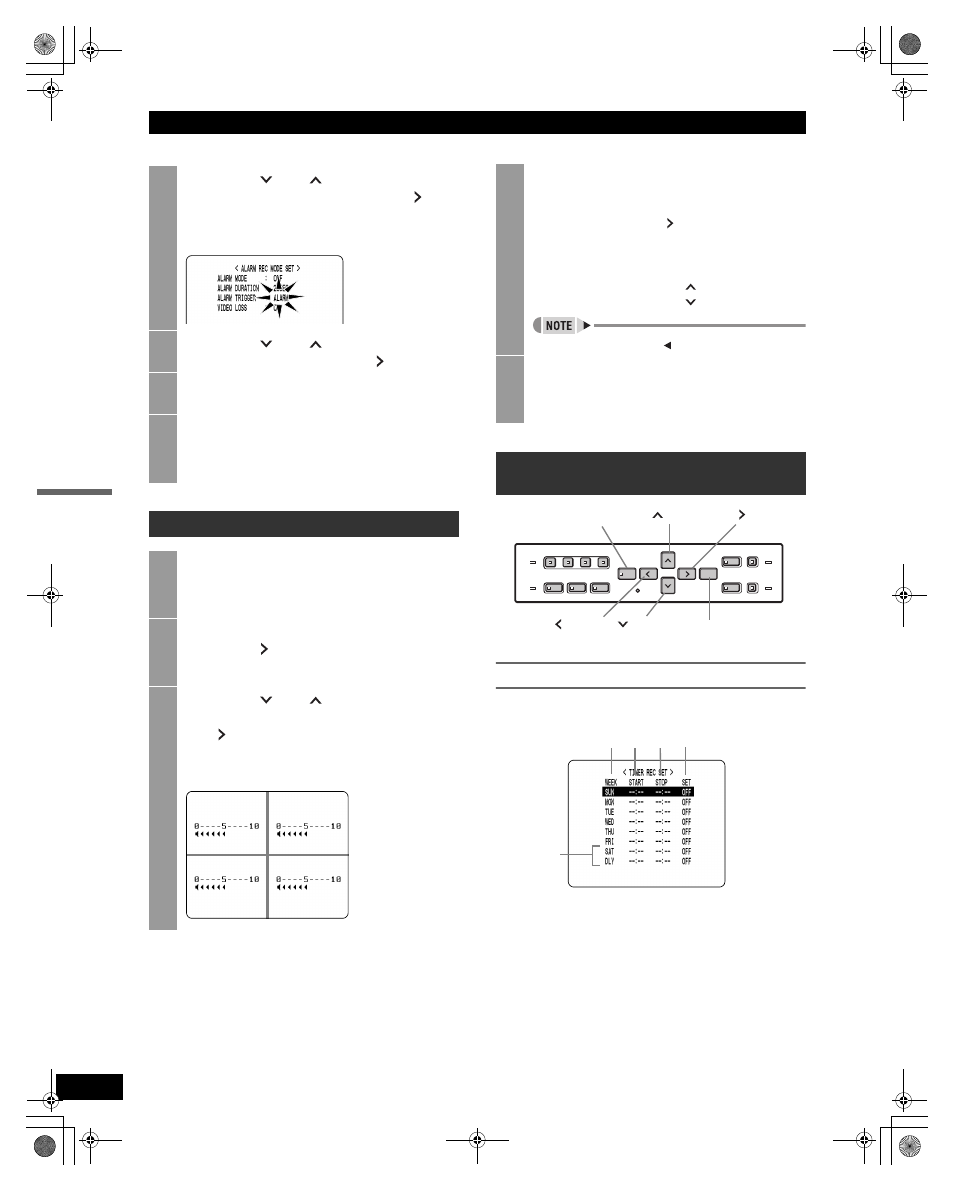
Timer setting items
You can use the timer functions to set recording start/stop
times.
You can set times at which to start and stop recording on
each specified day of the week.
(1) WEEK:
Used to select the days of the week for timer recording.
The day in the “WEEK” column can be changed to
other days. Use line 7 (SAT) and 8 (DLY) when setting
timer recordings that span more than 24 hours.
(2) START:
Enter the time at which to start timer recording.
4
Press the [
] or [
] button to select
the desired item, then press the [ ]
button.
The setting flashes.
5
Press the [
] or [
] button to change
the setting, then press the [ ] button.
6
Repeat steps 4 to 5 to set other items as
needed.
7
When you have finished making the
settings, press the [EXIT/OSD] button.
The display returns to the normal screen.
Setting the audio level
1
Press the [MENU] button.
The [MENU] button lights, and the
screen is displayed.
2
Select “3. RECORDER MENU”, and
press the [ ] button.
The
3
Press the [
] or [
] button to select
“3. AUDIO REC LEVEL SET”, then press
the [ ] button.
The
4
Select the channel and change the
audio level.
Each time you press the [ ] button, the display
switches between possible channels. The audio
level marks on the screen flash for the selected
channel.
To increase level: Use the [
] button.
To decrease level: Use the [
] button.
Many audio level marks ( ) indicate high sensitivity.
5
When you have finished making the
settings, press the [EXIT/OSD] button.
The display returns to the normal screen.
Setting the day and time for timer
recording
[
] button
[MENU] button
[ ] button
[
] button
[EXIT/OSD] button
[ ] button
(1) (2) (3) (4)
(5)
e00_VDH_M814.book Page 47 Thursday, October 28, 2004 9:59 AM