3-14
Menu Options
Technobeam
®
User Manual
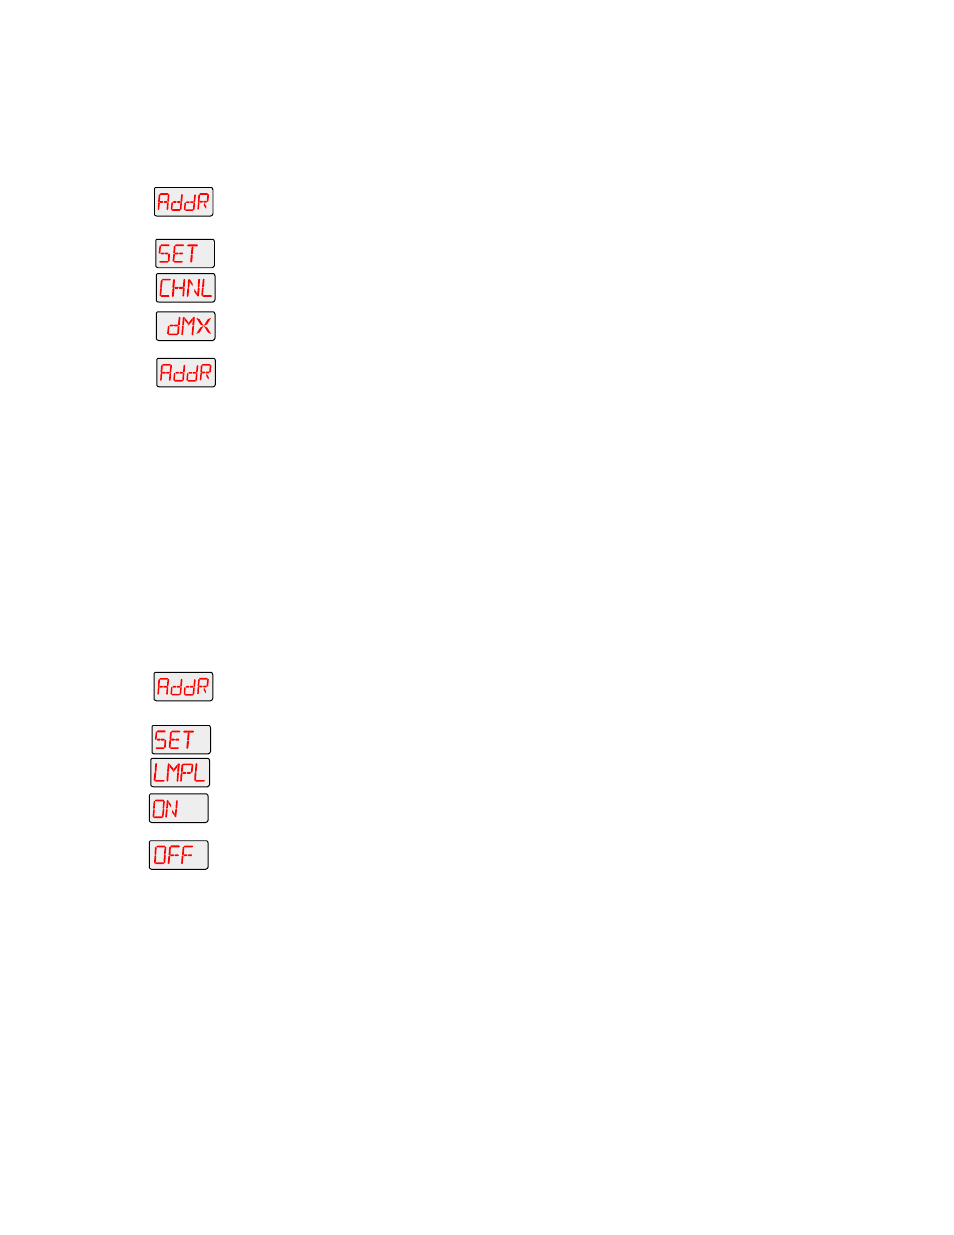
To change the control method:
1.
Press and hold the
2.
Using the and arrow buttons, scroll to the “SET” menu and press the button to select the “SET” menu.
3.
Using the and arrow buttons, scroll to the “CHNL” menu and press the button to select the “CHNL” menu.
4.
Using the and arrow buttons, choose either the “DMX” option to address the fixture using a DMX start channel, or the “ADDR” option to address the fixture using a fixture number. Press the button to select the desired option.
Note
After changing the control method, you must assign a specific DMX start channel (C001 - C512) or fixture number (F 01 - F xx) to each fixture (see “Address Menu (ADDR)” on page 3-10).
Setting the Lamp Warning Message (LMPL)
Use this menu item to enable your fixture to display the warning message “LAMP LIFE ERR” when the current lamp hours exceed 2,000. With this option enabled, after the current lamp hours exceed 2,200 hours, the fixture will display the warning message “LAMP OUT ERR.” Once the lamp is extinguished, the fixture will no longer strike the lamp until the current lamp is replaced and the current lamp hours are reset to zero (see “Replacing the Lamp” on page 6-11 or “Resetting Lamp Hours (L/RS)” on page 3-27).
To enable the lamp warning message:
Using the and arrow buttons, scroll to the “LMPL” menu and press the button to select the “LMPL” menu.
Using the and arrow buttons, choose the “ON” option to enable the lamp warning message, or the “OFF” option to disable the lamp warning message. Press the button to select the desired option.
Changing the Lens Setting (LENS)
Use this menu item if you change the lenses in your fixture. Available lens sets include standard, narrow angle, and wide angle lenses. To obtain a different lens set, contact your High End Systems dealer/distributor.
or