6-22
Technobeam Laser Aiming Device™
Technobeam
®
User Manual
The next steps show you how to access the fixture’s built-in programming menu to begin aligning the laser.
9.
Keep pressing the
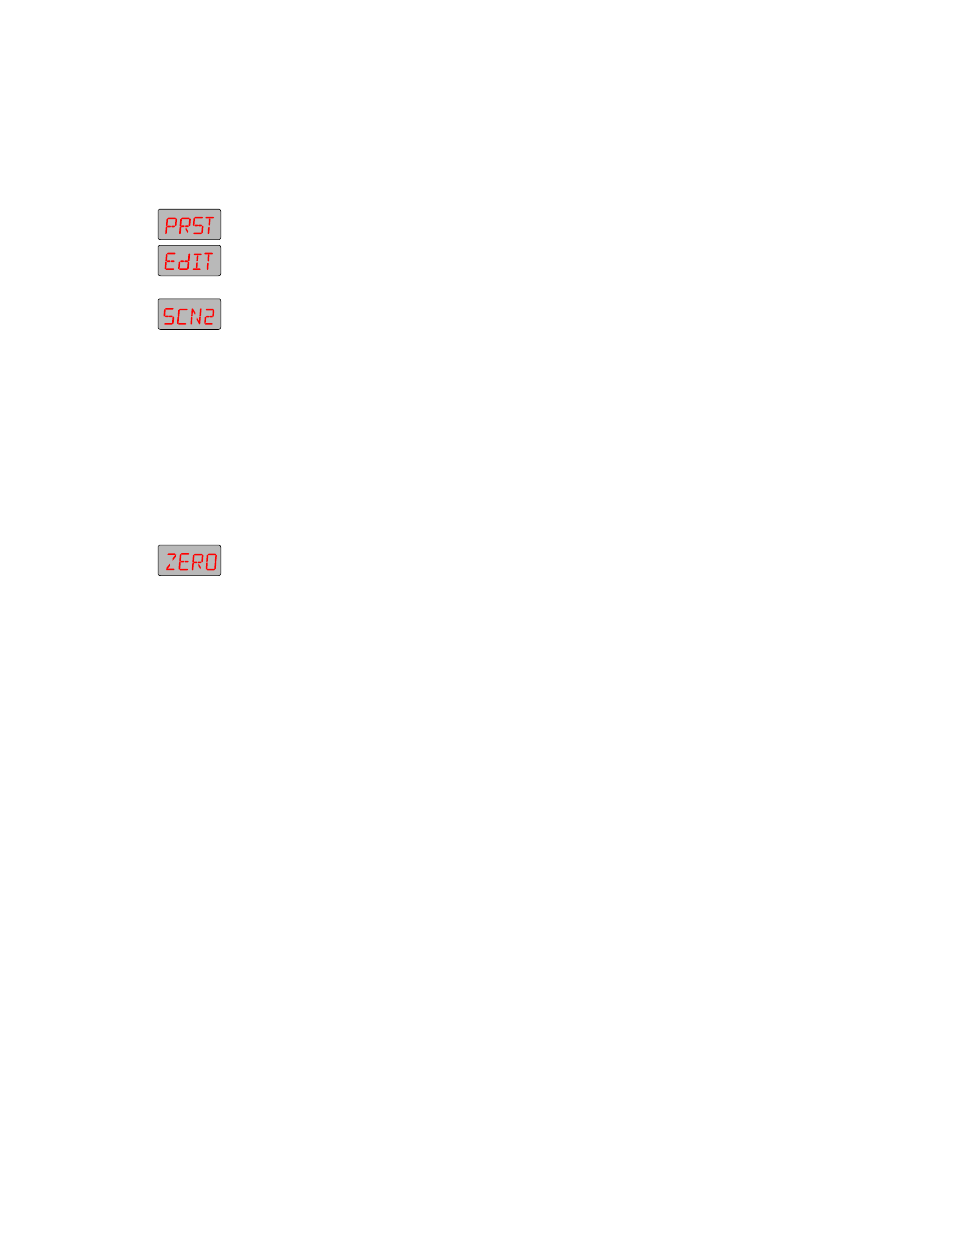
10. Use the and arrow keys to navigate to the PRST menu.
11. Press , then use the and arrow keys to navigate
to the EDIT menu option. The EDIT option allows you to create or edit up to eight scenes which are stored in the fixture’s onboard memory.
12. Press . Use the and arrow keys to select the
scene number of an unprogrammed scene. For example, selecting SCN2
means you will edit scene number 2.
13. Press to begin editing the scene you selected.
14. If you selected an unprogrammed scene, skip to Step 17 now;
otherwise, continue with the next step. If the fixture started making noises of gears and wheels moving as soon as you selected the scene, and the noises continue for more than a brief period of time, you selected a programmed scene.
The next two steps show how to unprogram a scene; you need to unprogram the scene in order to make sure all constructs are set to default values. This is necessary only if all eight scenes are already programmed.
15. Use the and arrow keys to navigate to the ZERO option.
16. Press ; you will be required to confirm the action by pressing
again.
Step 17 through Step 22 shows how to open the shutter and set the dim construct to full bright. You can skip these steps if you can clearly see the light projected onto the wall.
17. Use the and arrow keys to navigate to the SHUT option.
18. Press , then use the and arrow keys to select a
value of OPEN.
19. Press to accept your selection.
20. Use the and arrow keys to navigate to the DIM option.
21. Press , then use the and arrow keys to select a
value of D255 (full bright).
22. Press to accept your selection.
You should now see the white, round shape of the beam projected onto the wall or white surface.
•
If the beam is round (not oval) in shape, continue with Step 31.
If the beam is not round in shape, see the next step.