Blackmagic media express – Blackmagic Design DeckLink Studio 4K Capture & Playback Card User Manual
Page 36
Blackmagic Media Express
36
Capture
Capturing video is easy and all you need to do is connect a video source, set the Media Express preferences
and press the Capture button.
Step 1.
Start by connecting your video source to an input of your Blackmagic video hardware and check
that the Blackmagic system preferences are set to the same video input, e.g. SDI, HDMI or analog.
Step 2.
Open Media Express and set its preferences to the project video format and capture file format.
Step 3.
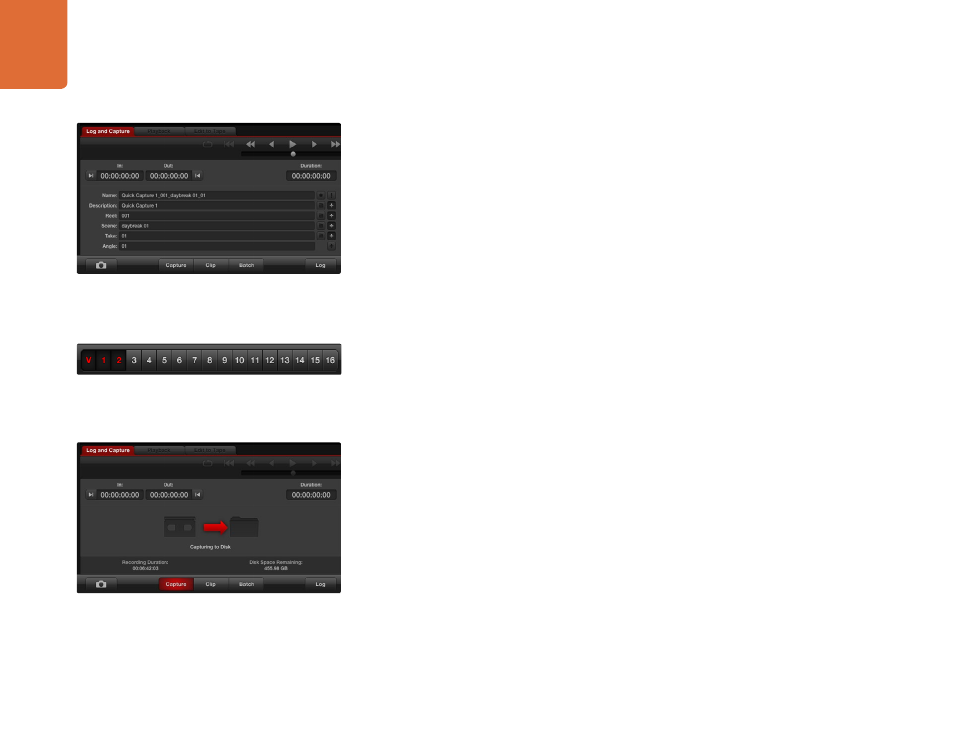
Click the red Log and Capture tab and enter a description into the Description field.
Step 4.
Click the "+" button next to the Description to add it to the automatic Name field. Click the "+"
button next to any of the other fields that you wish to add to the Name field.
To increment the value in each of these fields, click the corresponding clapper board icon.
Alternatively, type directly into any field to customize its name and number.
The text in the automatic Name field will be applied to the clip(s) which are about to be captured.
To log the clip as a favourite, click the "star" icon next to the Name field.
For a clip name confirmation prompt to appear before every capture, click the "!" icon next to
the Name field.
Step 5.
Set the desired number of audio channels to be captured.
Step 6.
Click the “Capture” button to start recording. To stop the capture and keep the clip, click the
“Capture” button again. Alternatively, press esc to be prompted to delete or save the clip. The
captured clips are added to the Media List.
Logging clips
Ensure an RS-422 serial cable is connected between your Blackmagic video hardware and the deck.
Ensure the deck's Remote/Local switch is set to Remote. Use the standard j, k, l shortcut keys to shuttle
backwards, pause and shuttle forwards.
Click the Mark In button to mark the In point, or use the shortcut key
i
.
Click the Mark Out button to mark the Out point, or use the shortcut key
o
.
Click the Log Clip button to log the clip, or use the shortcut key
p
. The entry should now appear in the
Media List with a red X in its icon to indicate the media is offline.
Set the desired number of audio channels to be captured.
Enter a description for your video.
Click the "Capture" button to begin capturing.