Cycle run – HEIDENHAIN iTNC 530 (340 49x-06) Cycle programming User Manual
Page 482

482
Touch Probe Cycles: Automatic Kinematics Measurement
1
8
.5 PRESET COMPENSA
TION (Cy
c
le 452, DIN/ISO: G452, Option)
18.5 PRESET COMPENSATION
(Cycle 452, DIN/ISO: G452,
Option)
Cycle run
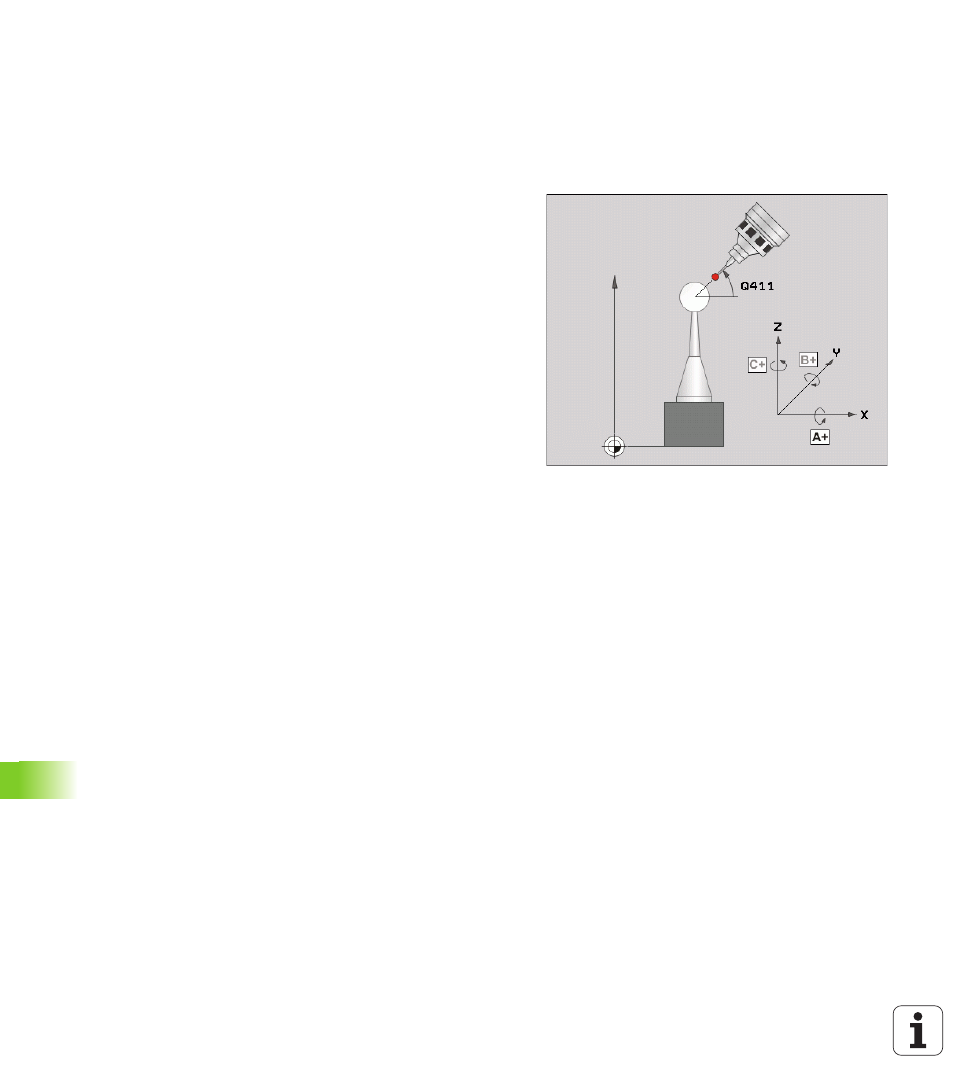
Touch probe cycle 452 optimizes the kinematic transformation chain
of your machine (see “MEASURE KINEMATICS (Cycle 451, DIN/ISO:
G451; Option)” on page 466). Then the TNC corrects the workpiece
coordinate system in the kinematics model in such a way that the
current preset is in the center of the calibration sphere after
optimization.
This cycle enables you, for example, to adjust different tool changer
heads so that the workpiece preset applies for all heads.
1
Clamp the calibration sphere
2
Measure the complete reference head with Cycle 451, and use
Cycle 451 to finally set the preset in the center of the sphere.
3
Insert the second head
4
Use Cycle 452 to measure the tool changer head up to the point
where the head is changed
5
Use Cycle 452 to adjust other tool changer heads to the reference
head.
