Verilink DIDCSU 2912 (880-502646-001) Product Manual User Manual
Page 101
DIDCSU E1 Version
Verilink DIDCSU 2912 User Manual
4-29
NOTE: If a module is moved to a different slot, any circuit previously
configured in that module is discarded.
Table 4-15 Circuit Build Configuration Menu Parameters
NOTE: To cross-connect DIDCSU circuits across the AS2000
backplane to other DIDCSU modules an NCM 2000 module is
required.
For more about the circuit building routines in the NCM, see the
NCM 2000 User Manual.
Command
Description
Options
L
List Circuits: Use this option to identify the existing circuits.
E
Edit Circuit: Use this option to change characteristics of a particular circuit.
A
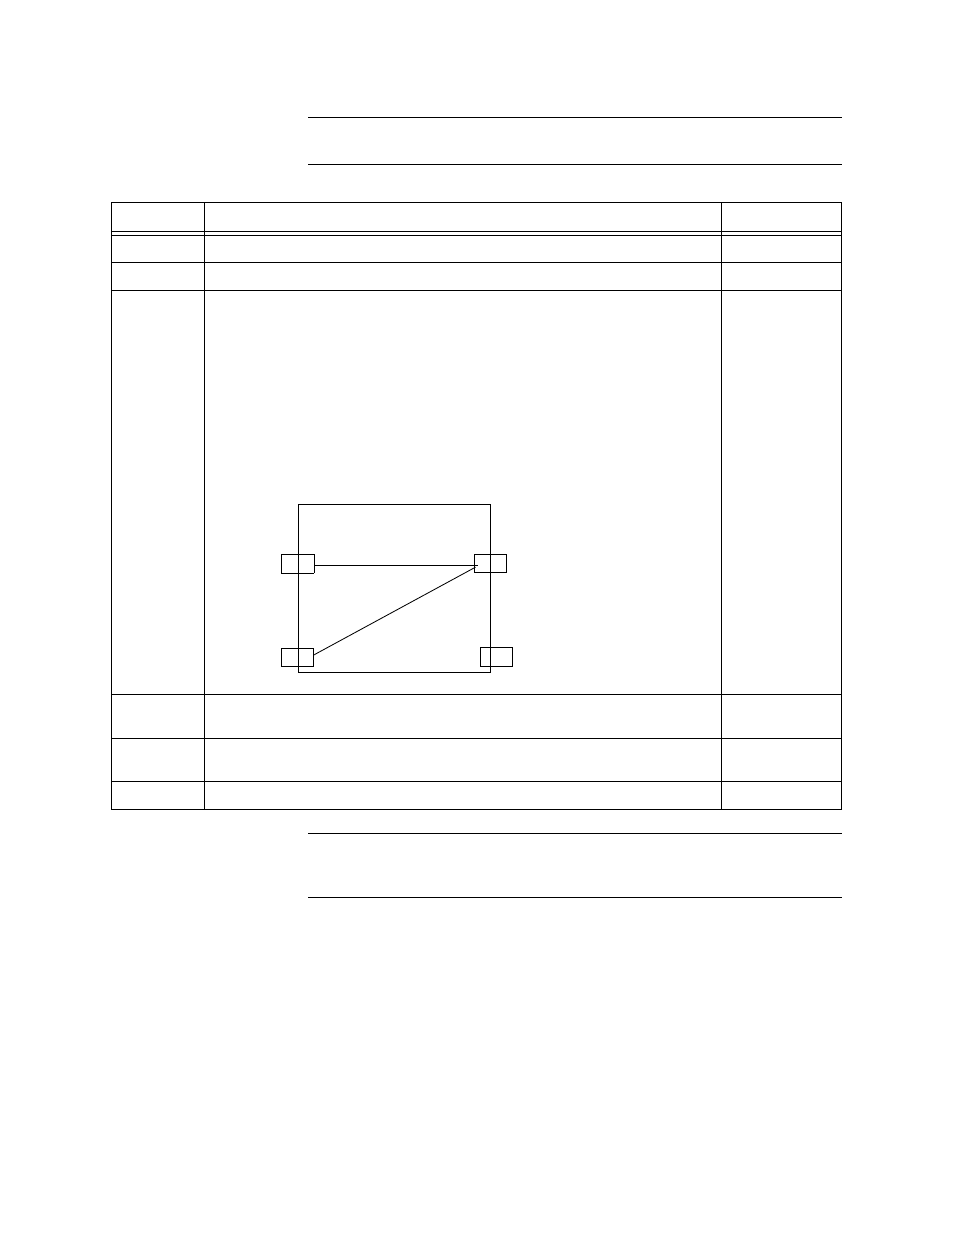
Add Circuit: Use this option to create a new circuit. Specify the ID for the
circuit port. The ID number must be unique. Enter which timeslots will
leave the source port, and which timeslots will end at the destination port
(from 1-31). Specify if the timeslots will be 56 kbit/s or 64 kbit/s in
bandwidth.
Circuit IDs are helpful in identifying a particular circuit. When picking IDs,
you can use any algorithm that makes sense and will help you remember
your choice. For instance, if you are building a circuit on card 3 from E1
Port 1 to Data Port 2, your ID can be 312. The following graphic shows that
Circuit 1 has 1-15 timeslots and connects Source Port Net 1 to Destination
Port Data 1. Circuit 2 has 17-31 timeslots and connects Source Port Net 1
to Destination port Data 2.
Circuit ID:
1..65535
Source Port:
0=Net Port 1,
1=Net Port 2,
2=Data Port 1,
3=Data Port 2
Source
Timeslot:
1—31 or press
ENTER to exit
Destination
Timeslot:
1—31 or ENTER
to exit
Circuit Type:
0=56K Data,
1=64K Data
D
Delete Circuit: Use this option to remove an existing circuit.
Circuit ID:
1..65535
V
View Circuit: Use this option to review the characteristics of an existing
circuit. You cannot modify the configuration using this screen.
Circuit ID:
1..65535
X
Exit the
Circuit Build Configuration Menu
.
Net 1
Data 1
Net 2
Data 2
C2: Timeslots 17-31
C1: Timeslots 1-16