5 cleaning the drive roller, 6 exterior cleaning – Microcom 438 User Manual
Page 171
Printer Maintenance
Chapter 10
10-6
438 Operator’s Manual - 880052-0100
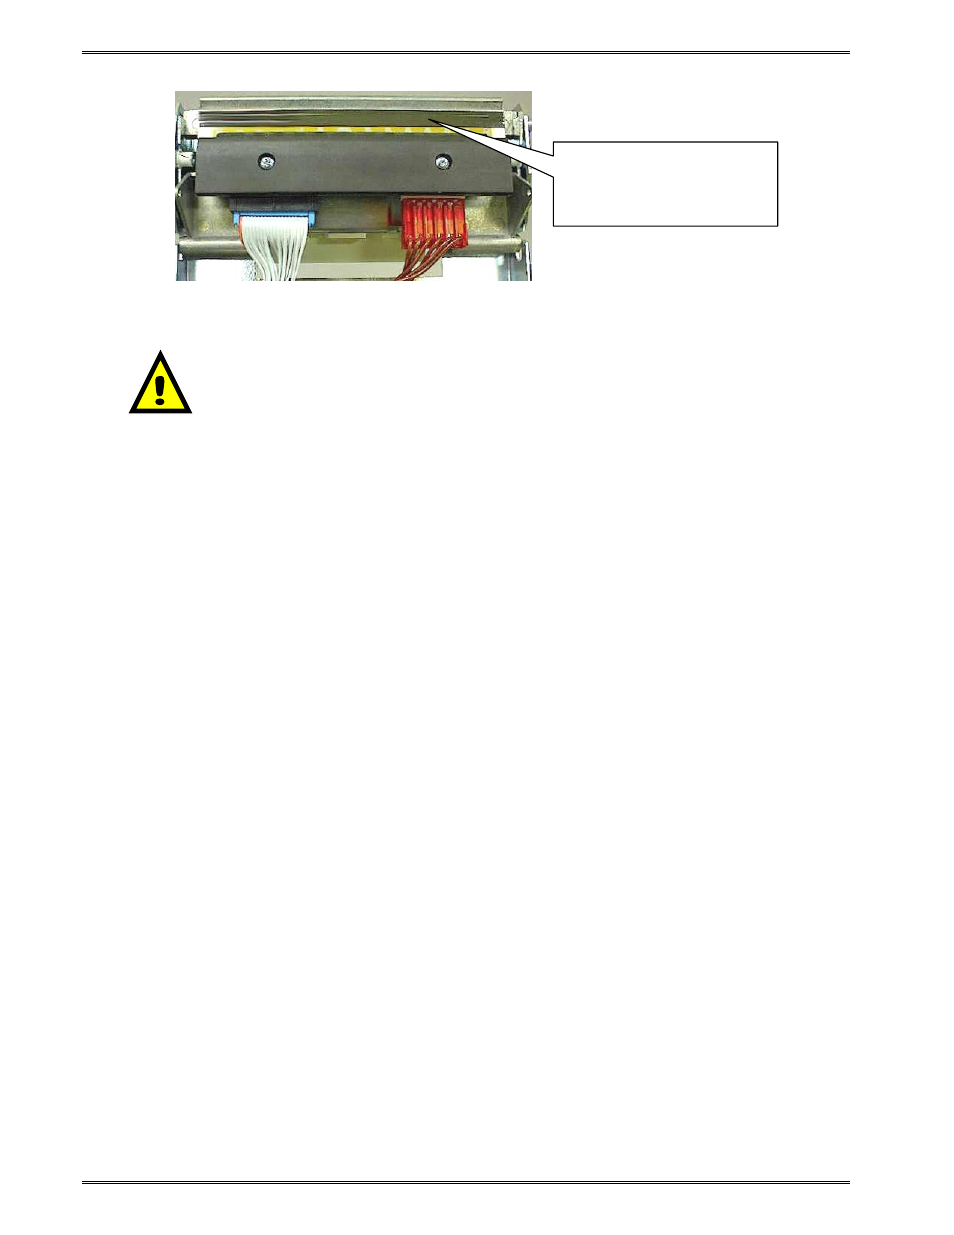
Figure 10-6 Print head Thermal Elements
10.5
Cleaning the Drive Roller
Maintaining a clean Drive Roller not only helps to extend the life of the roller but also helps
to reduce print quality issues and media slips that may occur due to dust, label adhesive
and other forms of contamination. The Drive Roller should be cleaned after every roll or 512
feet of media:
1. Remove any installed media.
2. Turn the printer power “OFF.”
3. Remove the Top Cover from the printer (See Figure 10-3).
4. Unlatch and raise the Print Head (See Figure 10-4).
5. With a lint-free cloth dampened in alcohol, clean the drive roller. Manually rotate the
Drive Roller by the Drive Roller Gear located to the left (from the front of the printer) or
by manually rotating the Drive Roller itself to clean the entire Drive Roller surface.
6. Print Head, Peel Edge, and internal cleaning may also be performed at this time, see the
appropriate sections for more information.
7. Latch the Print Head completely and reinstall the Top Cover and media.
8. Turn the printer power “ON.”
10.6
Exterior Cleaning
Although cleaning the exterior surfaces has no effect on the printer’s performance, it will
help the overall appearance of the printer. The use of any mild, non-abrasive general
purpose cleaner with a lint-free cloth may be used to clean the exterior surfaces. This
cleaning should be performed on an as needed basis.
CAUTION: When performing maintenance inside the printer,
always make sure that the print head is latched completely before
installing the top cover. Failure to do so may result in damage to
the print head.
Thermal elements are
located in the black area
running the entire width of
the Print Head.