5 getting started – quick start – FSR RN-8200 User Manual
Page 20
2.0 Installation and Operation Overview
RN-8200 Reference Manual
Page 2-12
2.5 Getting Started – Quick Start
2.5.1 Connect Your Room Navigator to Your PC
Using the serial cable provided, connect the Room Navigator RS-232 Host Port to your PC serial port.
2.5.2 Apply Power to Your Room Navigator
Connect the AC power cord to the Room Navigator. Watch the front panel of the Room Navigator and plug the
cord into facility AC power. Normal Room Navigator power-up will consist of the red status lamp flashing 4 times
to indicate normal start and factory baud rate setting on RS-232 Host Port of 9600 bps. The RS-232 Host Port is
used to communicate with your PC running the Configuration Utility.
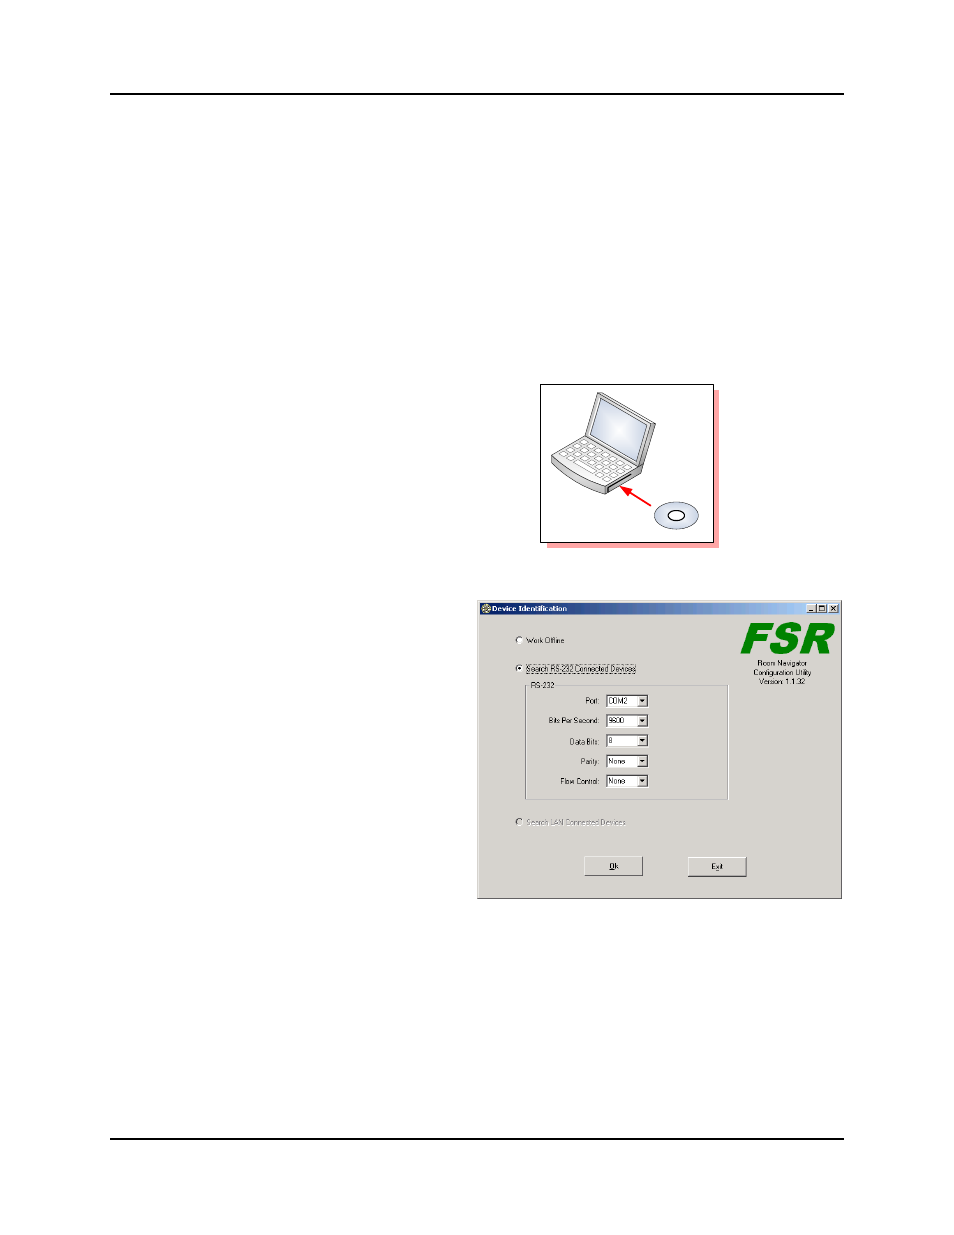
2.5.3 Install the CU Software
Install the Room Navigator Configuration
Utility onto your computer from the product
CD.
Product
CD
Your
Computer
2.5.4 Start the CU Software and Connect to Your Room Navigator
At the end of the install, the install wizard will ask if
you want to launch the application. If you checked the
“Launch Application” box, you will see the “Device
Identification" screen shown below. If you didn’t
already launch the application, use the shortcut or the
start menu to find the “Room Navigator CU” and start
the application.
Select “Detect RS-232 Connected Devices”, leave the
default comm settings and click the “Ok” button. The
CU will establish communication with the connected
Room Navigator and the main application will start.
Note:
The CU has a capability to detect old FW versions and provide notification that you require a FW Update.
If your CU displays a message indicating you do not have the most current FW version, follow the
instructions in the message and update you FW version.