TelVue HyperCaster® User Manual
Page 88
TelVue HyperCaster
®
User Manual / v5.0 / October 2014
© 2014 TelVue Corporation 16000 Horizon Way, Suite 500, Mt. Laurel, NJ 08054
HyperCaster
®
is a registered trademark of TelVue Corporation 800-885-8886 / www.telvue.com
87
•
Activate at boot? – If this network connection should be activated when the server is booted
this entry will display yes.
•
Enable multicast? – If multicasting has been enabled for this network connection, this entry
will display yes.
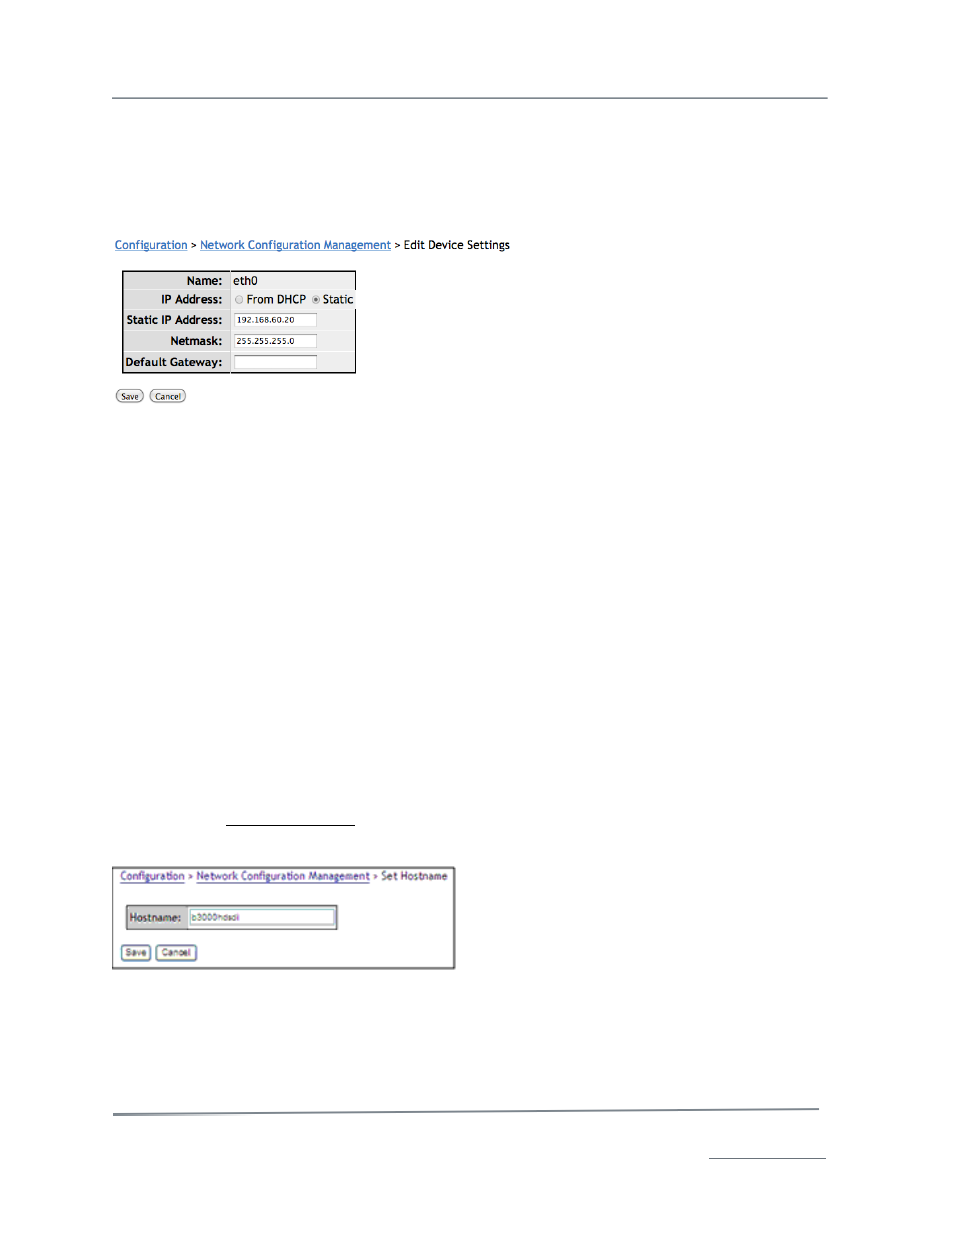
To edit a network configuration, click on the Edit icon in the Action column. The Edit Network
Configuration screen is displayed.
The following fields are editable.
•
Name – the name of the host interface, such as eth0 or eth1.
•
IP Address – Select either DHCP or Static. If Static, enter the assigned the IP address.
TelVue
®
generally recommends a Static IP address so any possible port forwarding does not
become stale due to IP address changes. If DHCP is used, the assignment should match the
MAC address of the Digital Broadcaster. The default is Static IP address 1.1.1.1.
•
Netmask– Enter the Netmask value for your network. The default value is 255.255.255.0.
•
Default Gateway– Enter the Default Gateway IP address. The Default Gateway is generally
the device on your network that routes Internet traffic to the Digital Broadcaster, for example
a cable or DSL router.
When you have edited the network configuration, click the Save button at the bottom of the screen. A
message verifying that the changes were updated appears at the top of the screen. Click the Config
tab to return to the Configuration menu or click any tab to do other work.
Note: Some changes to the network configuration, such as IP addresses and destination
ports, will make it necessary to reboot the media server. The media server will warn you and
give you the option of canceling the changes.
Changing the Hostname
The hostname of the server is displayed at the top of every screen. The default is the product model.
You can change the hostname of your server to help distinguish it from other servers of the same
model. Click on Change Hostname. Enter the new hostname and click the Save button. When you
reboot the server, the new hostname will be displayed at the top of the screen.
Running netstat
During troubleshooting you might be asked to run the netstat utility. Click the button at the bottom of
the Network Configuration Management screen. The results of the status check will be displayed on
the UI screen.