Ask Proxima D-ILATM Pro AV SX1 User Manual
Pro av sx1, Diia projector
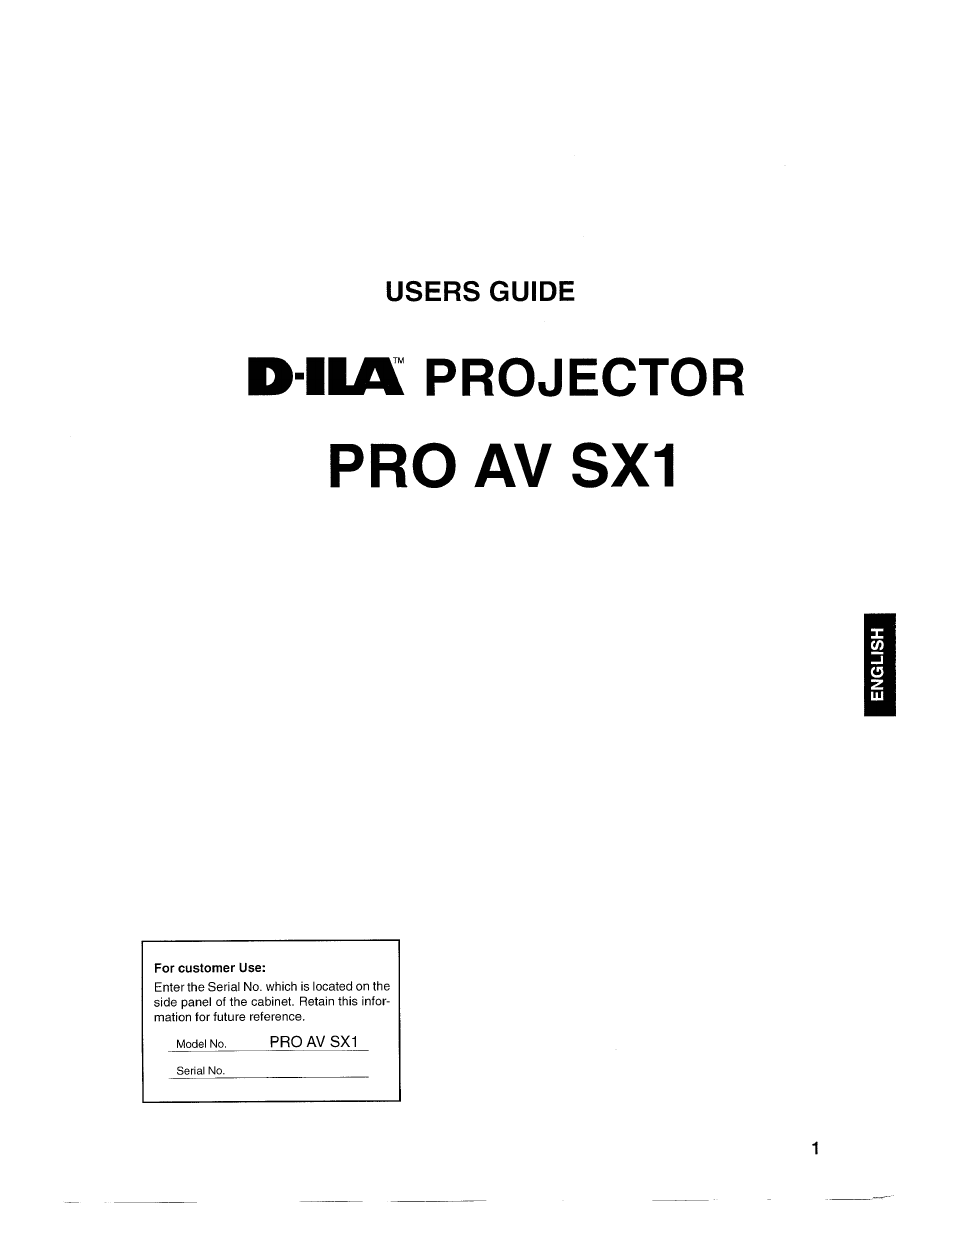
Table of contents
Document Outline
- USERS GUIDE
- SAFETY PRECAUTIONS
- Contents
- Accessories
- Controls and Features
- Front Side / Top Surface / Right Side
- Left-hand side
- Bottom Surface
- Control Panel
- Control Panel (Cont.)
- Connector Panel
- m “S-video” input terminal (Mini DIN 4 pin)
- |T1 “video” input terminal (BNC)
- [^1 Component signal input terminals (BNC)
- in “audio L/R” input terminals (pin jacks)
- |5~| “audio OUT” terminal (stereo mini jack)
- “remote” terminal (mini jack)
- \j] RS-232C terminal (D-sub 9 pin)
- “monitor” terminal (D-sub 3-row 15 pin)
- Connector Panel (Cont.)
- Remote Control Unit
- Installing Batteries
- Open the back cover.
- Install the batteries.
- Close the back cover.
- Installing the Projector
- Connecting to Various Devices
- * Before connection, be sure to turn off the projector and connected devices.
- Signals that Can Be Input to the Projector
- Connecting to Video Devices
- Connecting to Hi-Vision Devices
- Connecting to Other Devices
- Connecting to Devices which Control the Projector
- Connecting to Computer Devices
- Connecting to Computer Devices (Cont.)
- Connecting the Power Cord (Supplied
- [H Insert the supplied power cord into the power input terminal (AC IN ~) of the projector.
- Insert the plug of the supplied power cord into a wall outlet.
- When Turning On the Devices Connected to the Projector
- Turn on the switches of the projector and the devices connected in the following order. Skip over unconnected devices if there is any.
- Do not turn off the MAIN POWER switch suddenly while the projector is being used or immediately after it has been used. This could cause a malfunction.
- When the “temperature” indicator lights, the power turns off automatically.
- When the “emergency” indicator blinks, turn off the main power switch after the fans have stopped running.
- Basic Operations
- Operating the Setting Menu
- Operating the Main Menu
- Configuration of the Main Menu (Computer input)
- Operating the Main Menu (Basic Operation of the Main Menu)
- -| Press the MENU/ENTER button.
- 2 Select an item with the cursor button ^ A or T.
- 0 Set (adjust) the item.
- Changing the Color System
- Press the MENU/ENTER button.
- O Select “DECODER” with the cursor ^ button A or T.
- Q Set the color system with the cursor ^ button ◄ or ►.
- Main menu
- Changing the Language Display
- -| Press the MENU/ENTER button.
- 2 Select “LANGUAGE” with the cursor ^ button A or ▼.
- Q Set the desired language with the ^ cursor button ◄ or ►.
- Main menu
- Adjusting the Pixel Clock
- Remote control unit
- -| Press the MENU/ENTER button.
- 2 Select “PIXEL CLOCK” with the cursor ^ button ▲ or ▼.
- 0 Press the MENU/ENTER button.
- Main menu
- Adjust “TRACKING” and “PHASE” with the cursor buttons.
- Adjusting the Screen Position
- Remote control unit
- ■| Press the MENU/ENTER button.
- 2 Select “POSITION” with the cursor button A or T.
- 2 Press the MENU/ENTER button.
- Adjusting Picture Quality
- -| Press the MENU/ENTER button.
- O Select “PICTURE” with the cursor ^ button ▲ or ▼.
- 2 Press the MENU/ENTER button.
- A Select the item to adjust with the cursor ^ button ▲ or T.
- Adjusting Picture Quality (Cont.)
- IRemote control unit
- ■Submenu items
- C Make adjustment with the cursor ^ button ◄ or ►.
- Adjusting Picture Quality (Cent.)
- I Remote control unit
- ■Submenu items
- Adjusting Sound Quality
- Remote control unit
- -| Press the MENU/ENTER button.
- 2 Select the “SOUND” with the cursor ^ button A or ▼.
- 3 Press the MENU/ENTER button.
- Main menu
- 4 Adjust “TREBLE” and “BASS” with the ^ cursor buttons.
- Setting and Adjusting Other Functions (OPTIONS)
- Main menu
- -| Press the MENU/ENTER button.
- 2 Select the “OPTIONS” with the cursor ^ button A or T.
- 0 Press the MENU/ENTER button.
- ^ Select the item to set (adjust) with the ^ cursor button A or T.
- Setting and Adjusting Other Functions (OPTIONS) (Cent.)
- ■Remote control unit
- ^ Set (adjust) the desired item with the ^ cursor button ◄ or ►.
- ■Submenu items
- Setting and Adjusting Other Functions (OPTIONS) (Cont.)
- IRemote control unit
- ISubmenu items
- Changing (Setting) the Source
- Press the MENU/ENTER button.
- 2 Select a submenu item “SOURCE” ^ using the cursor button a or t.
- 2 Press the MENU/ENTER button.
- Select the item to set using the cursor buttons A/T or ◄/►.
- Changing (Setting) the Source (Cont.)
- Remote control unit
- C Press the MENU/ENTER button to set ^it.
- Submenu item
- Replacing the Lamp
- Cleaning and Replacing the Filter
- Troubleshooting
- Specifications