Great Planes ESP6 Easy Sport 60 - GPMA0152 User Manual
Page 48
2 If you feel a little intimidated by cutting and ironing
down pieces of MonoKote film for your trim on the
Easy Sport 40, ask your hobby dealer for the Great
Planes Easy Sport Trim Graphics package
(GPMQ0405) This is a "Cut, Peel and Stick' type of trim
package that faithfully reproduces the prototype trim
scheme as shown on the box This method is extremely
easy and gets you in the air the fastest with professional
looking results.
D 1 Lay the rudder elevators and ailerons on the plans
and mark on the leading edge of each part the locations
of the hinges Now use a sharp hobby knife to cut slits in
the covering at the hinge locations Test fit the hinges to
make sure you have found the slots which you
previously cut In the same manner slit the covering at
the hinge locations in the wing, stab and fin TE Remove
the hinges and drill a 3/32" hole 1/2" deep in the center
of each hinge slot A high speed Dremel Tool works best
for this If you have to use a drill, clean out the hinge slot
with your hobby knife Also cut the covering away from
the tail gear slot (if you have built a taildragger) Fit the
elevator to the stab with the hinges installed Fit the
rudder to the model and with a pencil mark the location
where the 1/8" wire elevator Joiner interferes with the
rudder Remove the rudder and, with a hobby knife or
file cut a clearance notch for the 1/8" wire elevator
joiner Reinstall the rudder and check the notch The
notch should be large enough to allow the rudder to
move freely throughout its entire range.
Do step #2 if you have built your Easy Sport as a
taildragger:
D 2 Using coarse (80-grit) sandpaper, roughen the
horizontal part of the tailgear wire, then clean off the
sanded portion of the wire with alcohol or a degreasing
solvent Using a toothpick apply a small amount of
petroleum jelly where the tailgear wire enters the nylon
bearing (to prevent glue from getting inside and
locking it up).
D 3 Confirm that the hinges are equally positioned in
both the elevator and stab, rudder and fin and aileron
and wing TE You may insert a small pin in the center of
the hinges to keep them centered close the gap to avoid
inadvertently gluing the control surfaces together
Remove the pins if you have used any Apply 6 drops of
thin CA to each side of each hinge
Note: When gluing in the nylon tailgear bearing (tail
dragger version only) use the epoxy and soda straw"
technique described in the "Install The Aileron Torque
Rods section of this manual Don t forget to apply a little
petroleum jelly to the area where the tail wheel wire
enters the bearing - otherwise the epoxy could lock-
up the tail gear.
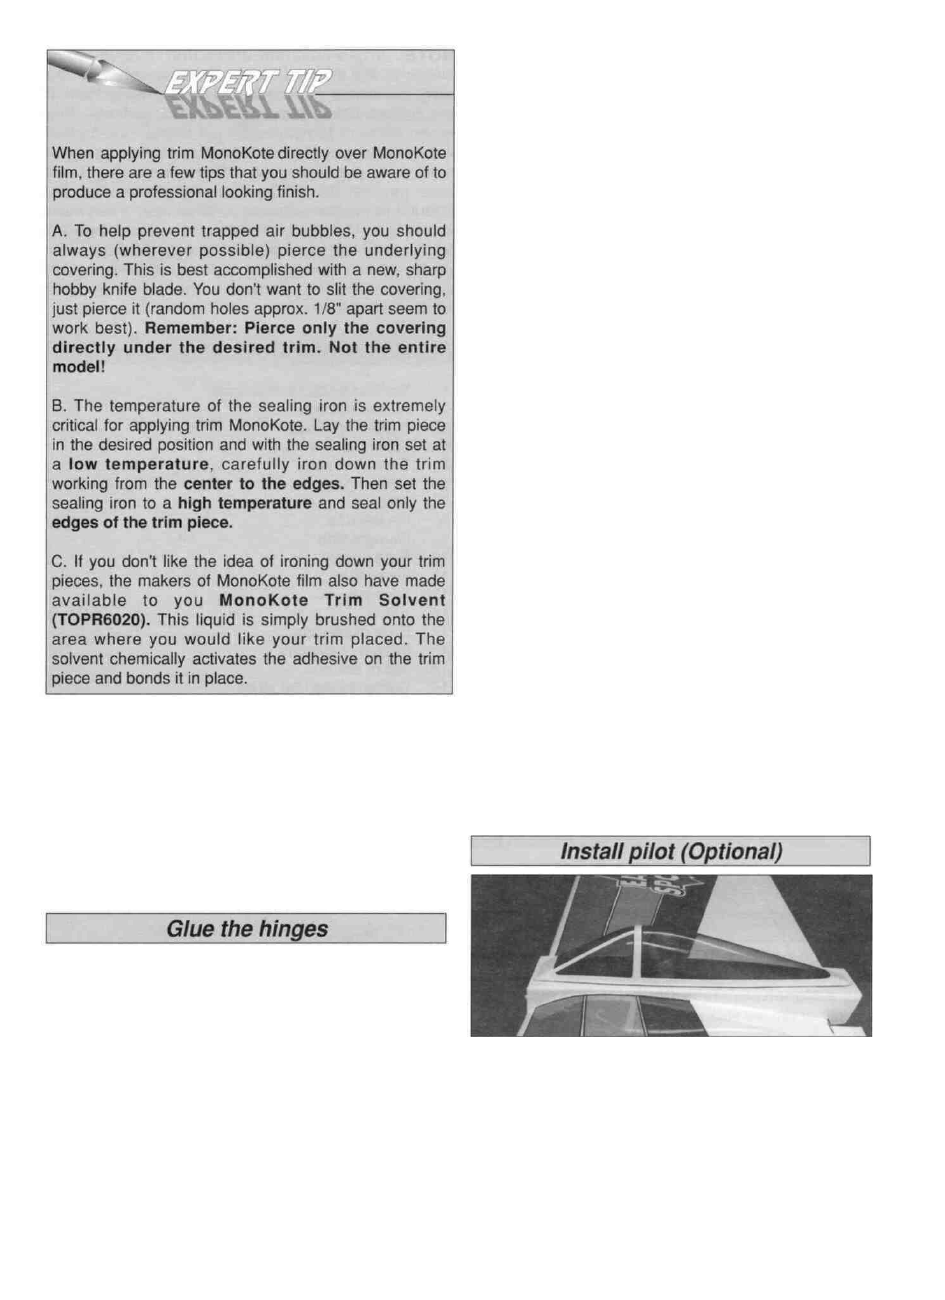
1 If you like, you can black out the cockpit floor or
leave it be The choice is yours We traced around the
trimmed canopy onto a piece of 600 grit sandpaper We
then cut out this sandpaper "floor and glued it in
position with medium CA
48