Great Planes ESP6 Easy Sport 60 - GPMA0152 User Manual
Page 40
D 1. Cut off the spacer bar from each half of the engine
mount, and trim away any remaining bumps to permit
the mount halves to slide together
D 2. Fit the two halves of the mount together Remove
the muffler and carburetor from the engine and install
your spinner's backplate Test fit the engine to the
mount A d j u s t the width of the mounting rails to
accommodate the engine without binding or being too
loose (a couple of drops of thin CA may be used to tack
the two engine mount halves together) Remove the
engine. Use four #6 flat washers and four 6-32 x 3/4"
Phillips head screws (four #8 flat washers and four
8-32 x 1-1/4" socket head machine screws on the
Easy Sport 60) to attach the engine mount to the firewall
(do not tighten completely) Center the engine mount on
the f i r e w a l l using the embossed vertical line as
a reference
D 3. Tighten the mount screws so that you can mark the
engine screw holes without allowing the rails to move.
D 5 Remove the tape from the engine mount rails and
attach the engine to the rails using four #6 x 3/4" sheet
metal screws ( #8 x 1" sheet metal screws on the
Easy Sport 60) A drop of household oil on each screw
may help when initially installing the engine to the
engine mount Remove the engine from the mount
for now.
D 4. Place a length of masking tape on each rail of the
engine mount (the tape will allow you to see the pencil
marks) Position the engine forward or aft on the rails so
there is 4-7/8" between the firewall and the back of the
spinner backplate (6-1/4" on the Easy Sport 60) Use a
sharpened pencil to mark the four engine mounting
holes onto the tape Use a 7/64" drill bit (1/8" on the
Easy Sport 60) to drill pilot holes (see tip below) through
the rails for the #6 sheet metal screws (#8 sheet metal
screws on the Easy Sport 60) Note You must drill these
holes accurately, not allowing the drill bit to wander off
the mark The holes must also be perpendicular to the
rails The best way to achieve this is to use a drill press
If you do not have one, try to borrow a friend's.
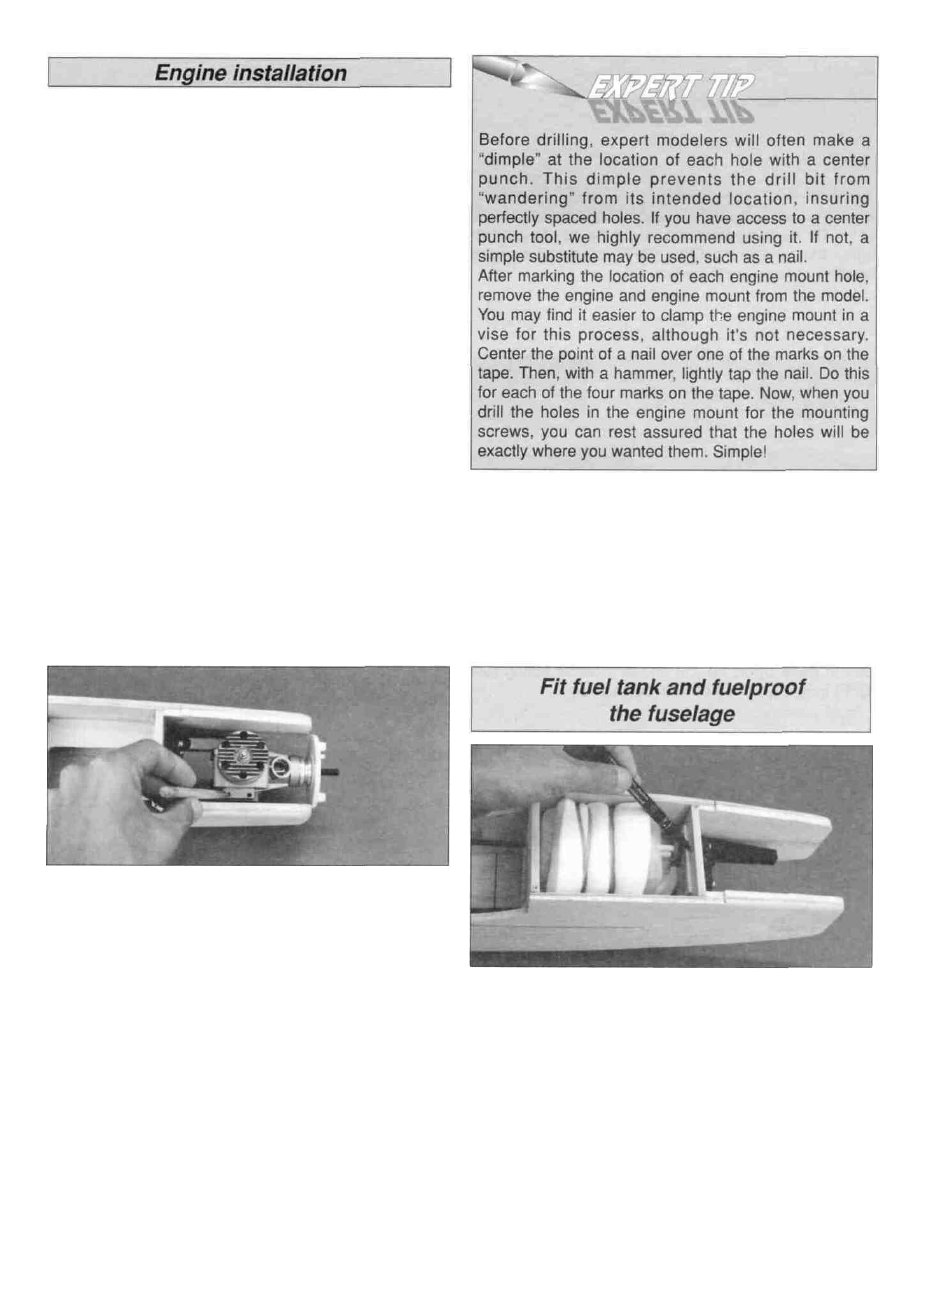
D 1 Assemble your fuel tank according to the
manufacturer's instructions Wrap the fuel tank in latex
foam rubber and secure with #64 rubber bands (the
foam rubber shields the tank from engine vibration,
which can cause the fuel to foam) Fit the assembled
tank into the fuel tank compartment and mark the
location for the fuel and vent lines on the firewall
Remove the fuel tank and drill through the firewall at the
marks with a 15/64" drill
40