Great Planes ESP6 Easy Sport 60 - GPMA0152 User Manual
Page 13
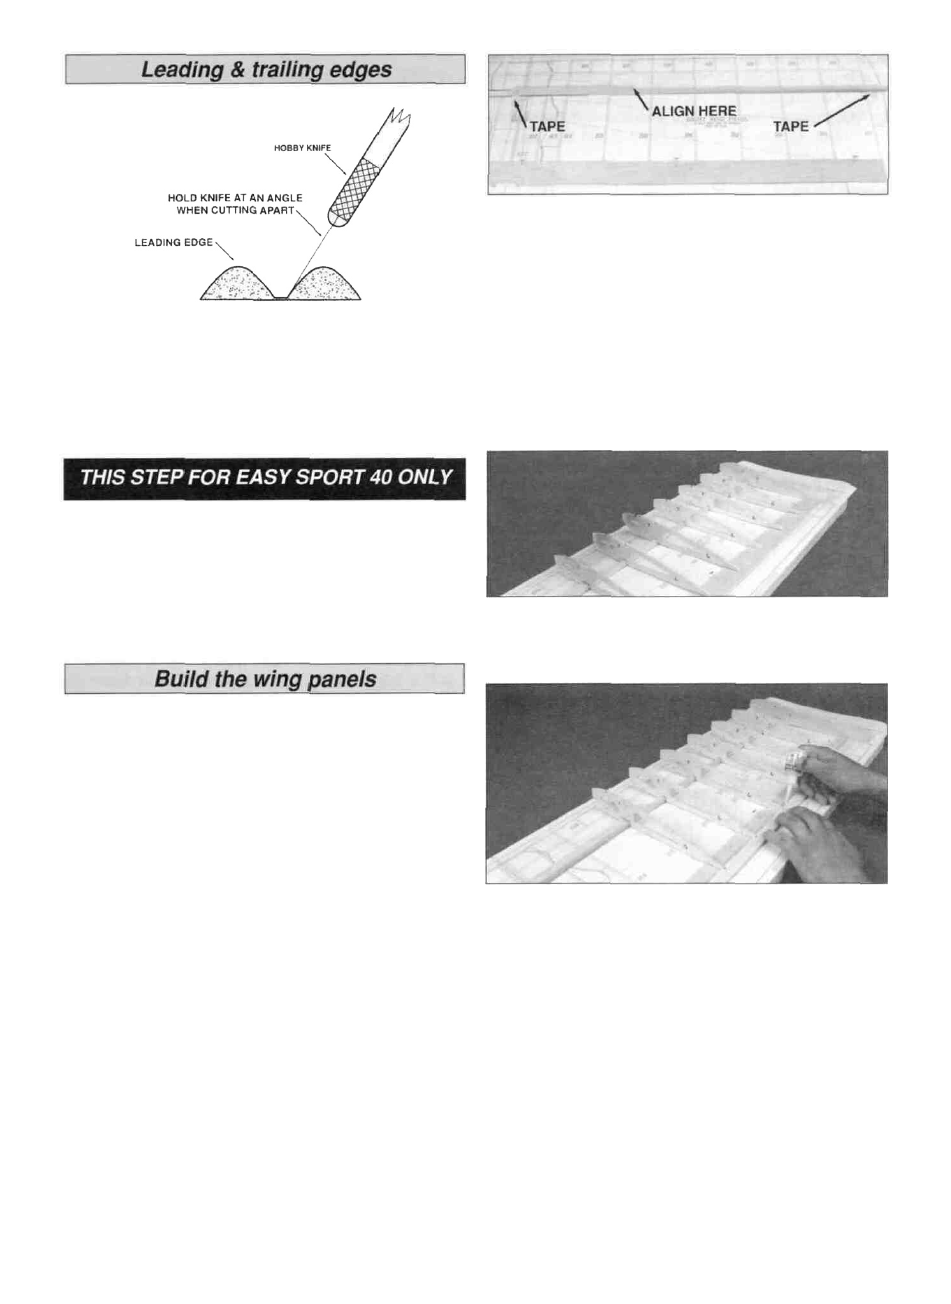
D D The shaped and notched wing leading edges (LE)
and trailing edges (TE) are fastened together by thin
strips of balsa. Separate them by cutting with a hobby
knife, as shown in the sketch.
D D 2. Lay one of the 3/32" x 1-3/4" x 30" (3/32" x 2" x
32" for the Easy Sport 60) balsa TE sheets on the wing
plan, lining it up with the outside edge of the tip rib. Pin
in place. Any excess balsa will extend beyond the wing
centerline.
D D 3. Place a basswood main spar on the plan,
lining up the outboard end of the spar doubler with the
plan. The main spar will extend beyond the root and tip.
This will be trimmed off later. Do not pin this spar down
to the plan - just use pieces of masking tape on the
ends, to prevent it from moving.
D Locate both die-cut 1/8" ply leading edge joiners
(if necessary, refer to the die-cut patterns on page 6).
Drill a 1/8" hole at the punch mark. Then, follow through
again with a 1/4" drill.
READ THIS BEFORE YOU BEGIN BUILDING THE
WING PANELS: It is very important that you build a
straight wing with no warps or twists or you will get some
flying characteristics you didn't expect' Be very careful
when you align the ribs, spars, leading edges, trailing
edges and sheeting in the following steps. All of these
parts should be in their correct positions before you glue
them in place. Hold or pin the parts in place, then glue.
The following instructions will guide you through the
building of a straight, warp-free wing.
NOTE: You will build the right wing panel first (steps 1
through 17). Then follow steps 2 through 16 again to
build the left wing panel.
VERY IMPORTANT: The ribs are stamped with a "T"
which always denotes the top of the rib.
D 1. Tape the wing plan to your flat building surface so
that the Right Wing Panel is facing you. Tape a sheet
of waxed paper or plastic kitchen wrap over the right
wing panel drawing.
D D 4. Place the #5, #6 and #7 ribs (#4, #5 and #6
ribs for the Easy Sport 60) onto the main spar.
Remember: The stamped "T" denotes the top of the rib.
D D 5. Now, place one of the shaped and notched
balsa TE'S on the TE sheet (the end with the closely
spaced notches must be at the wing root). Note: The TE
is not symmetrical - refer to the cross-section for proper
orientation. Work the TE onto the back of the ribs
starting at rib #7 and working towards rib #5 (start at rib
#6 and work toward rib # 4 on the Easy Sport 60). The
TE sheet may overhang the shaped and notched TE
slightly. This is not a major concern because any excess
will be sanded off later. Make sure that ribs are inserted
all the way into the TE notches and touching the TE
sheet. Glue the shaped TE and ribs to the TE sheet with
thin CA.
13