Cub Cadet Yanmar 3TNV72 User Manual
Page 173
FUEL SYSTEM
7-12
TNV IDI Service Manual
Fuel Injection Lines
6. Finish loosening all the fuel line nuts and
remove the high-pressure fuel lines as an
assembly being careful not to bend any of the
fuel lines. Be sure to protect the fuel system
from contamination by plugging or covering all
open connections.
7. Plug or cap all openings to minimize leakage
and prevent contamination.
Installation of High-Pressure Fuel
Injection Lines
Note: To prevent “rounding” the fuel line nuts
always use a “line” or “flare nut” wrench.
1. Start all the fuel line nuts by hand. Then use a
wrench to just “snug” all the fuel line nuts.
2. Tighten the fuel line nuts on the fuel injection
pump to the specified torque. See Special
Torque Chart on page 7-7.
3. When tightening the fuel line nuts on the fuel
injectors, use one wrench to hold the fuel return
line nut and fuel return line from rotating. Use a
second wrench to tighten the fuel line nuts
(Figure 7-5). See Special Torque Chart on
page 7-7.
Figure 7-5
Removal of Fuel Return Line
1. Clean the area to keep contaminants from
entering the fuel system.
2. Remove the high-pressure fuel injection lines
as an assembly. See Removal of High-Pressure
Fuel Injection Lines on page 7-11.
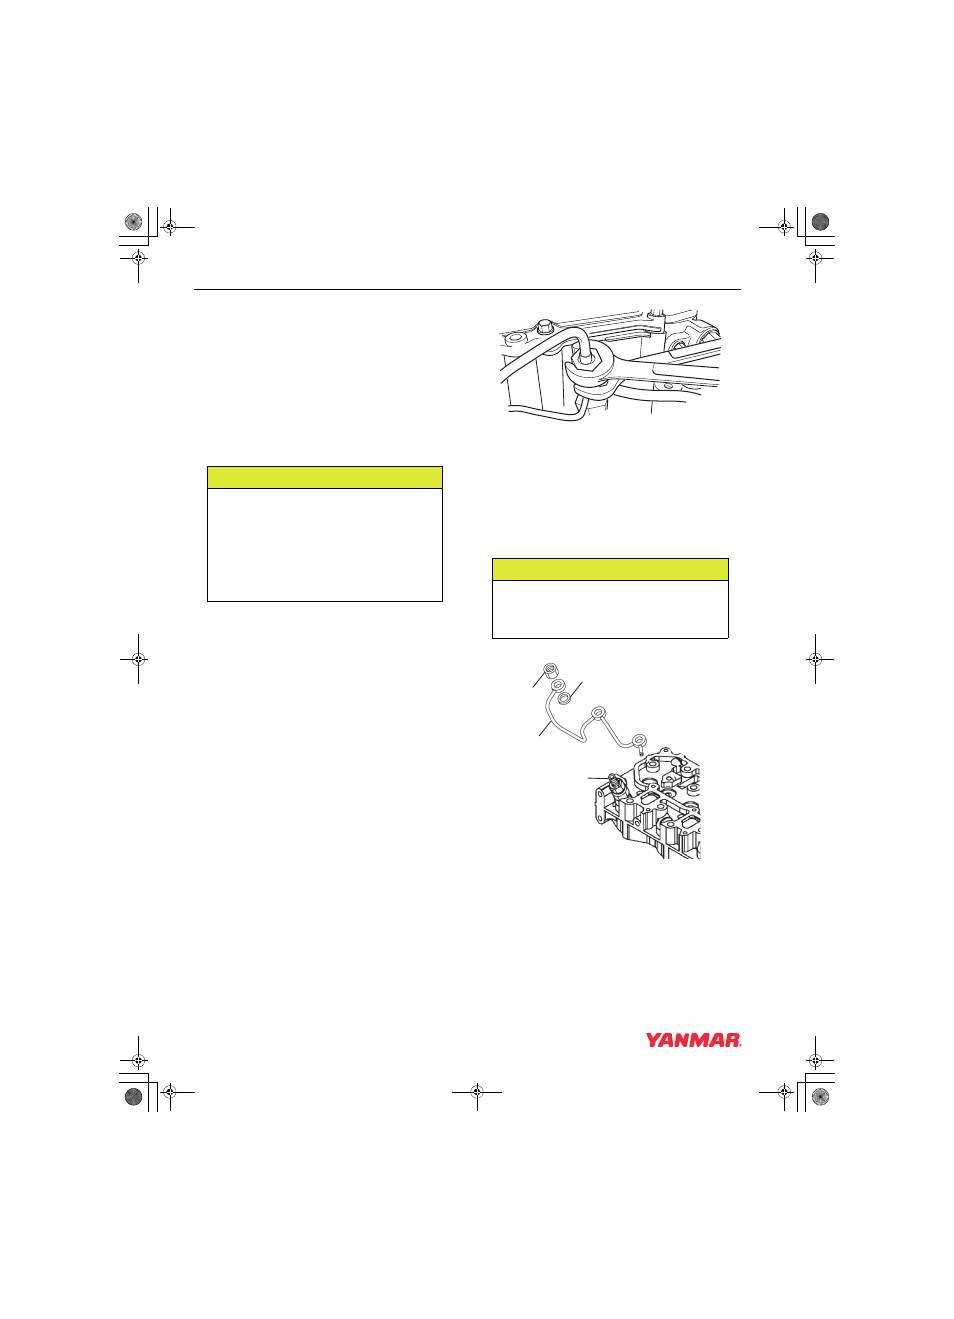
Figure 7-6
3. Remove all fuel return line nuts
(Figure 7-6, (2)) from the injectors
(Figure 7-6, (4)).
CAUTION
Remove or install the high-pressure fuel
injection lines as an assembly whenever
possible. Disassembling the
high-pressure fuel injection lines from
the retainers or bending any of the fuel
lines will make it difficult to reinstall the
fuel lines.
0000047en
CAUTION
The fuel return line is a one-piece
assembly. Use care not to bend or twist
the fuel return line.
0000171en
0002237
(1)
(2)
(3)
(4)
TNV_IDI_ServiceManual_(3TNV72 for YN only).book 12 ページ 2007年11月29日 木曜日 午後2時58分